Making Edges Straight for Normal Bevels
UVs Workflow for Body Panels & Trim Elements with Bevels
This document describes the special workflow for creating UVS of body panels and trim elements with beveled borders.
To get the best results and avoid anti-aliasing artifacts on bevels, UVS should be created according to the following rules.
Rules & Guidelines
- UVs of borders of the panels that could be straightened should be straightened
- Avoid unnecessary UV seams on the surface of the panel
- If a UV seam is necessary, place it in the most hidden path (because in-game rendering might make the UV seam appear as a visible hard edge)
- All body panels should be created with the same pixel density (this ensures consistent bevel width on borders)
- UV layout should be optimized
- Shrink straight areas of the UV shell that do not affect bevels
- Overlap similar elements like UVs with rectangular shapes to maximize texture space
Practical Unwrapping & Optimization
Let’s take a closer look at how to properly unwrap and optimize a UV shell for this element.
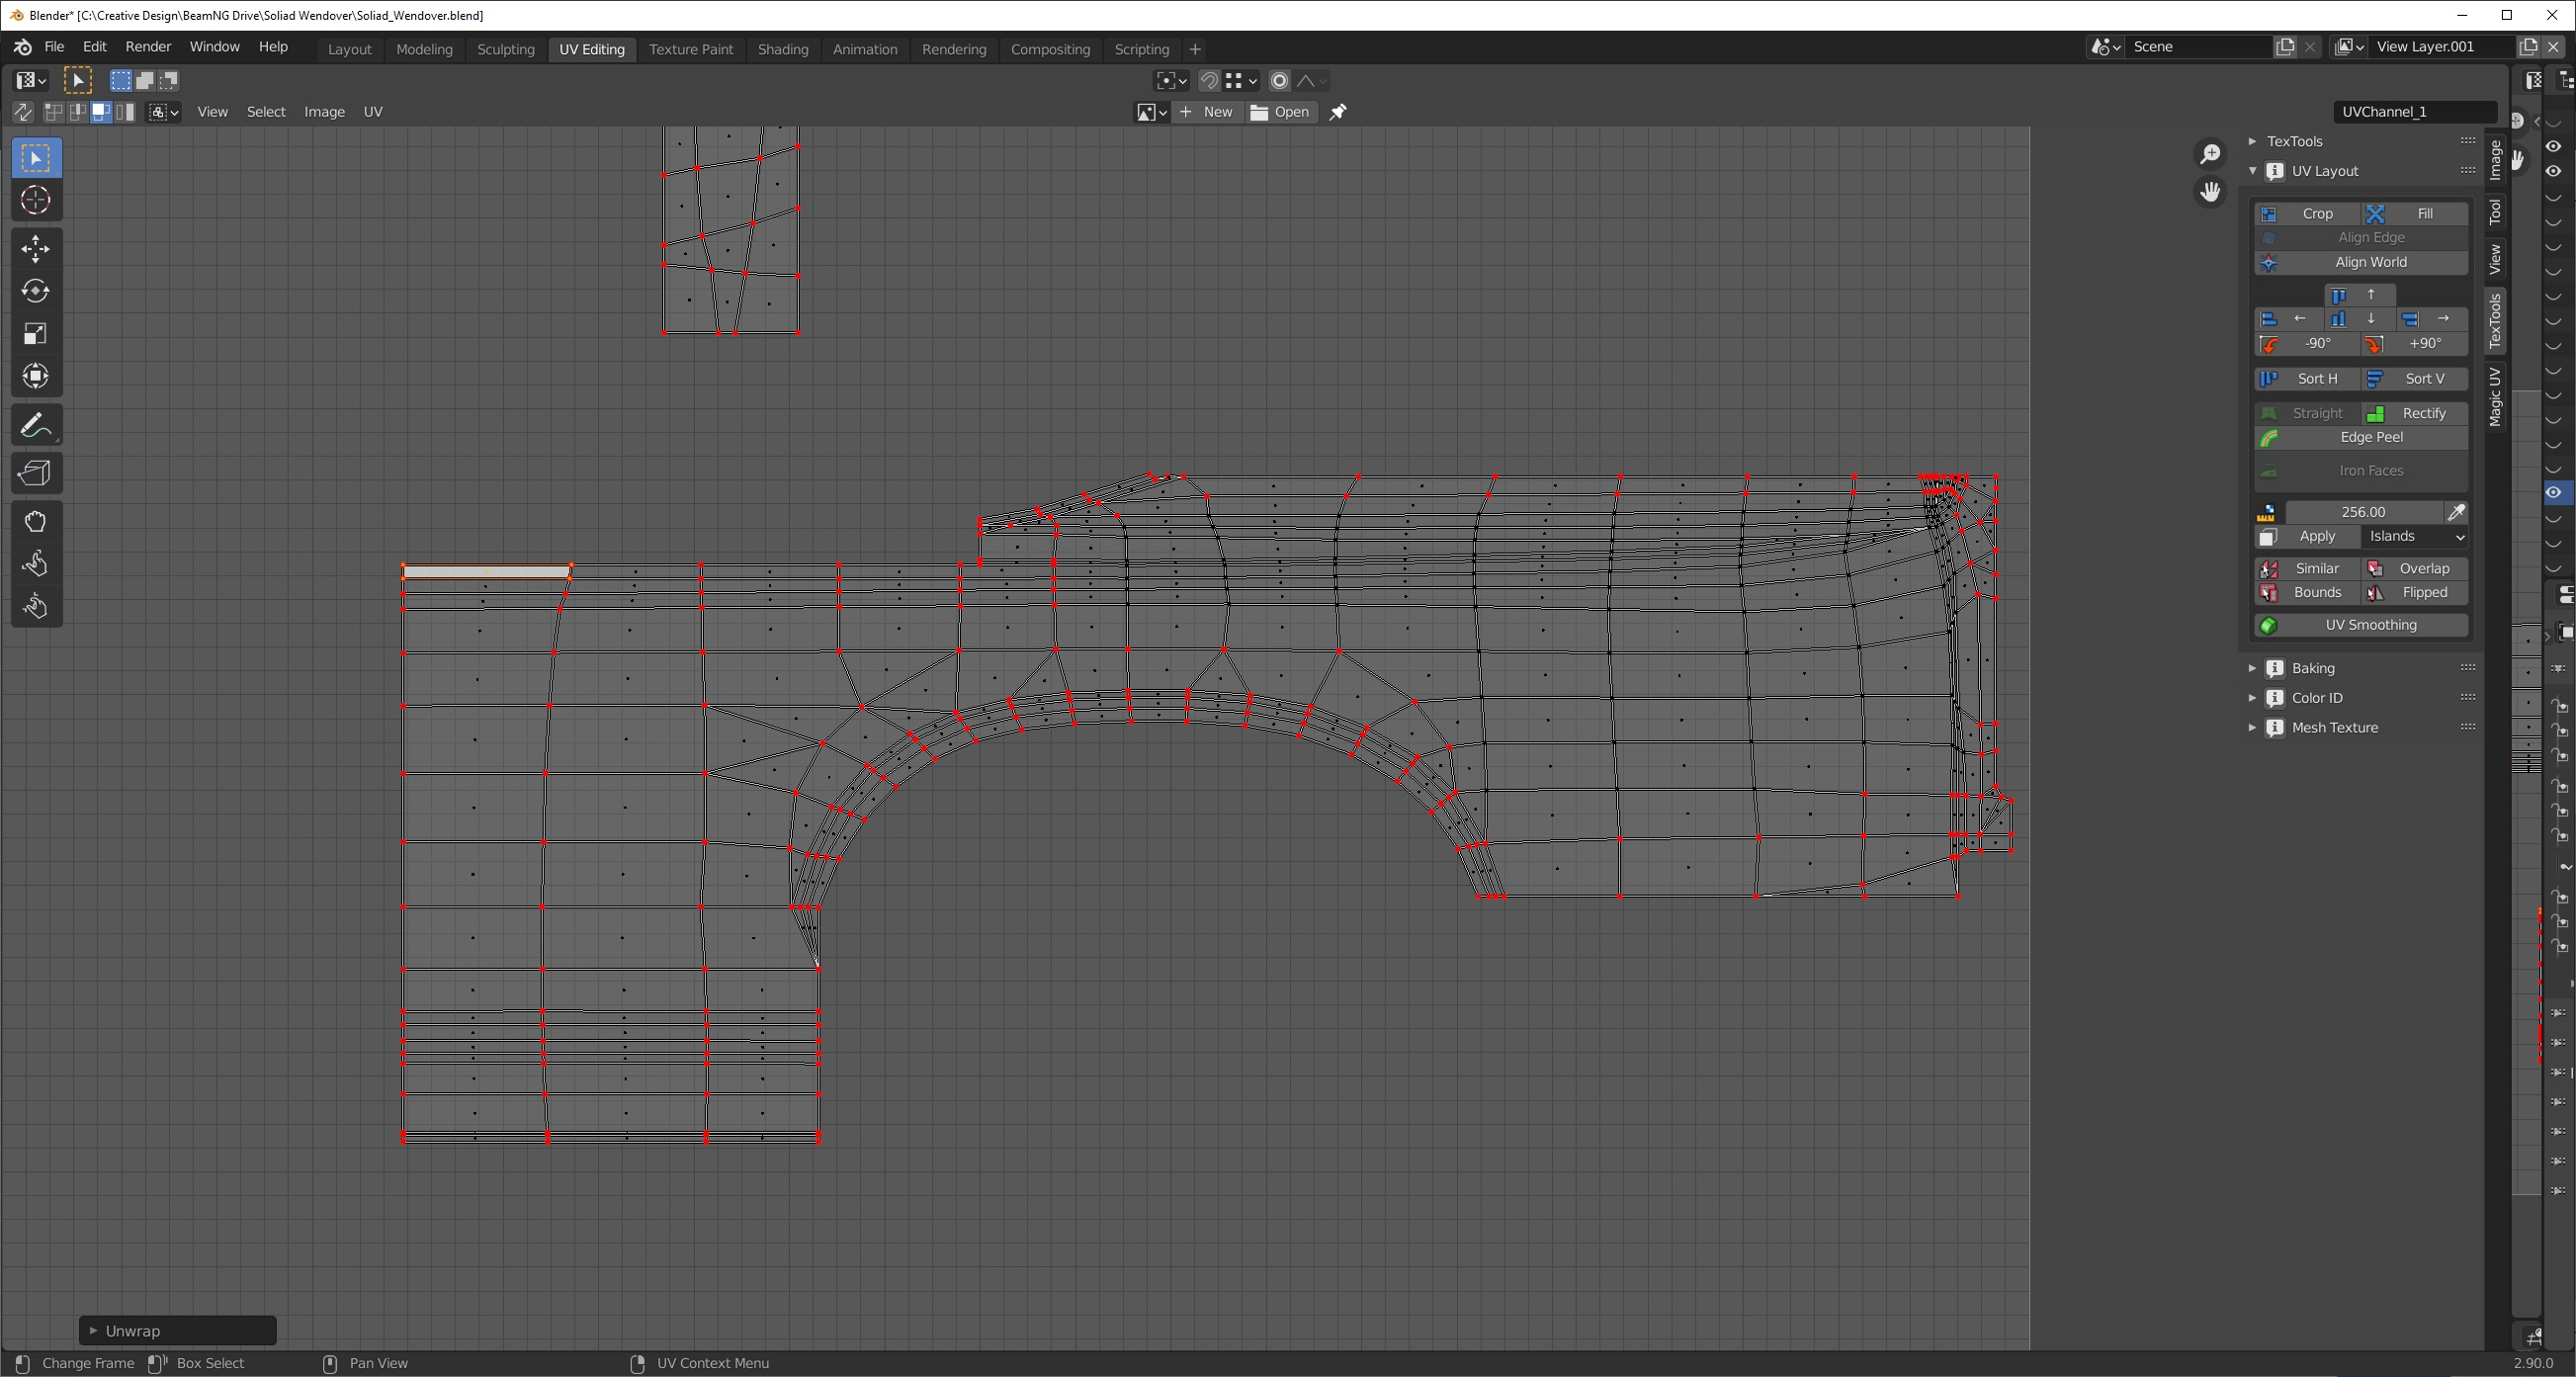
I have already unwrapped it using the Unwrap Tool and now need to begin straightening the borders.
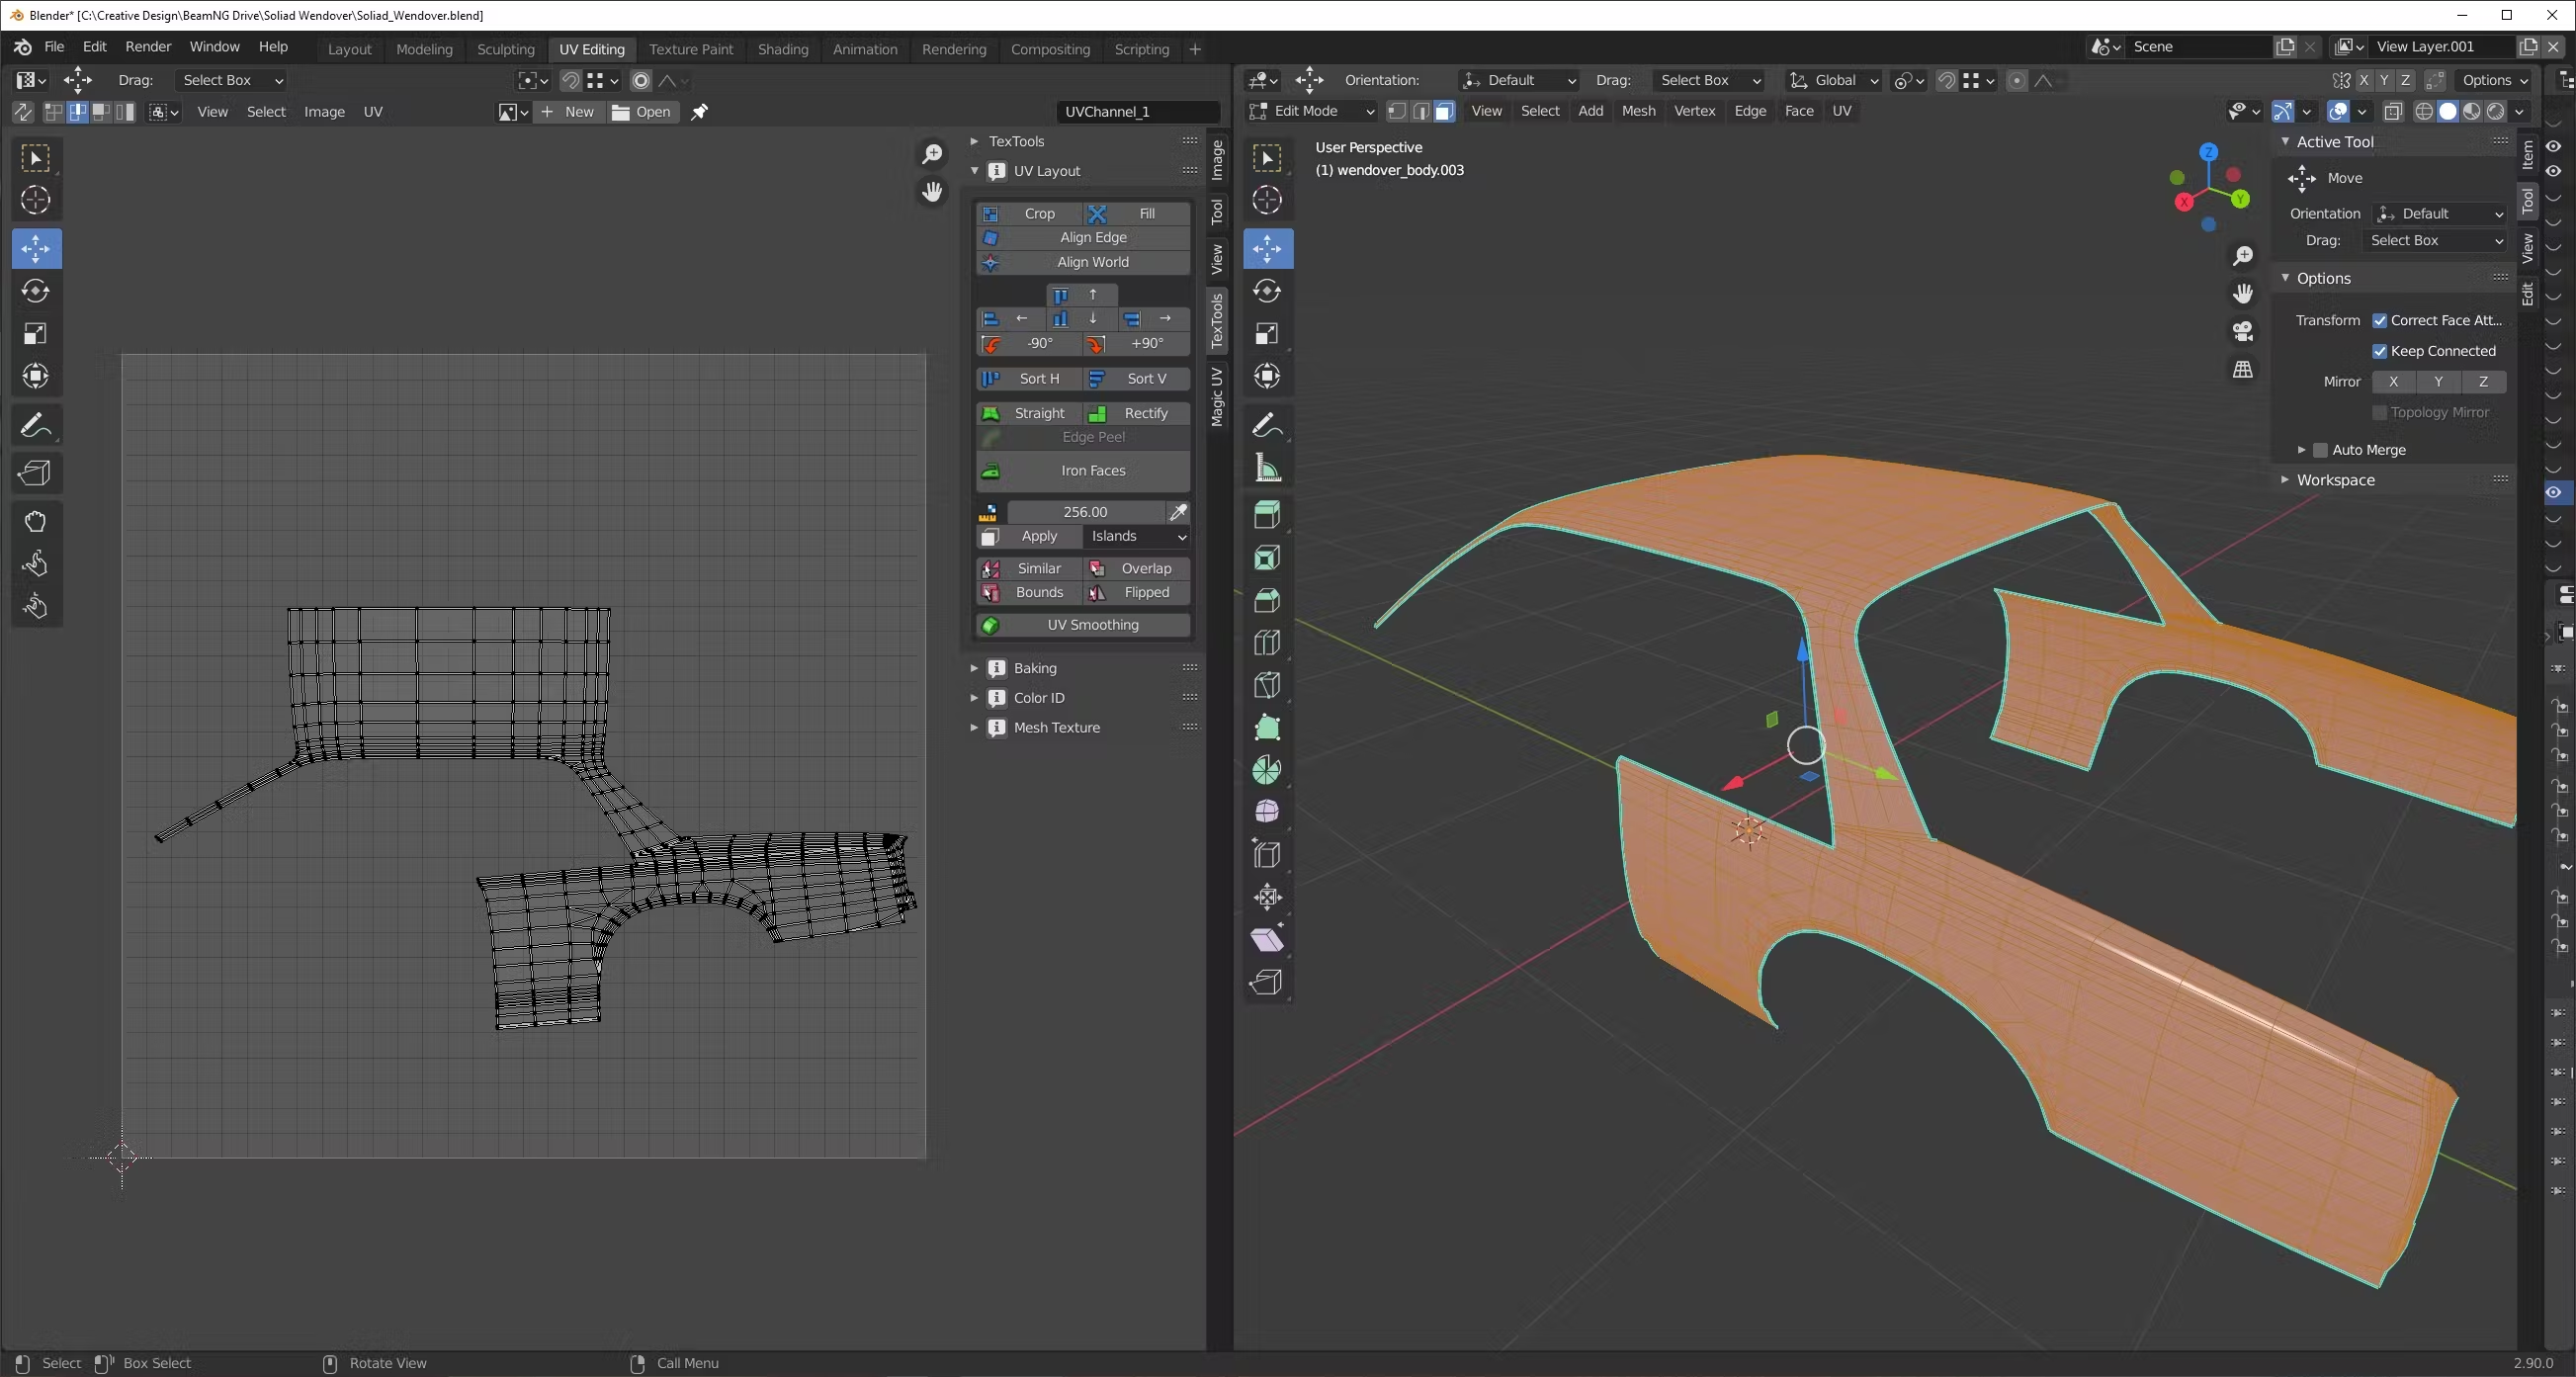
For easier work I divide shell to two pieces in the place where hard edge from UV seam will not be super-visible in the game.
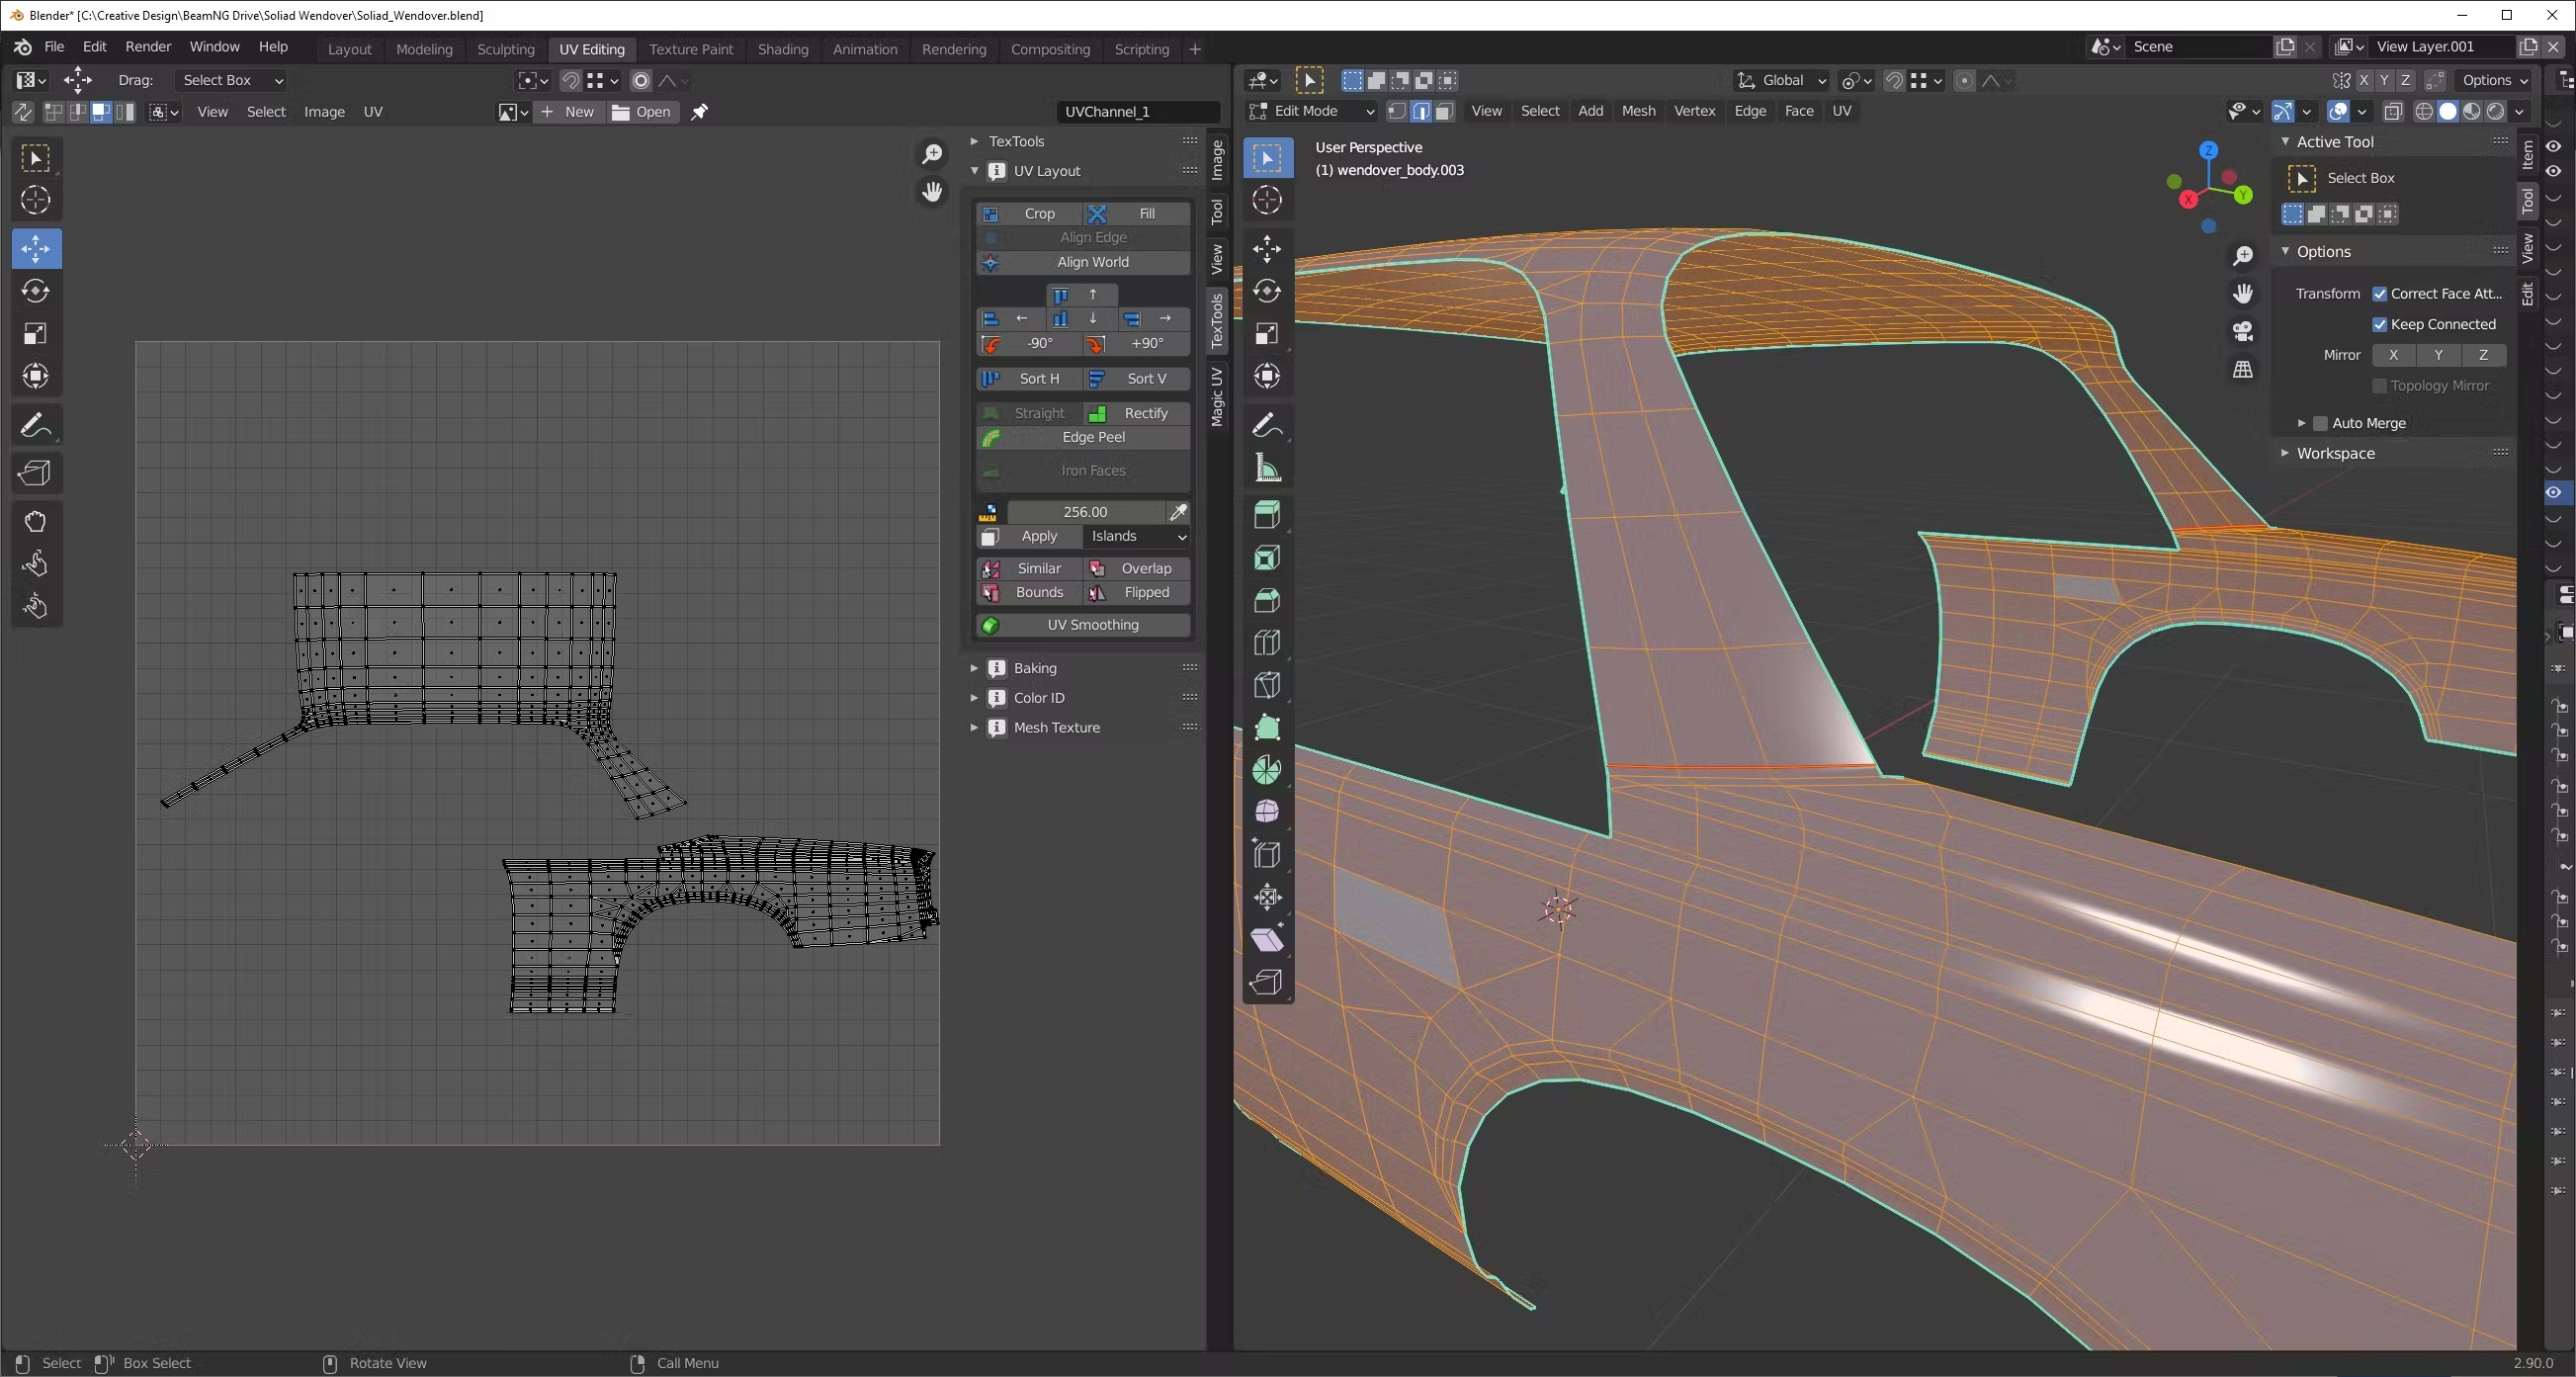
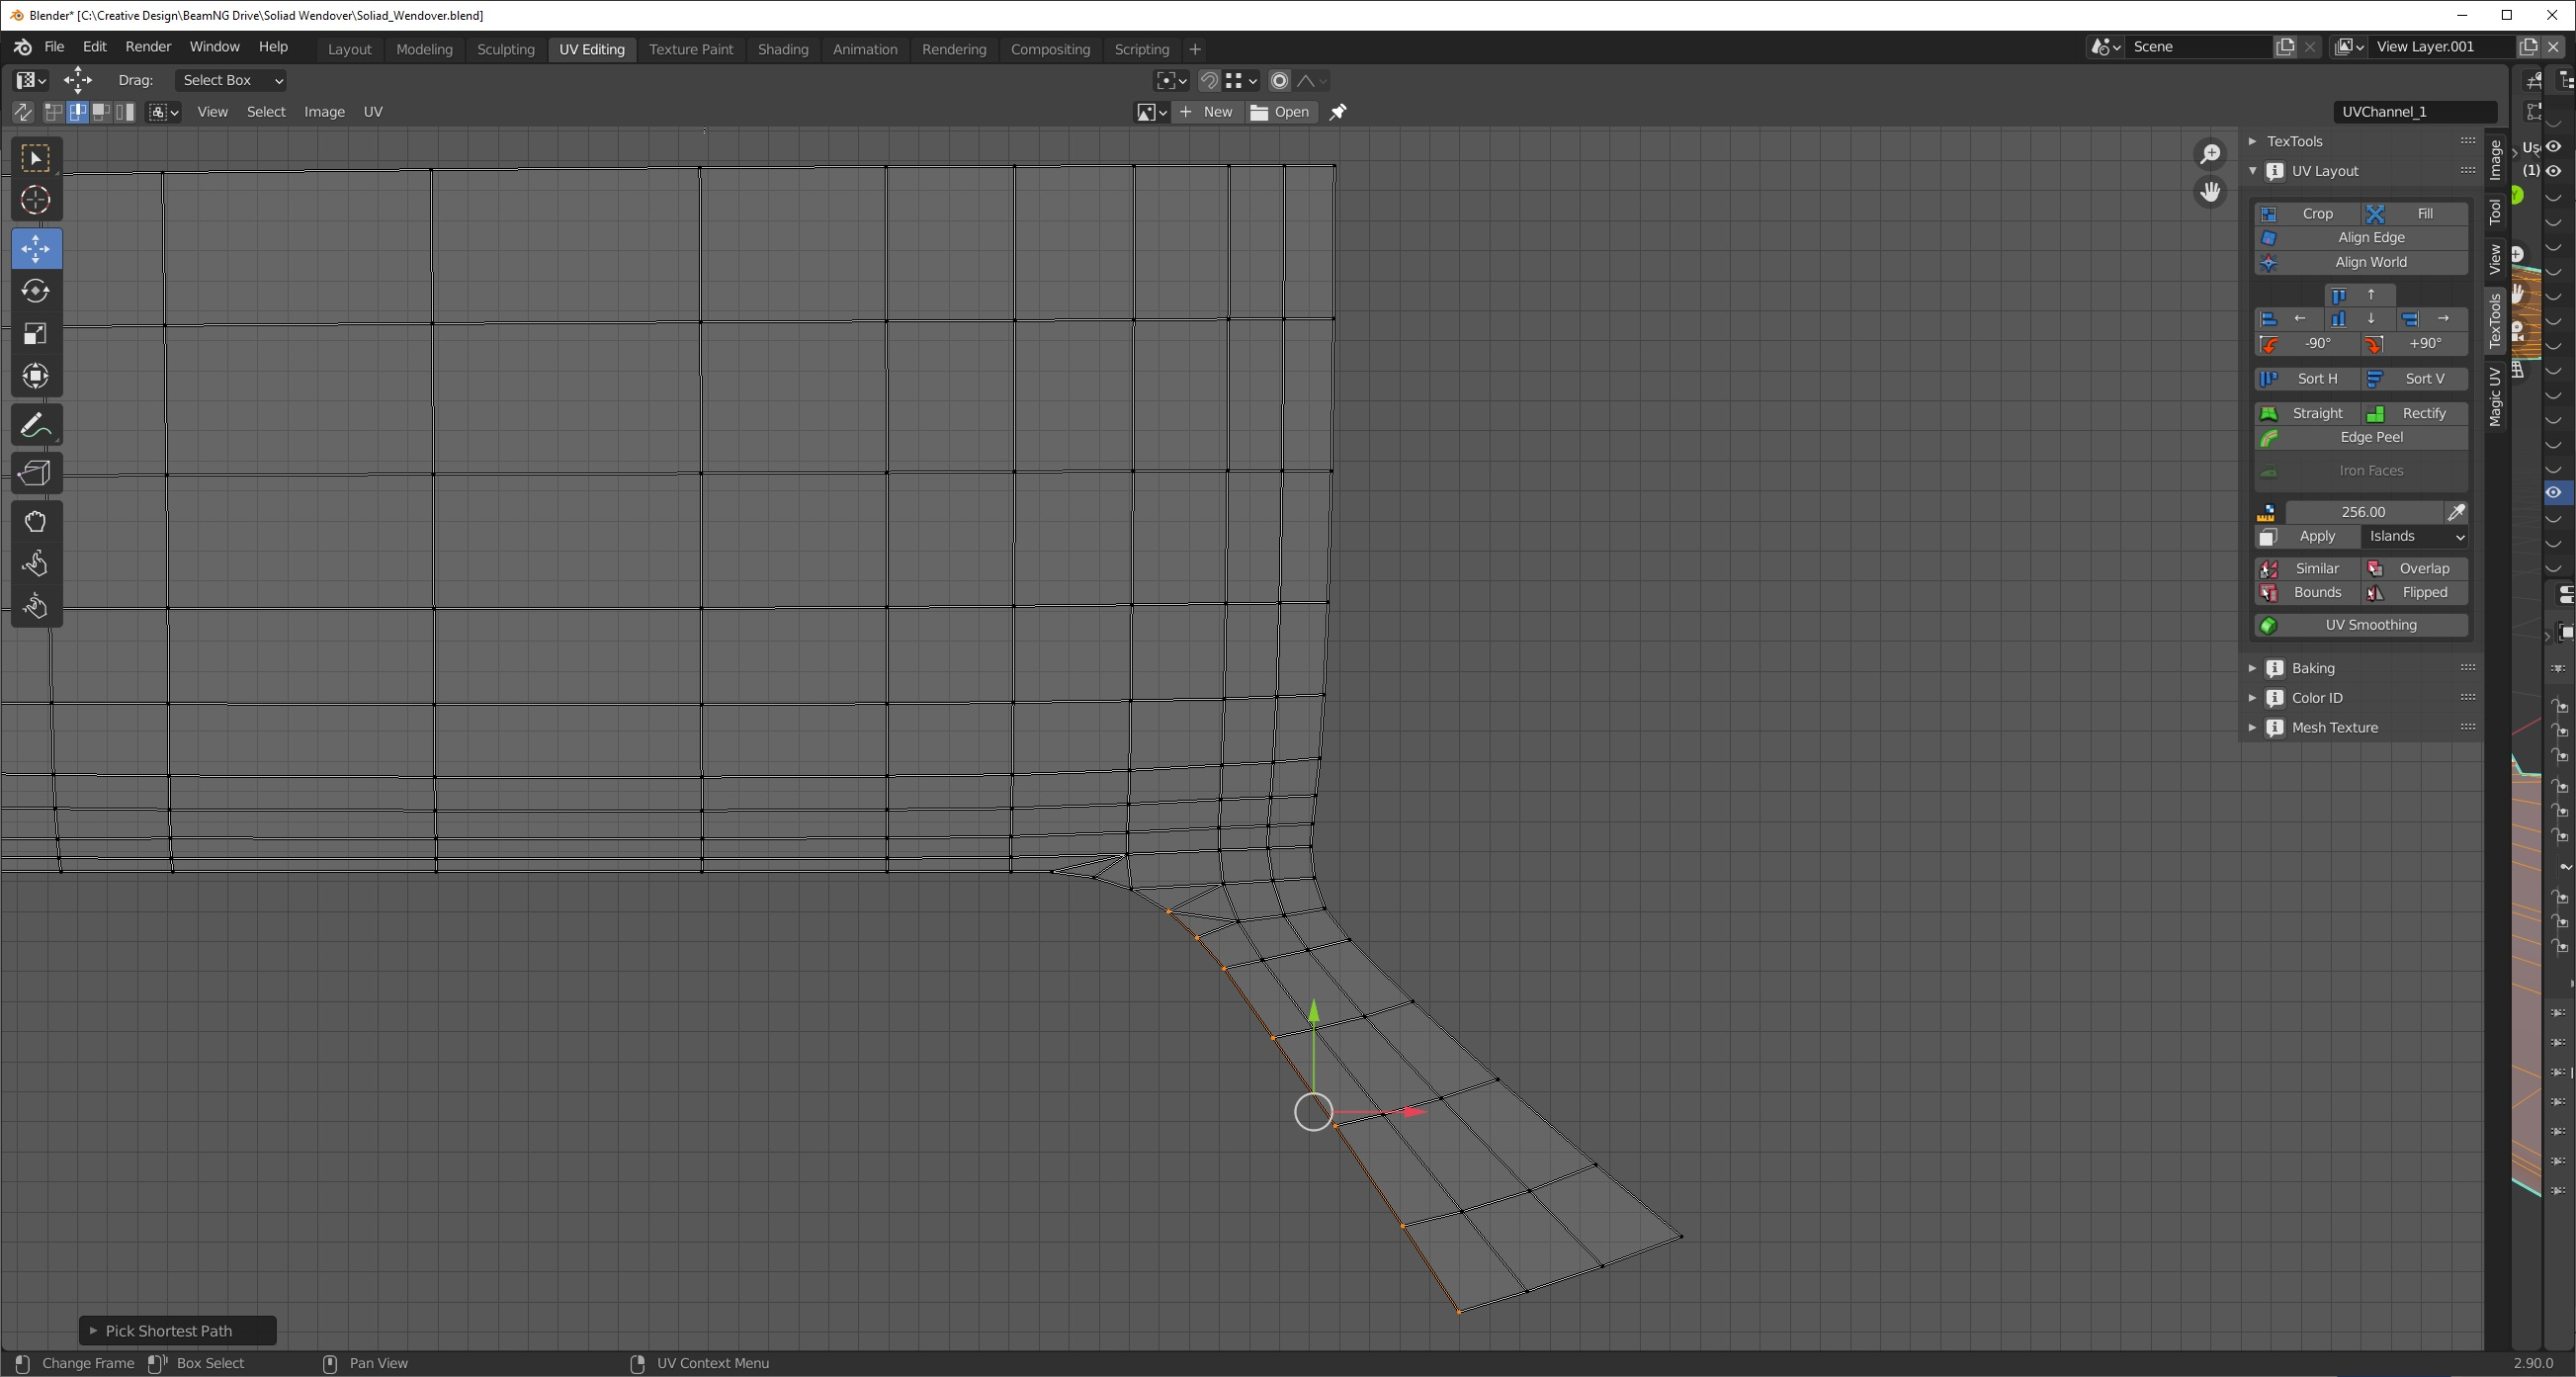
Straighten the main border of the shell with Straight tool.
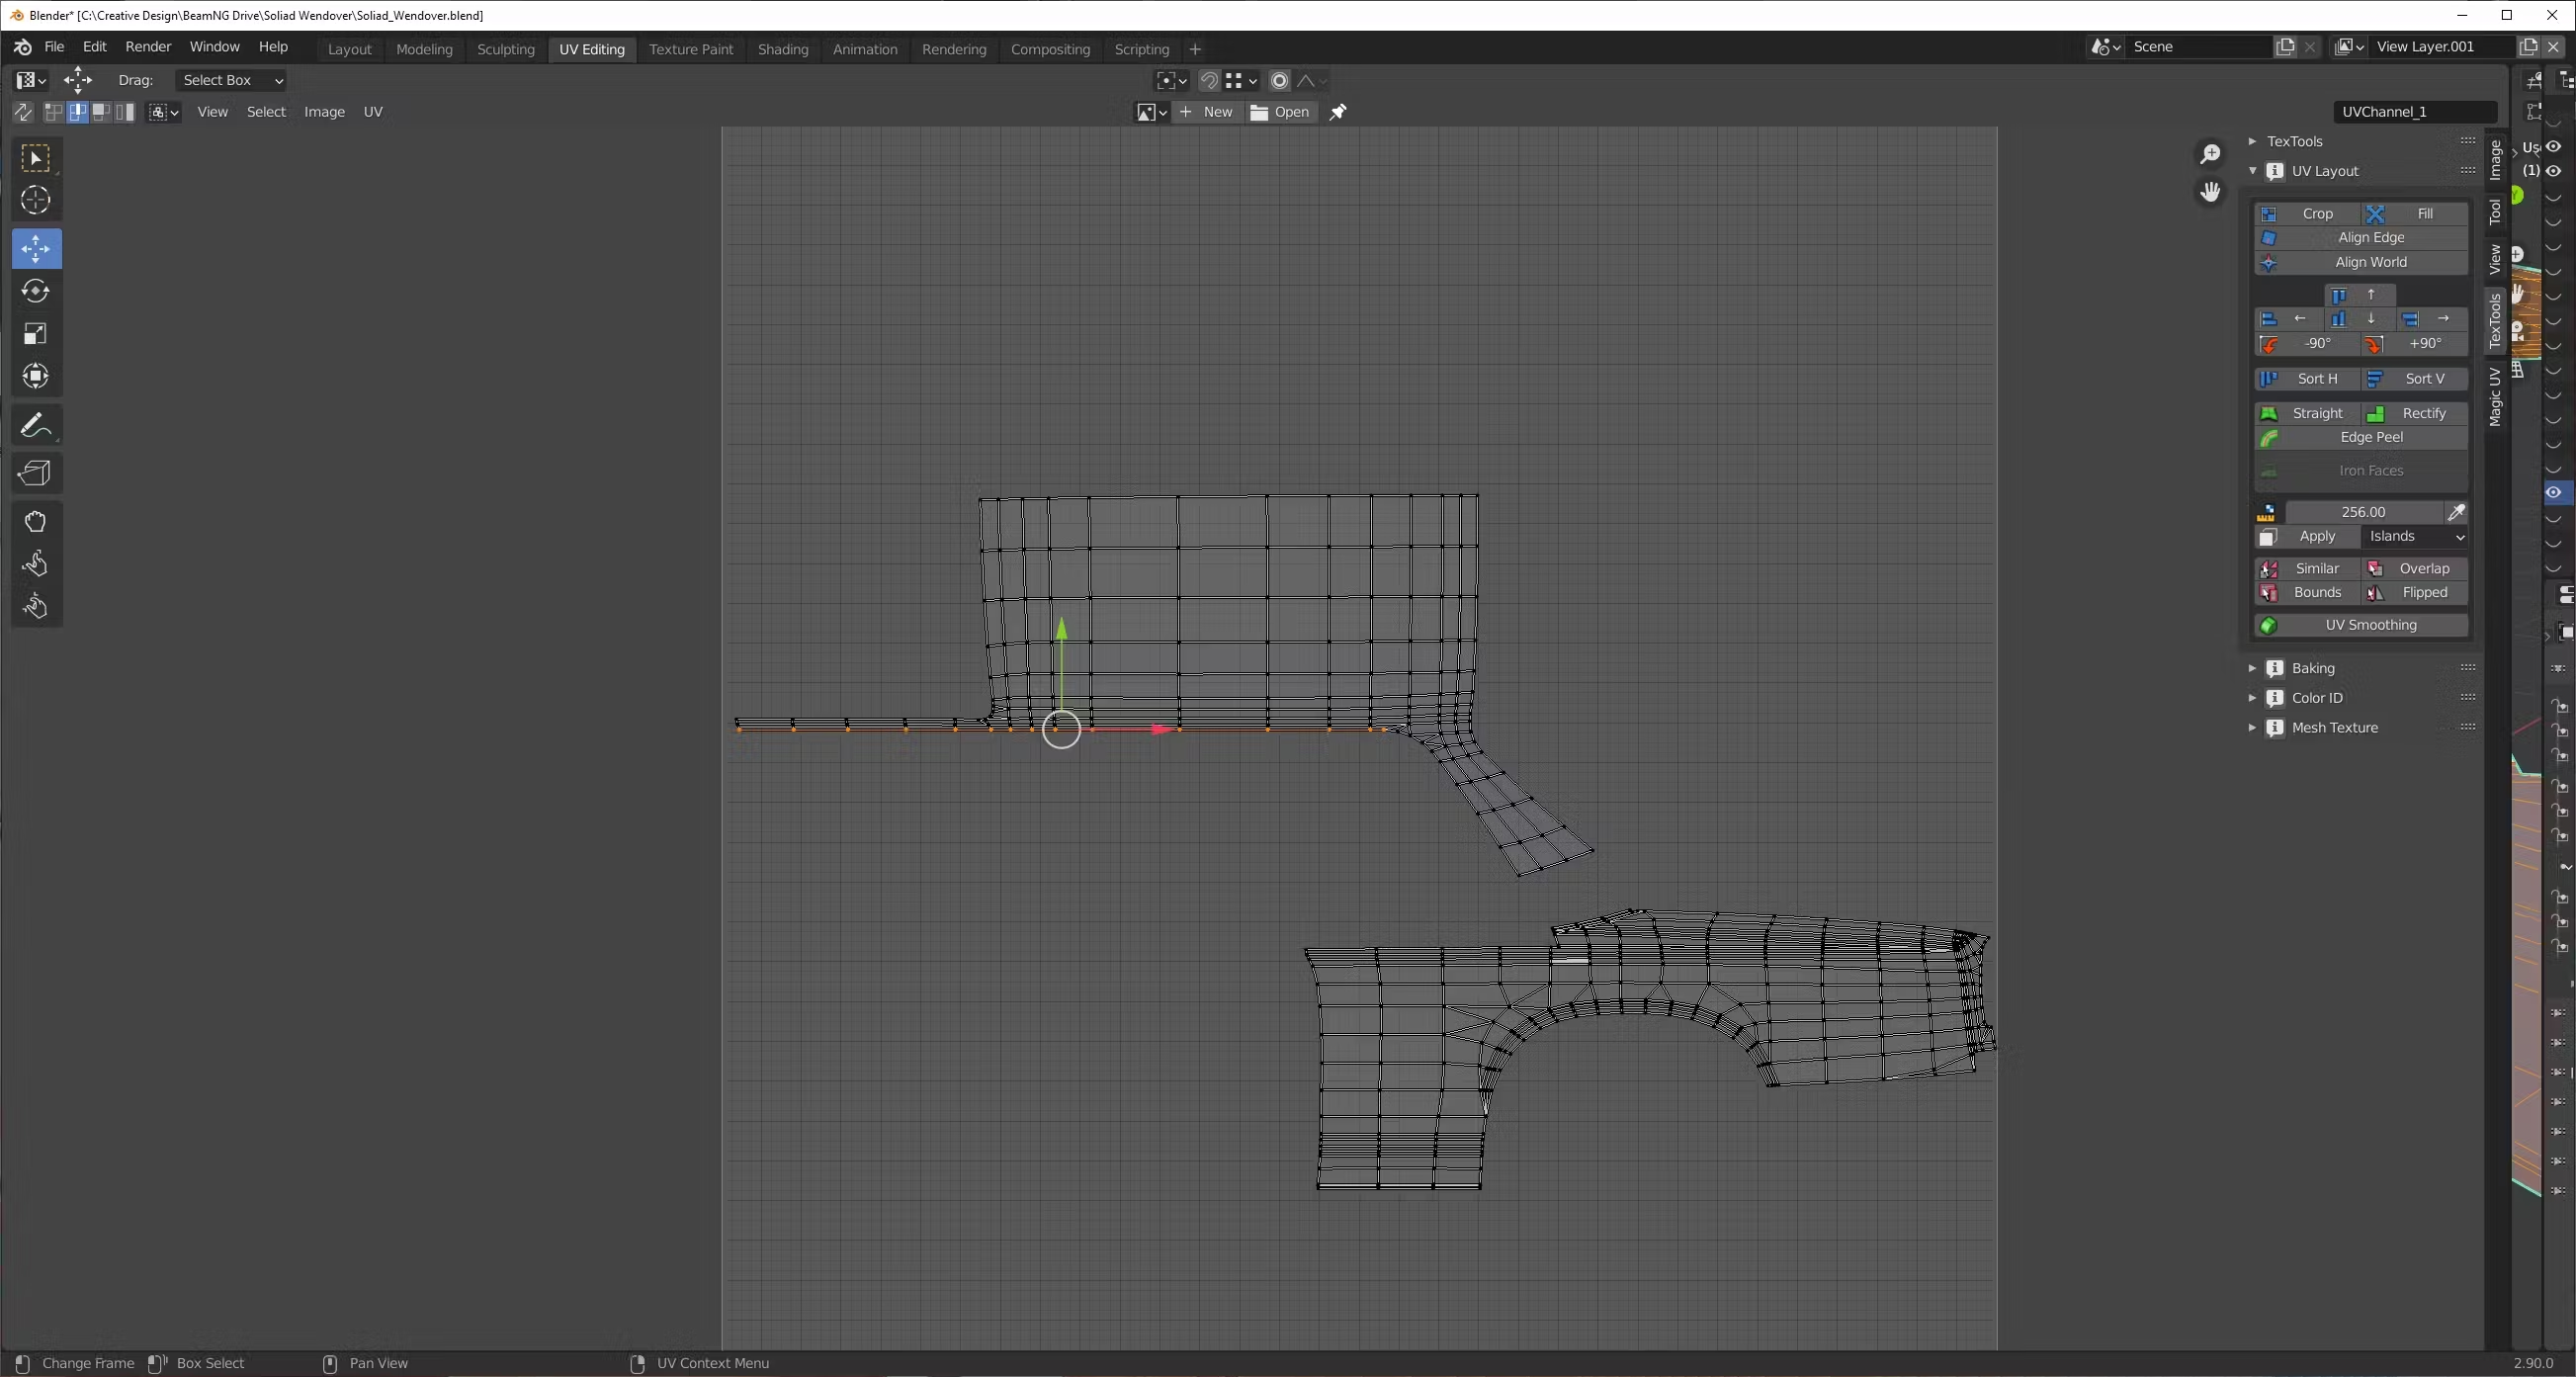
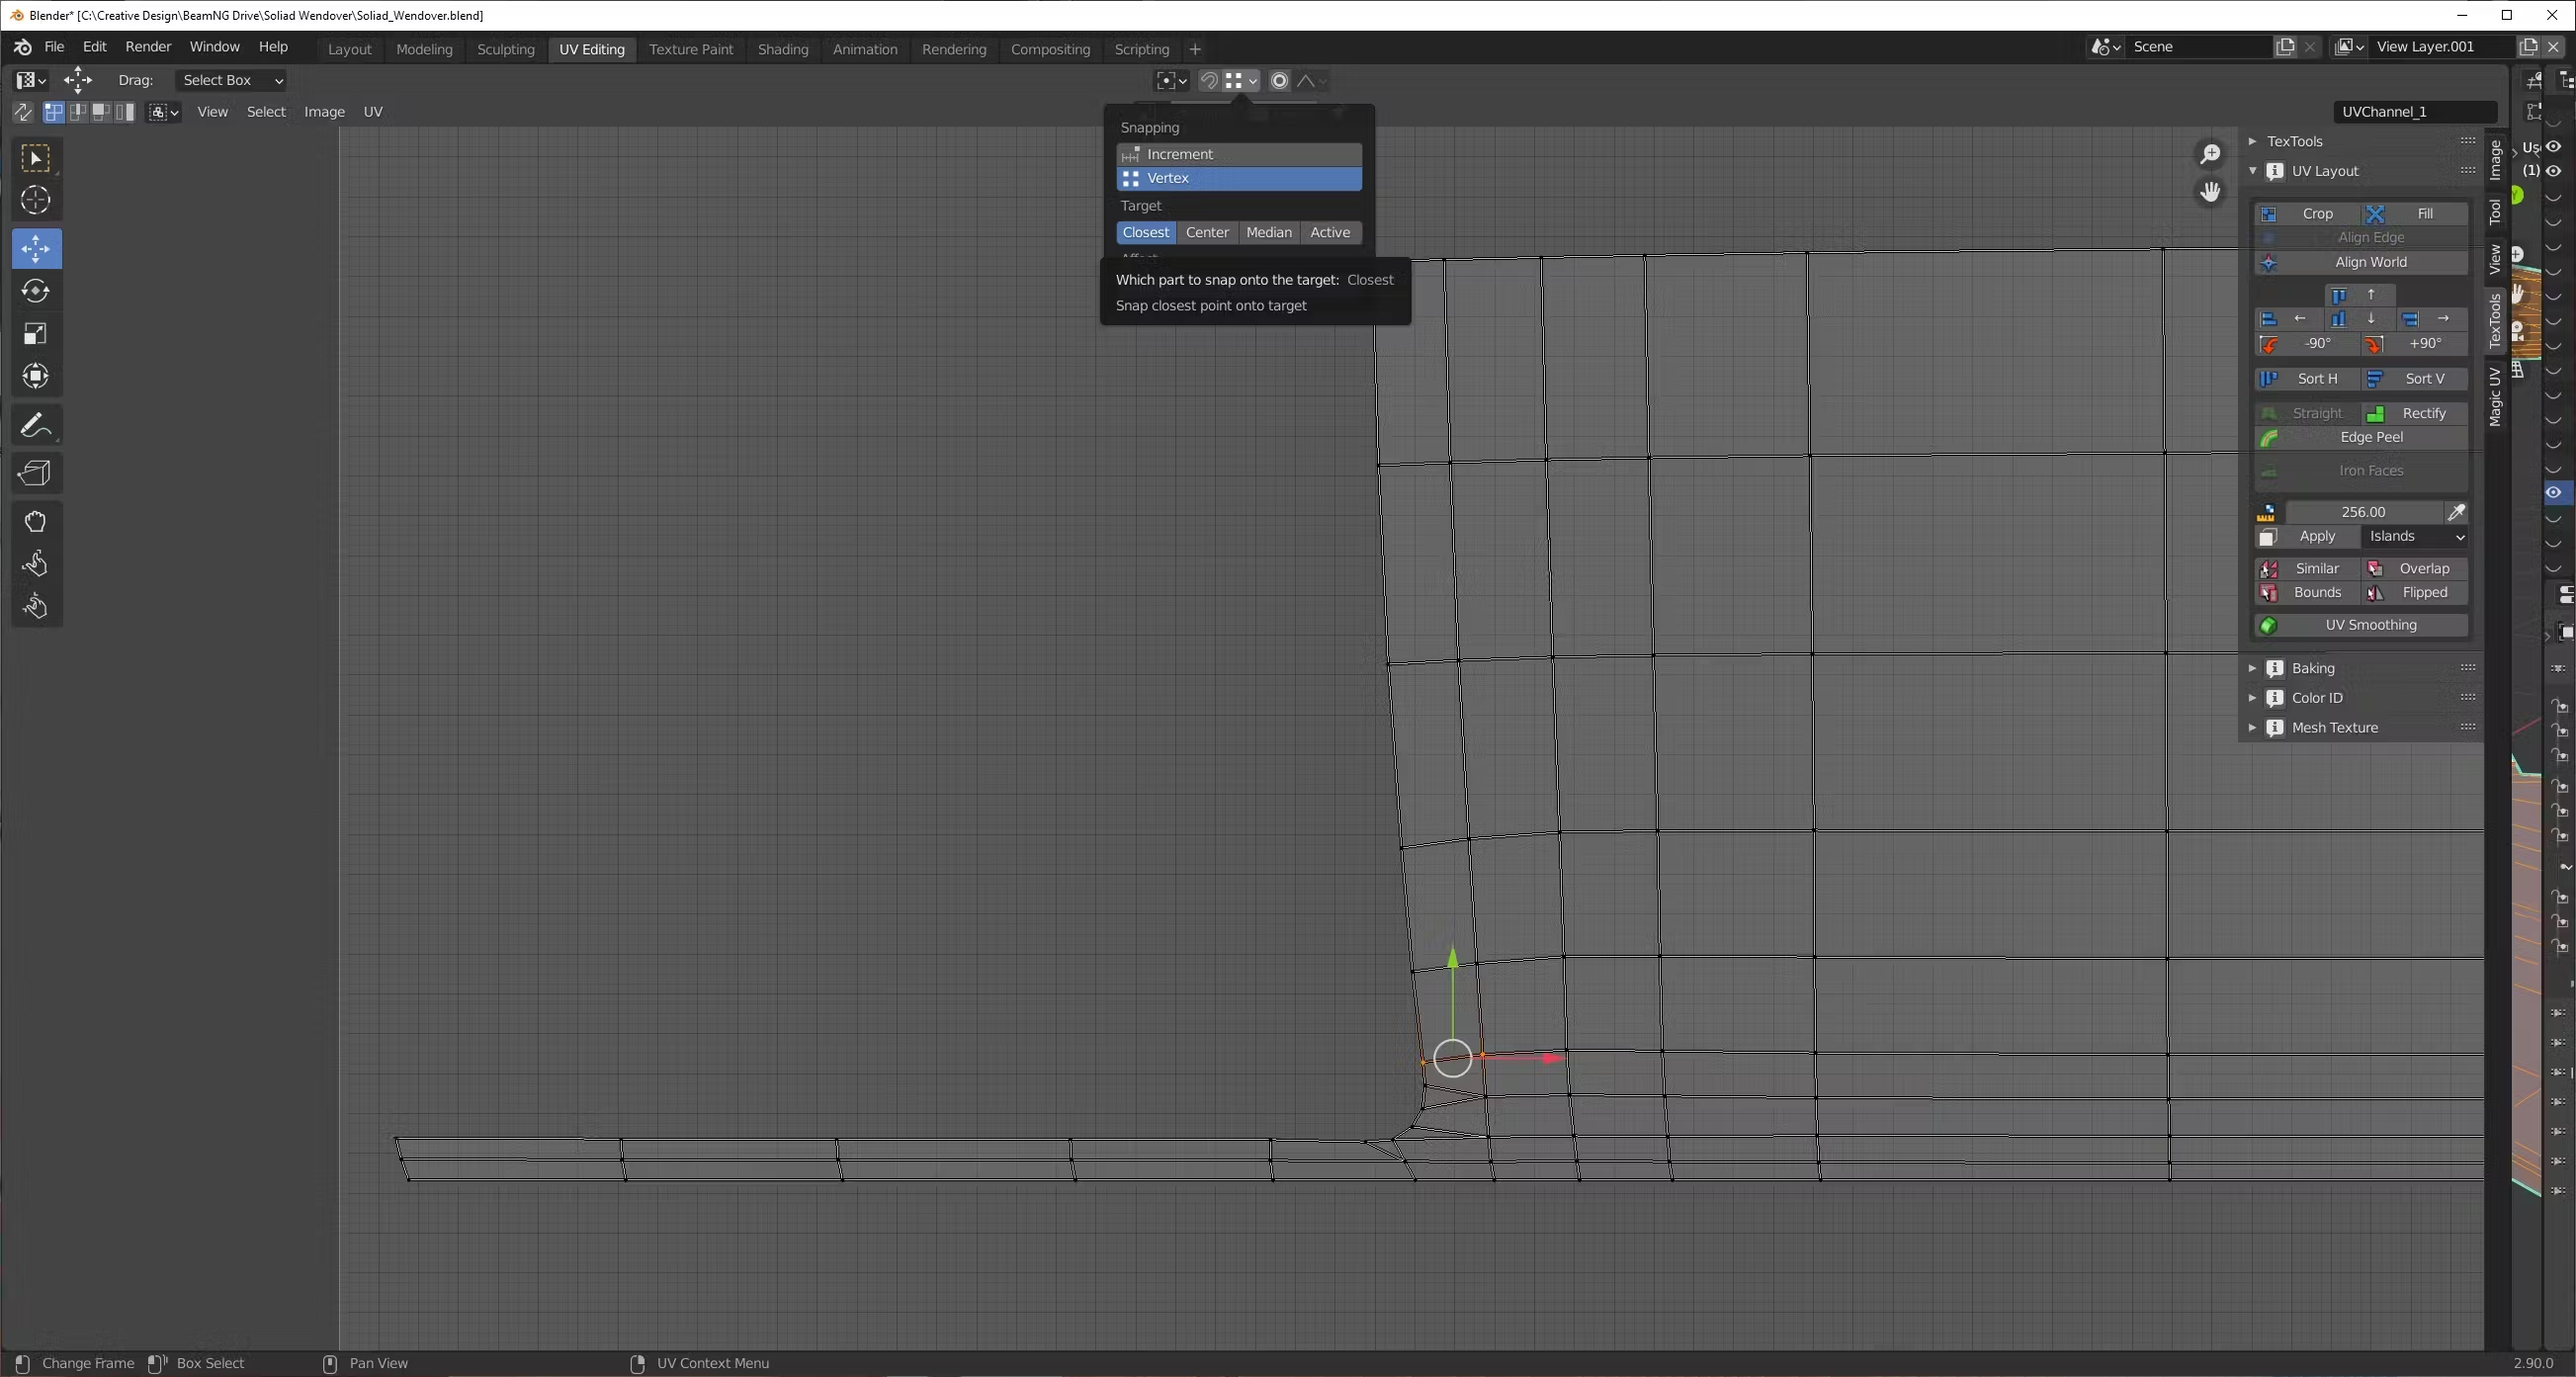
Using snap to closest feature starting to move vertices to straight line of the border.
Very important to move border vertex and inner vertex at the same time to save proportions of face and not distort future bevel.

Continue straighten with this border.

Next one.
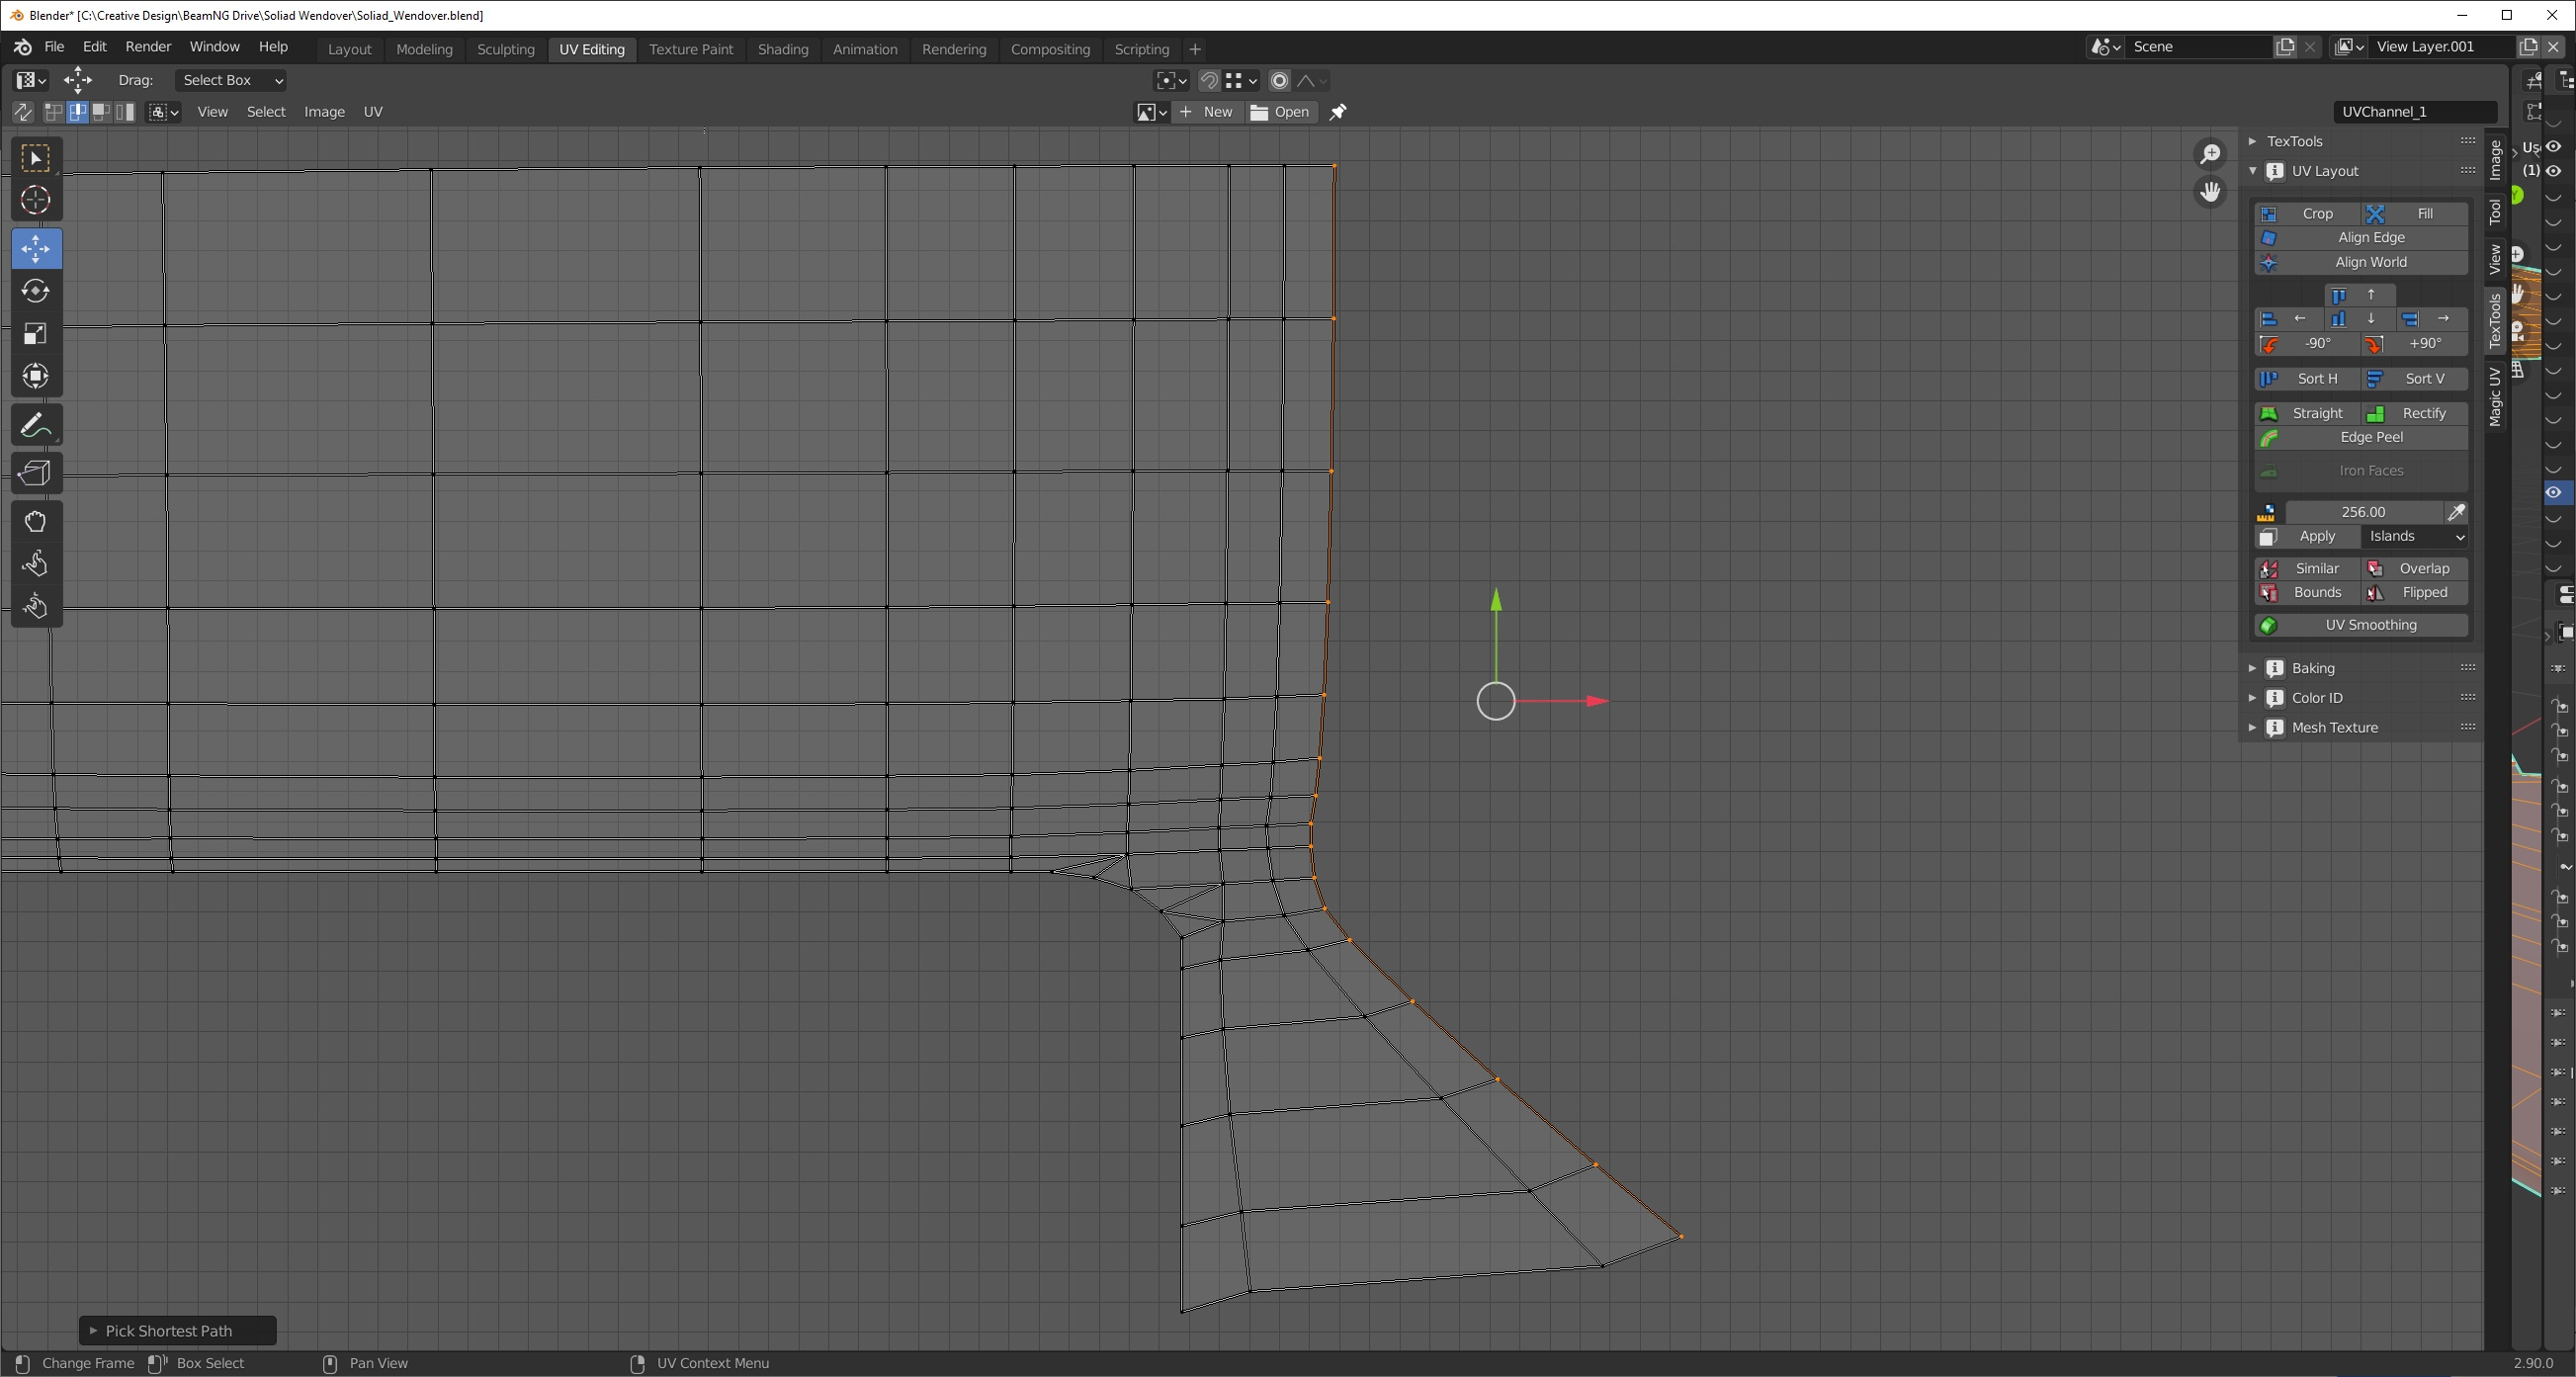

For this element, I split the borders faces, to easily straighten them.


Pinning the vertices that should not be affected by unwrap tool, remove UV seams from inner parts of the panel and stitching and unwrapping UVs together.
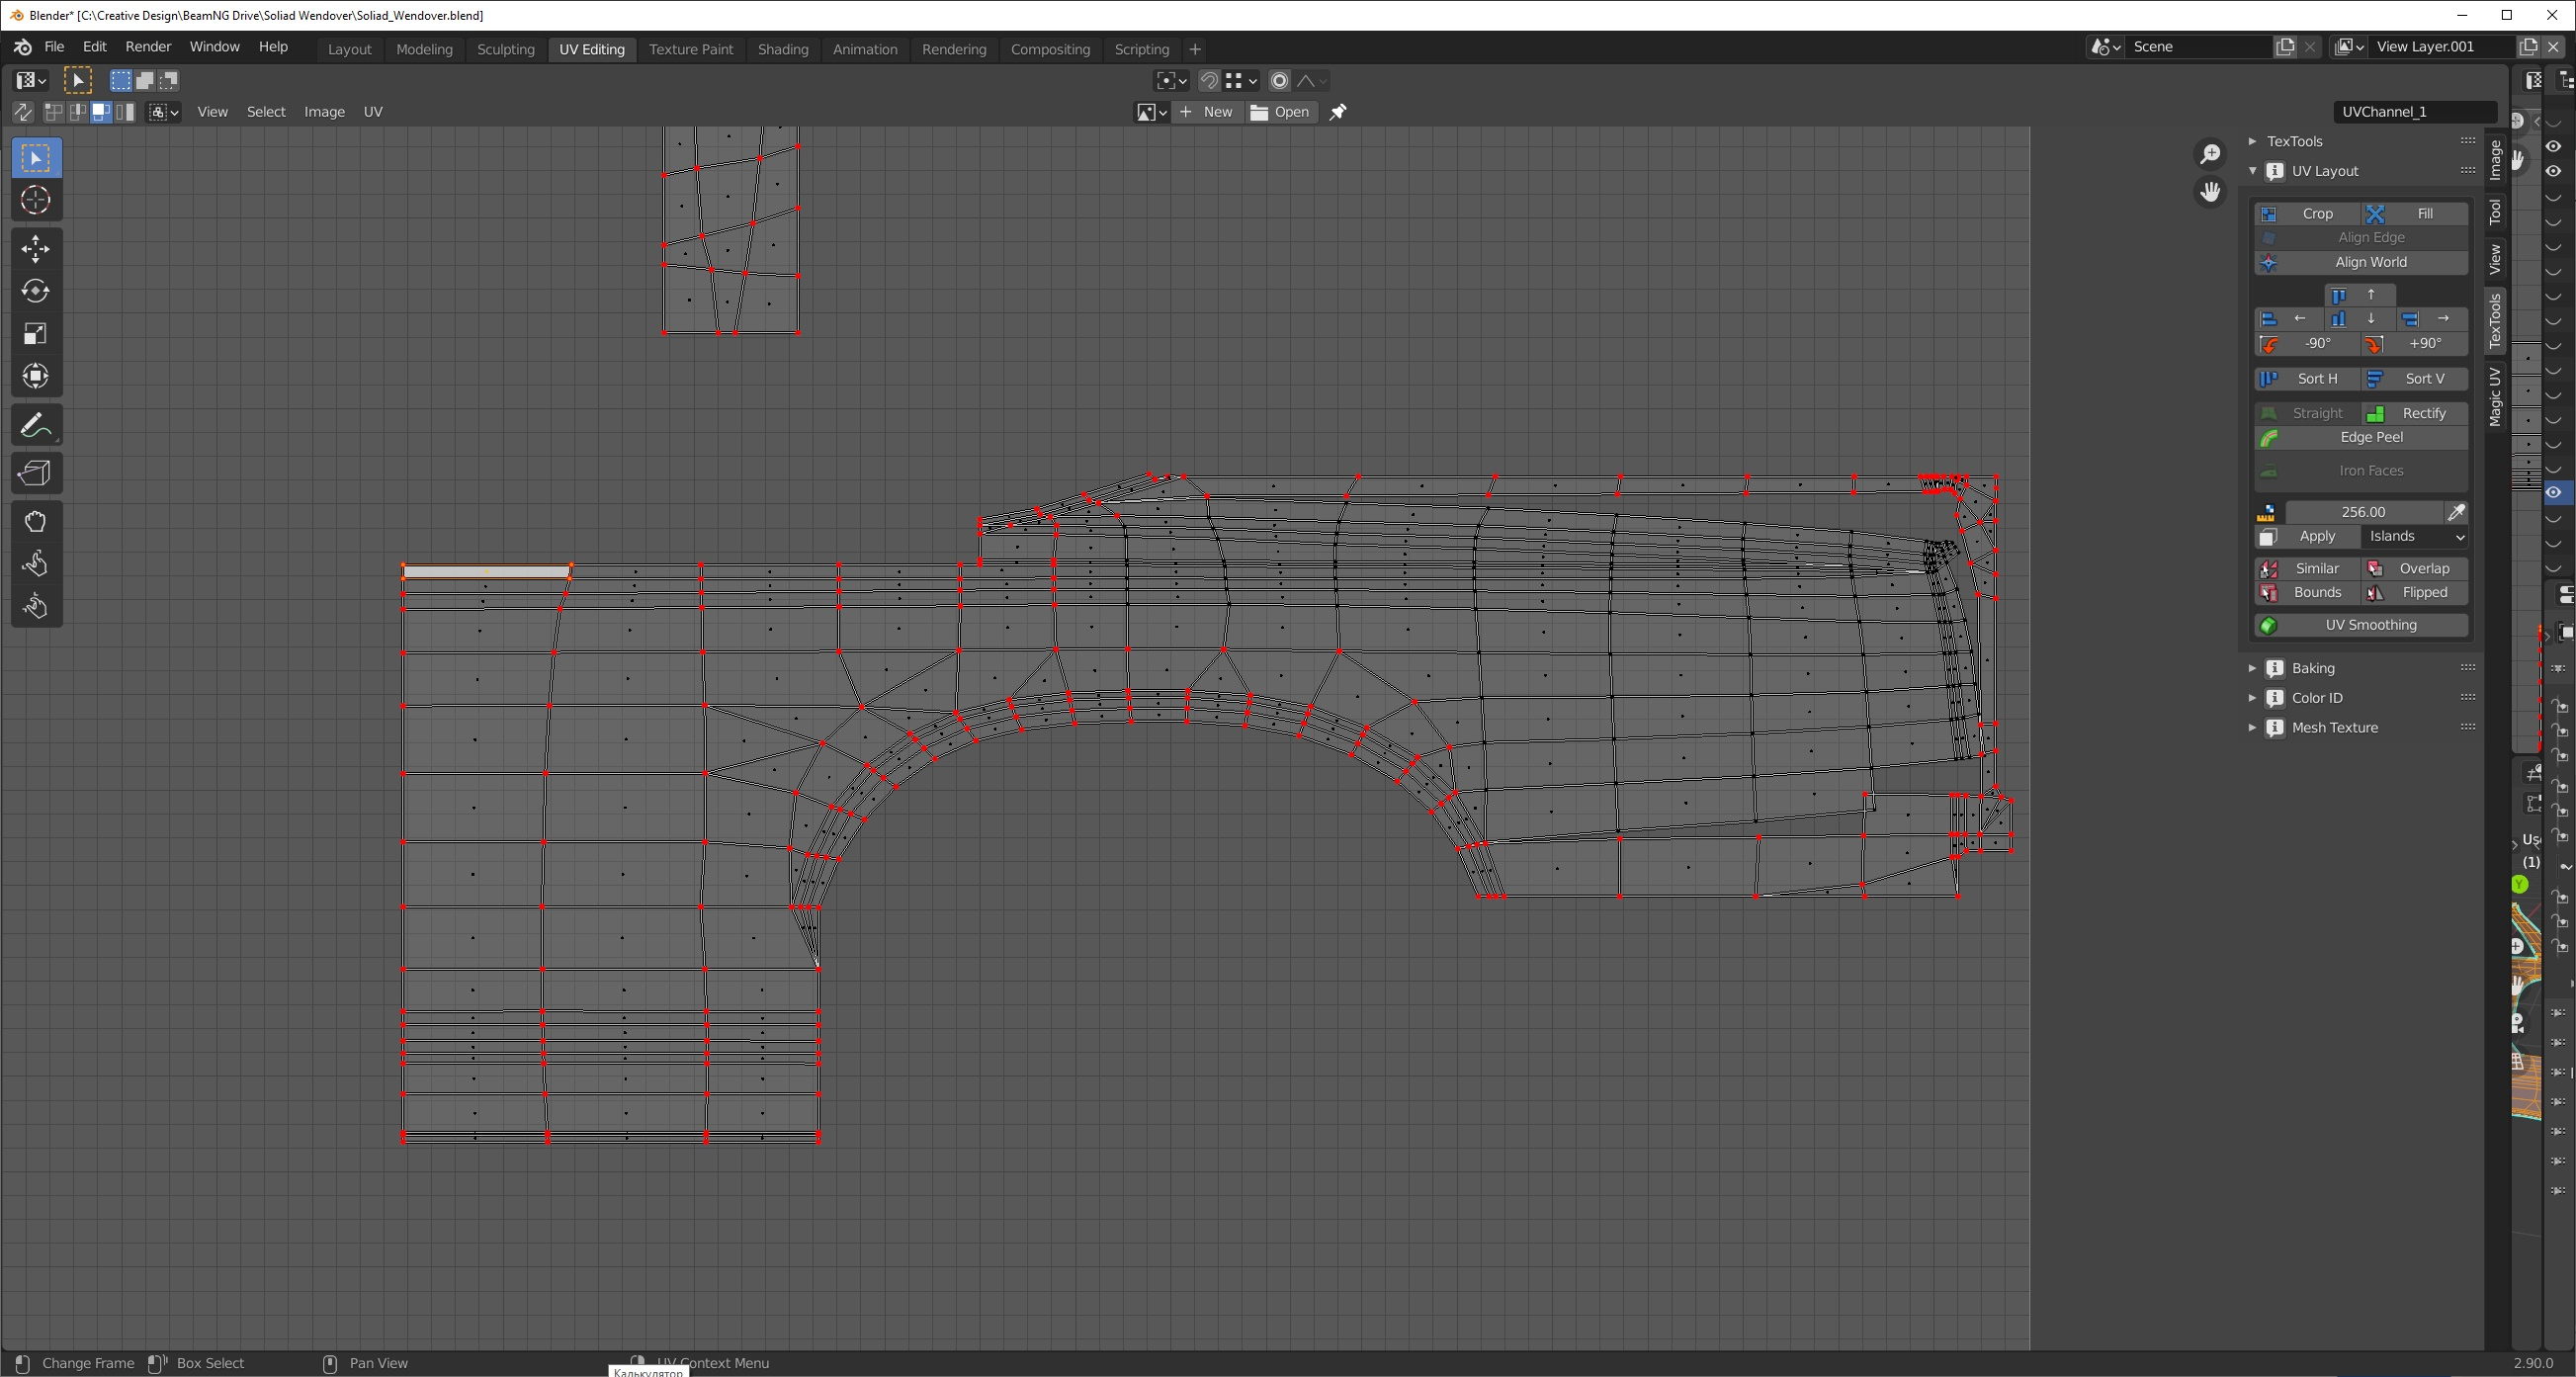
At this stage UV shells are straighten and ready, but for cases where you need to save space on the map you can shrink some straight parts of the shell that will no affect bevels.
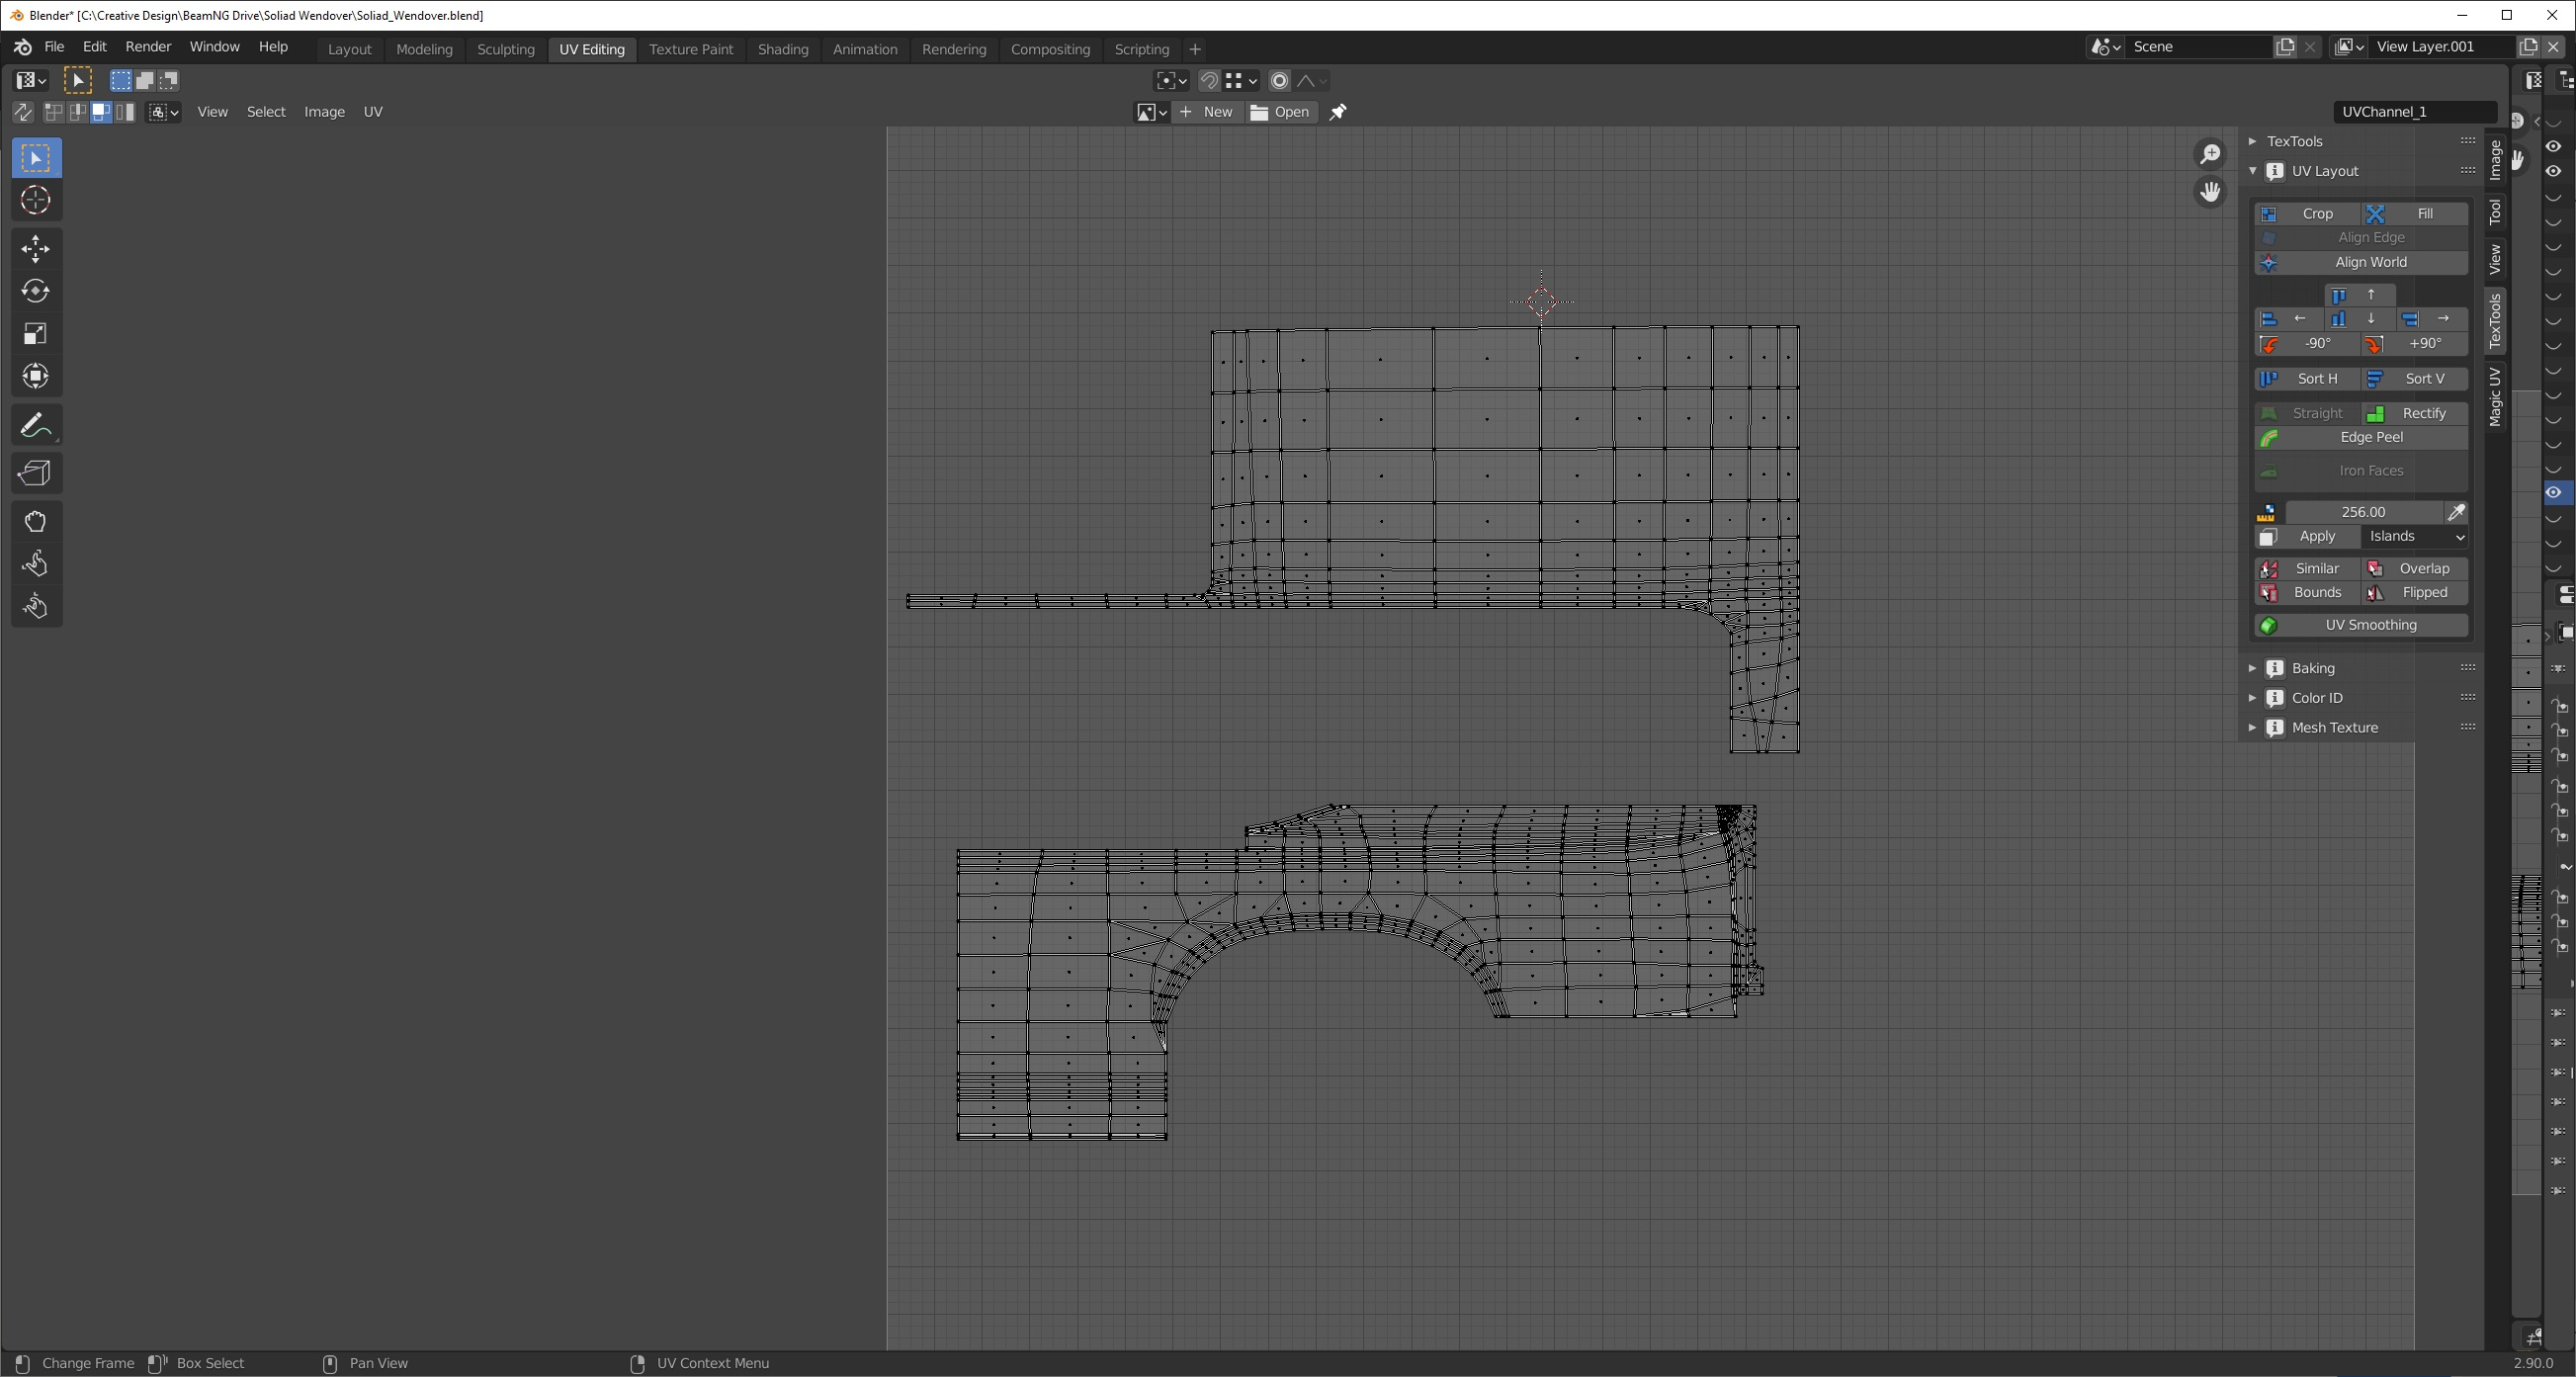

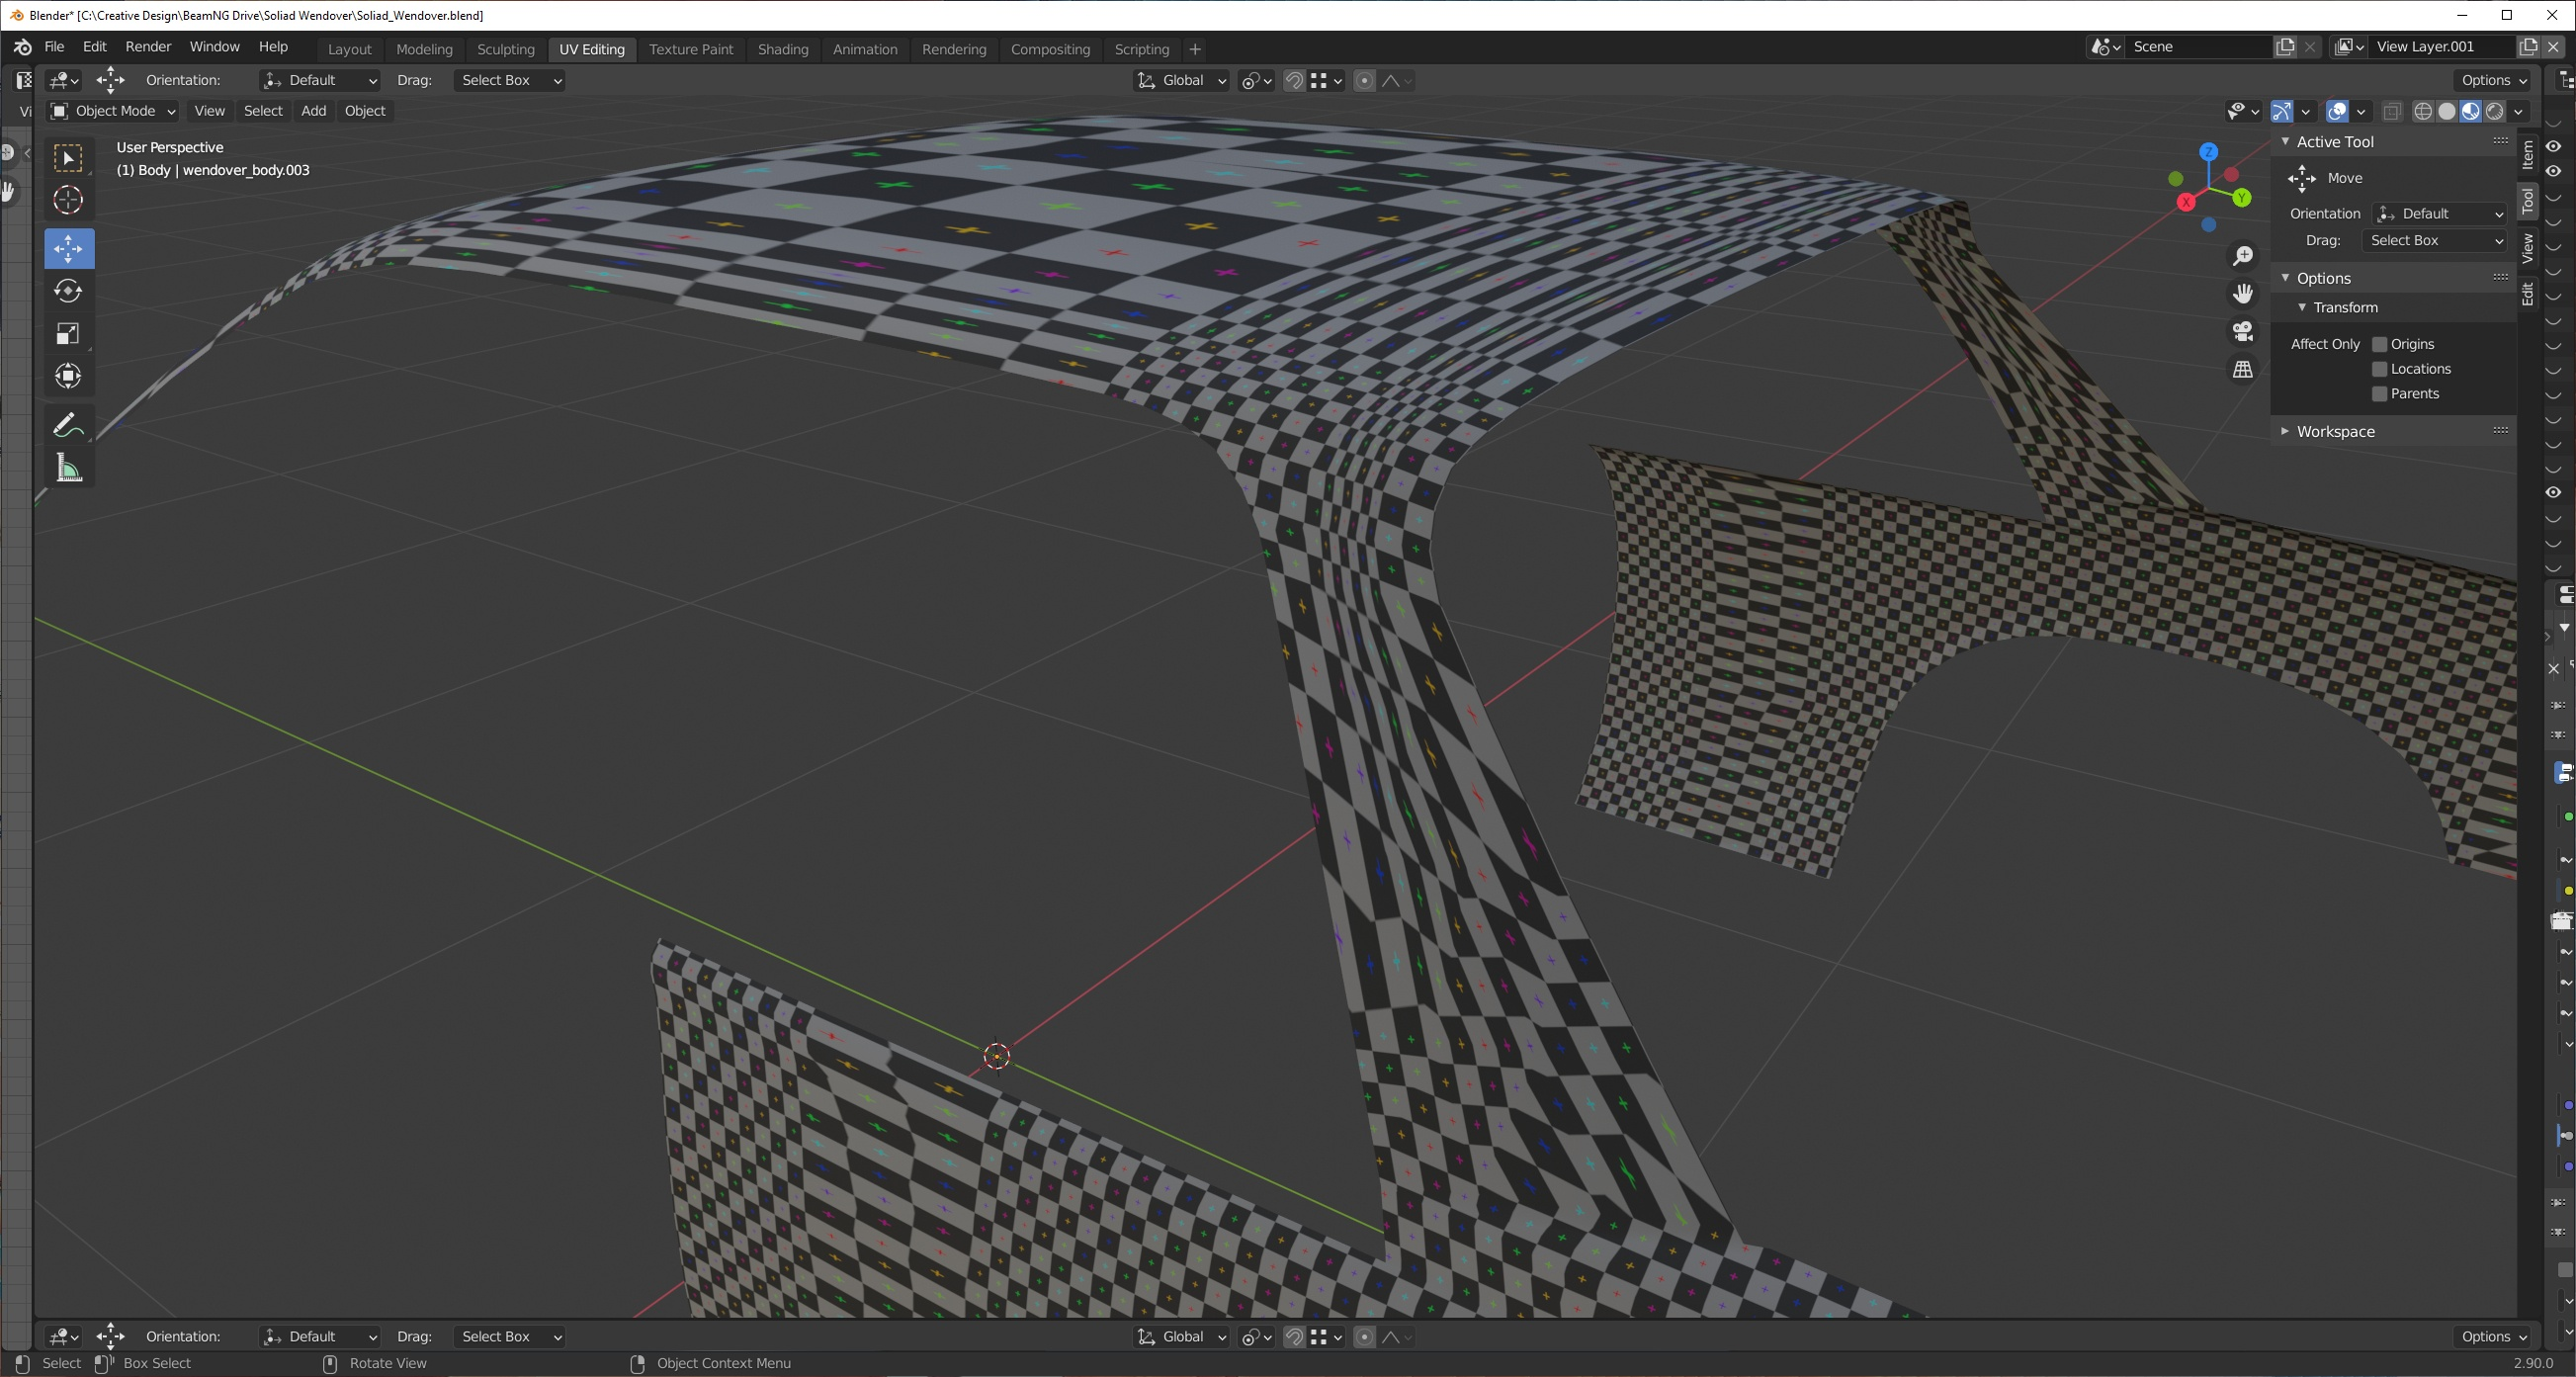
Stitching shells back to singe element

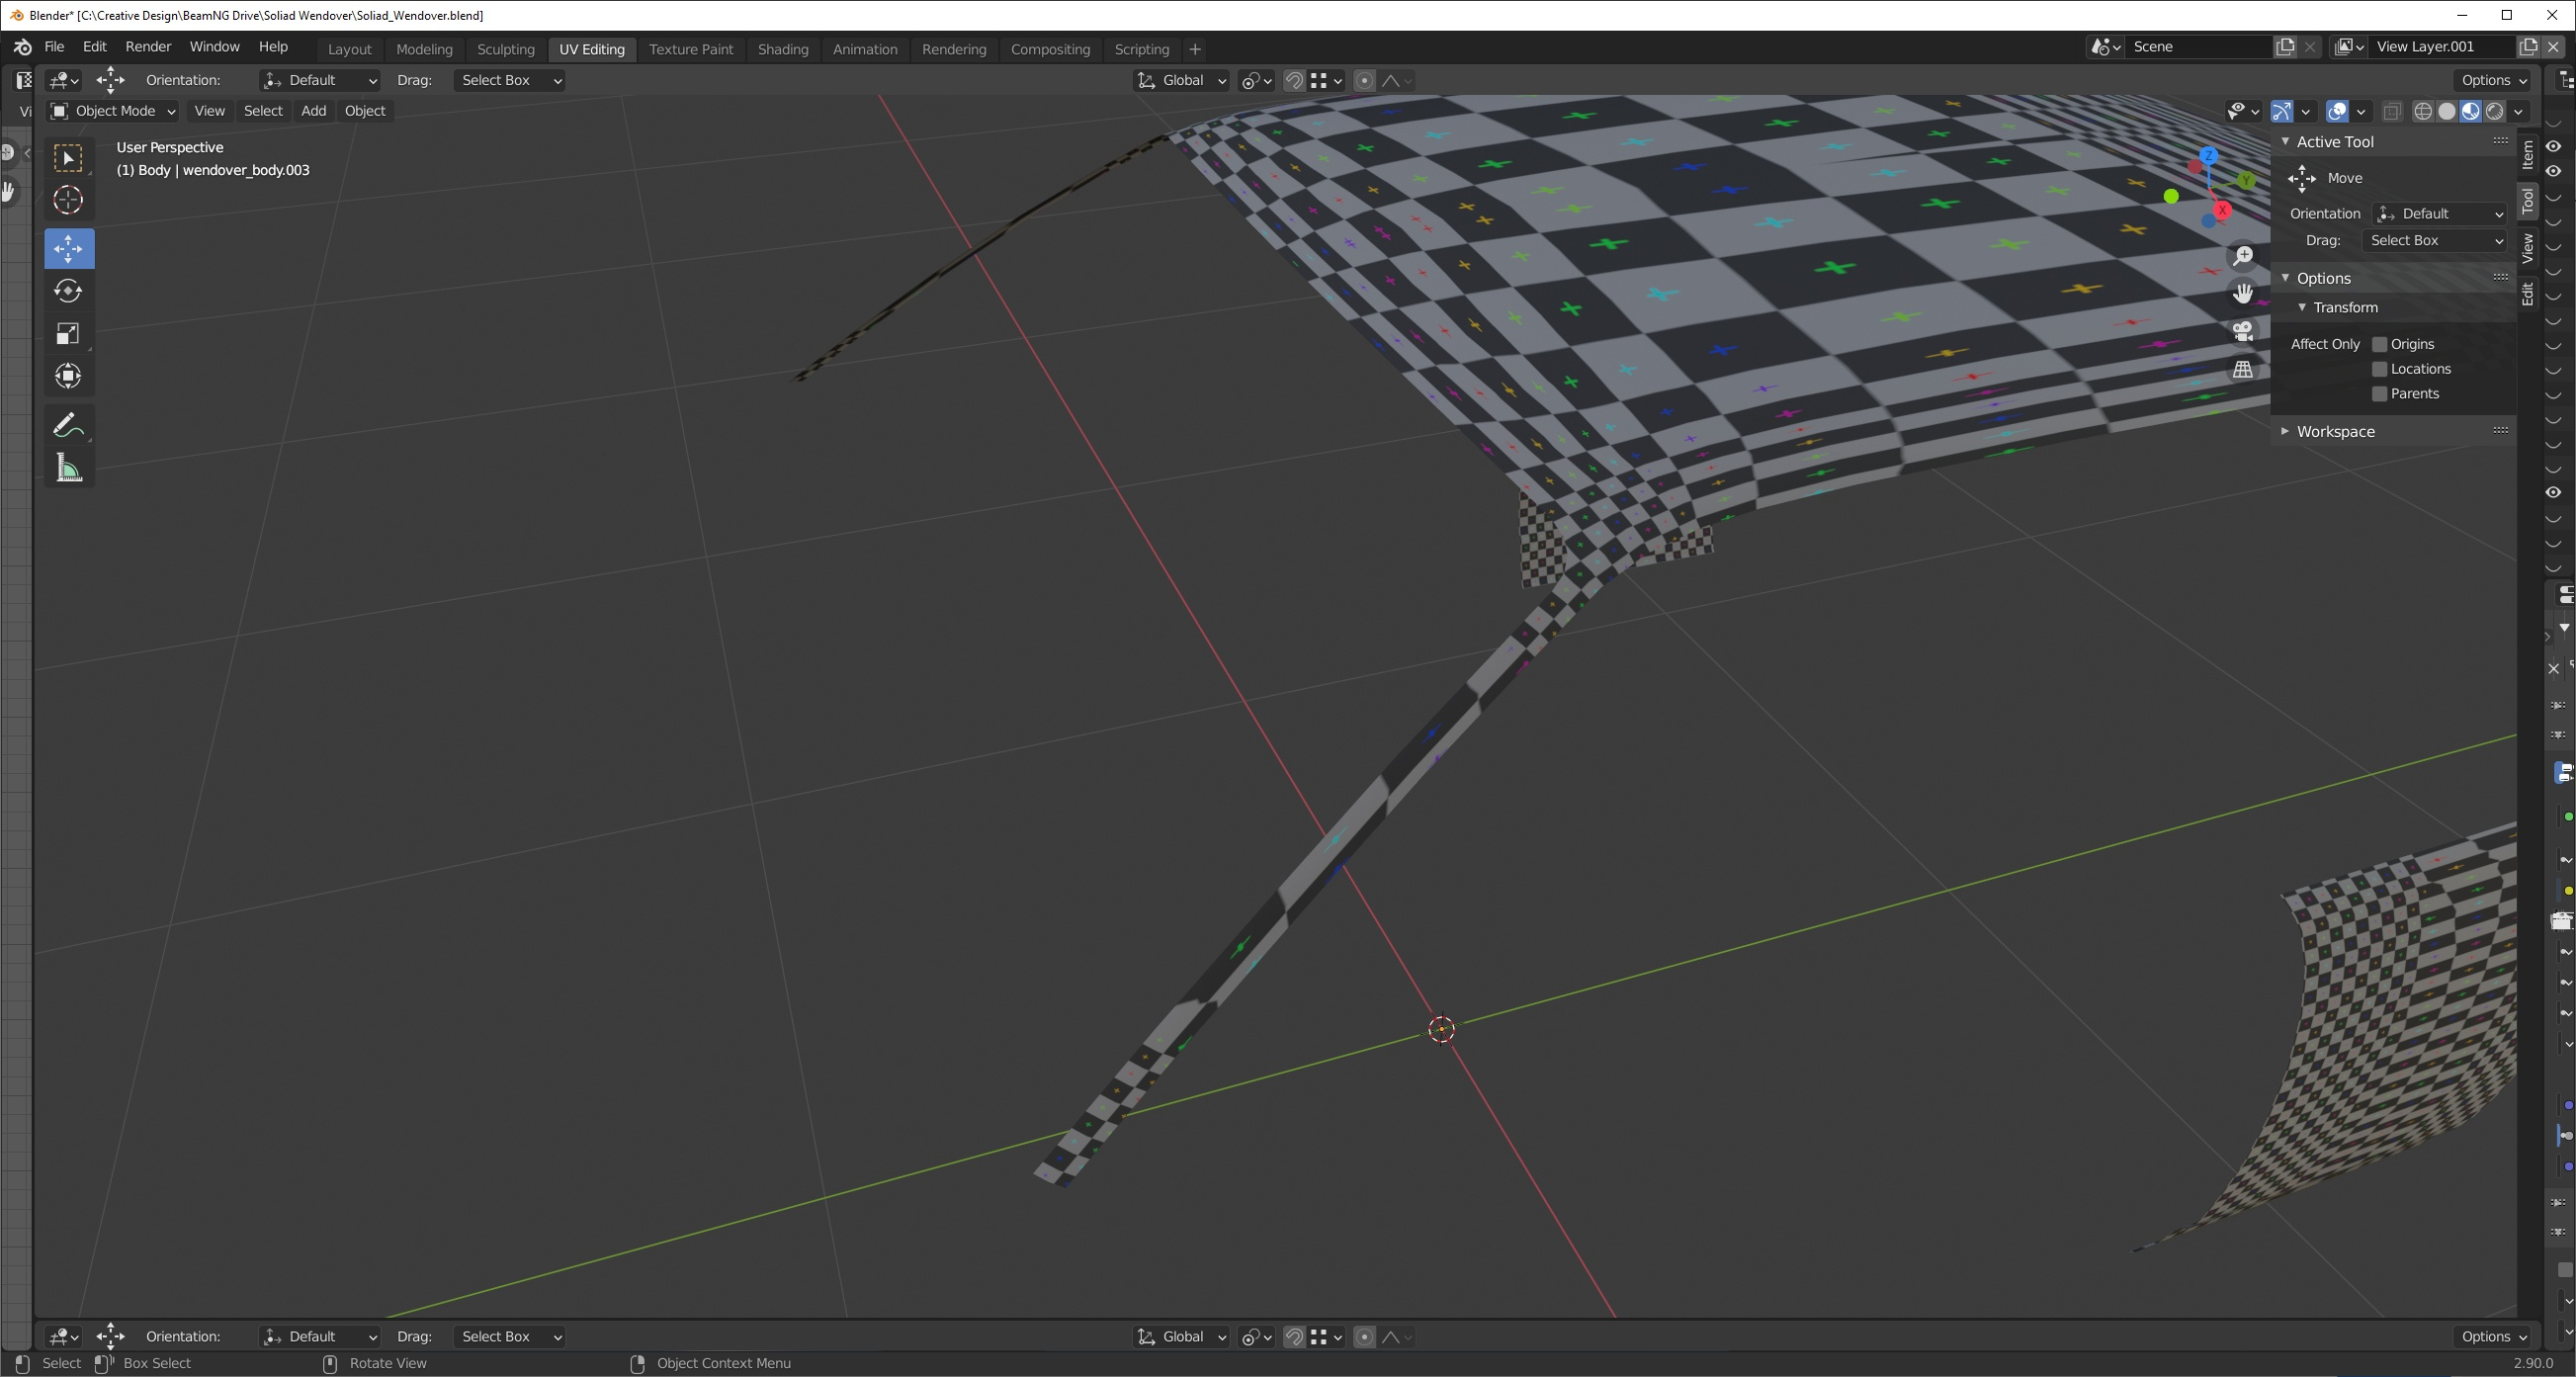
Checking UVs to make sure there is no distortions on corner faces and borders is straighten for bevels.


Was this article helpful?
