The editor has various detailing options for making roads more realistic. This involves the inclusion of various types of mesh structures in a procedural way. The image below shows an example of a road which has been detailed in such a way.
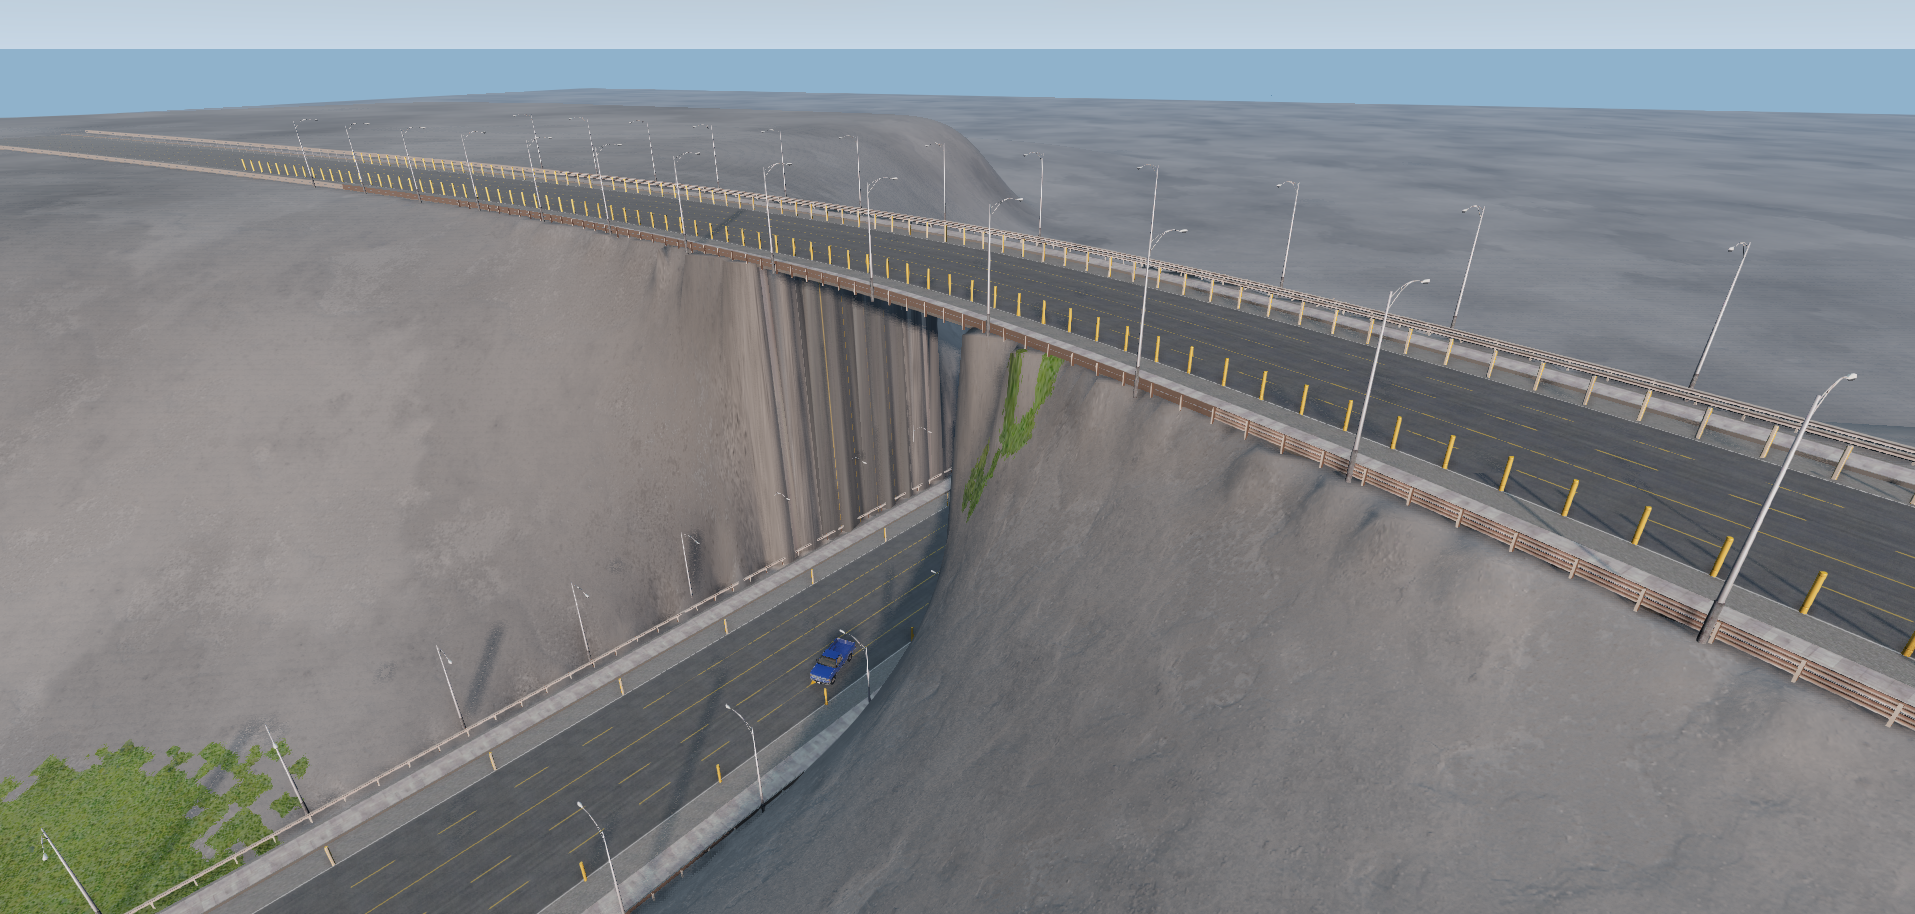 Road With Verious Static Meshes
Static meshes appear for various lane types, such as lamp posts, crash barrier, fence etc. This are discussed below. Various options to control these can be found towards the bottom of the Road Edit Window, with which the user can control the appearance/position/frequency of the different meshes. The image below shows a road with various lanes representing static meshes.
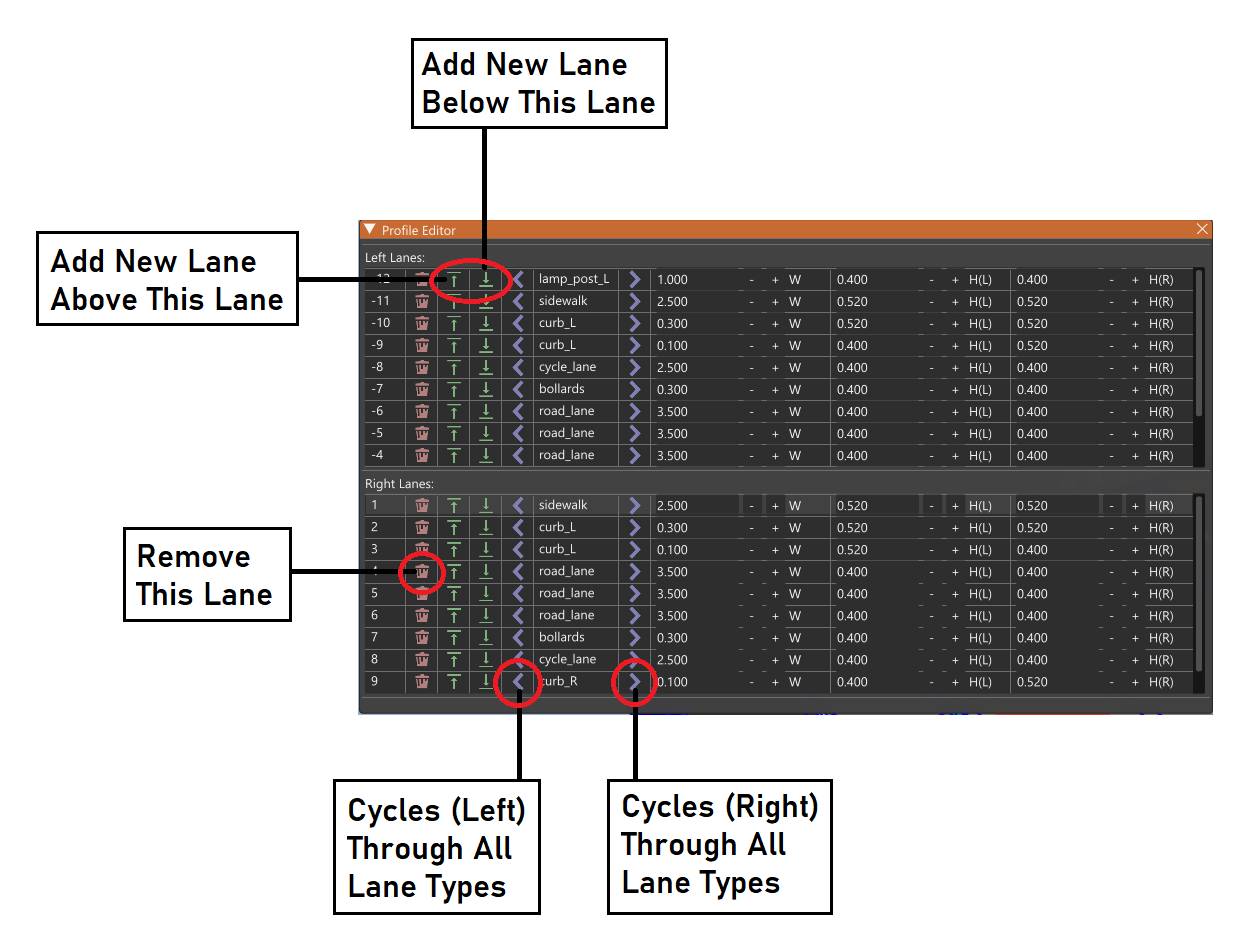
In the Profile Edit Window, the user can cycle through lane types and/or add new lanes of different types into the profile.
An example of a road with static meshes is shown below, in both Edit and Finalize mode.
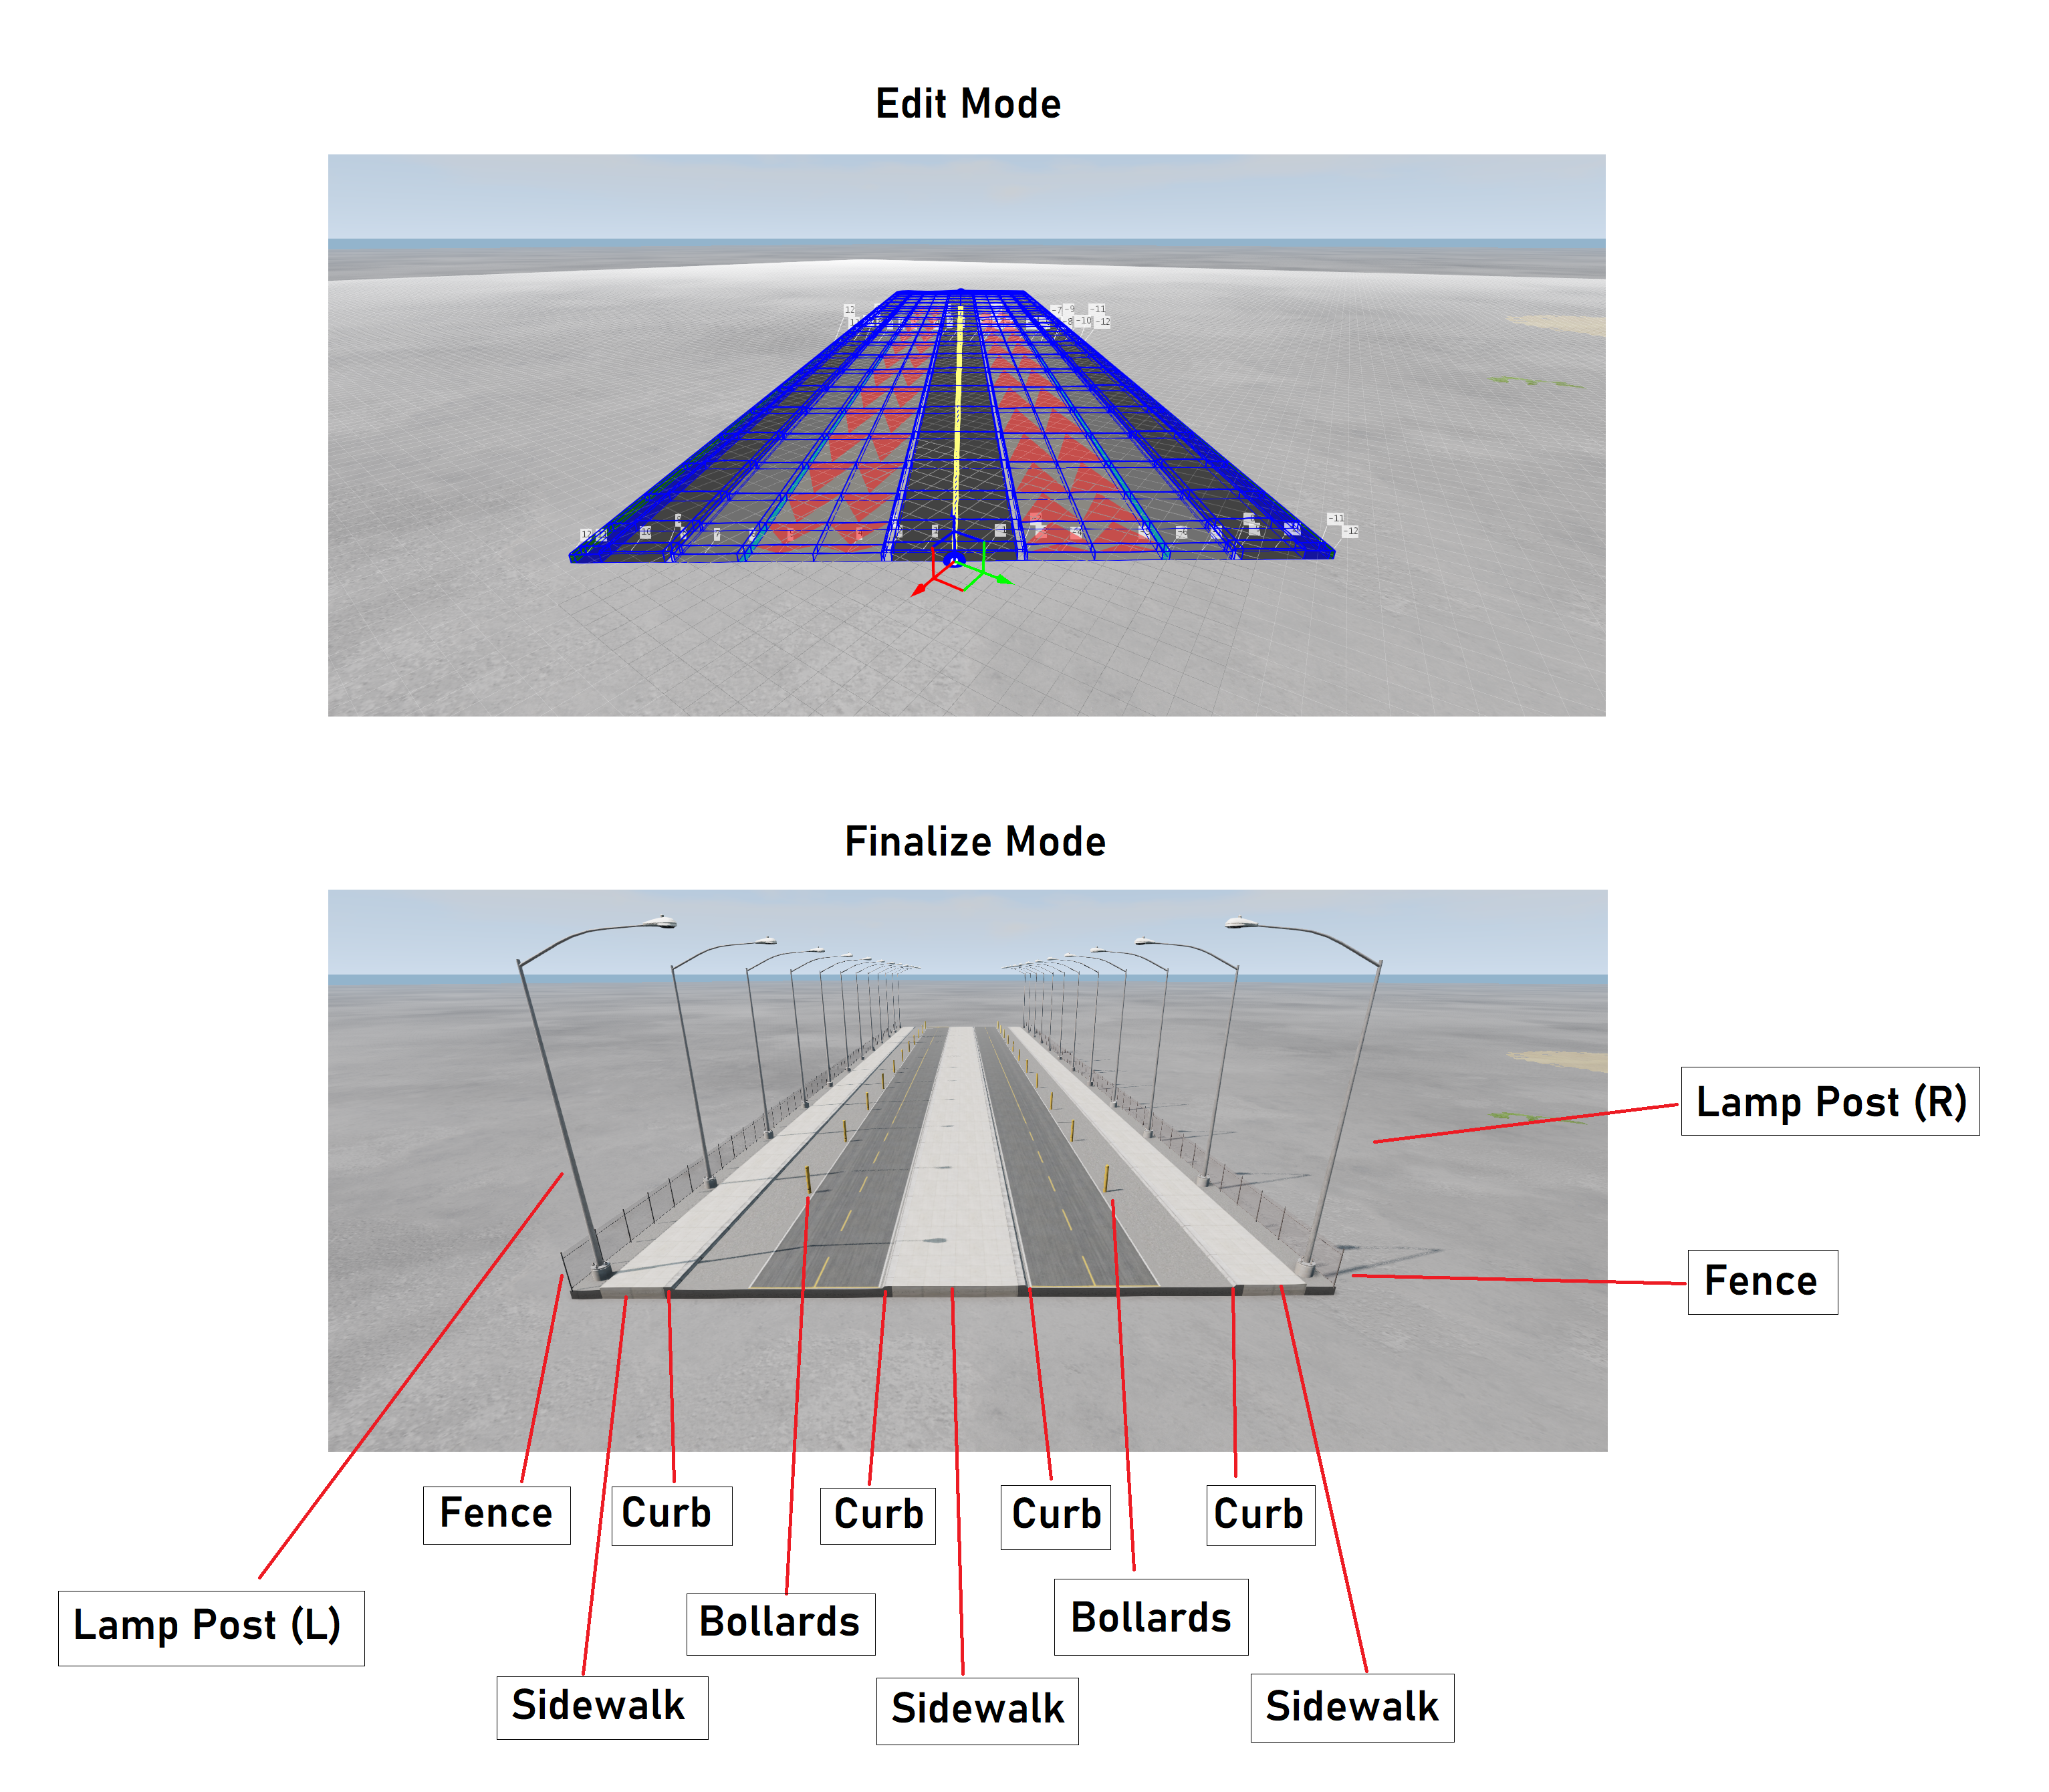
Note: The static meshes will appear only when the road is in Finalise Mode. They will not be visible during editing. To tweak the parameters, the user will have to switch between Edit Mode and Finalise Mode until suitable values are found.
The options for the various classes of static mesh which the editor supports, are described below:
Sidewalks:
Roads can have sidewalk lanes which can be placed anywhere on the lateral road profile. They work like many other types of lane such as cycle lanes. In Finalise Mode, a mesh structure will appear on the lane. Sidewalks can be raised from the road height and used in conjuction with curbs (see below).
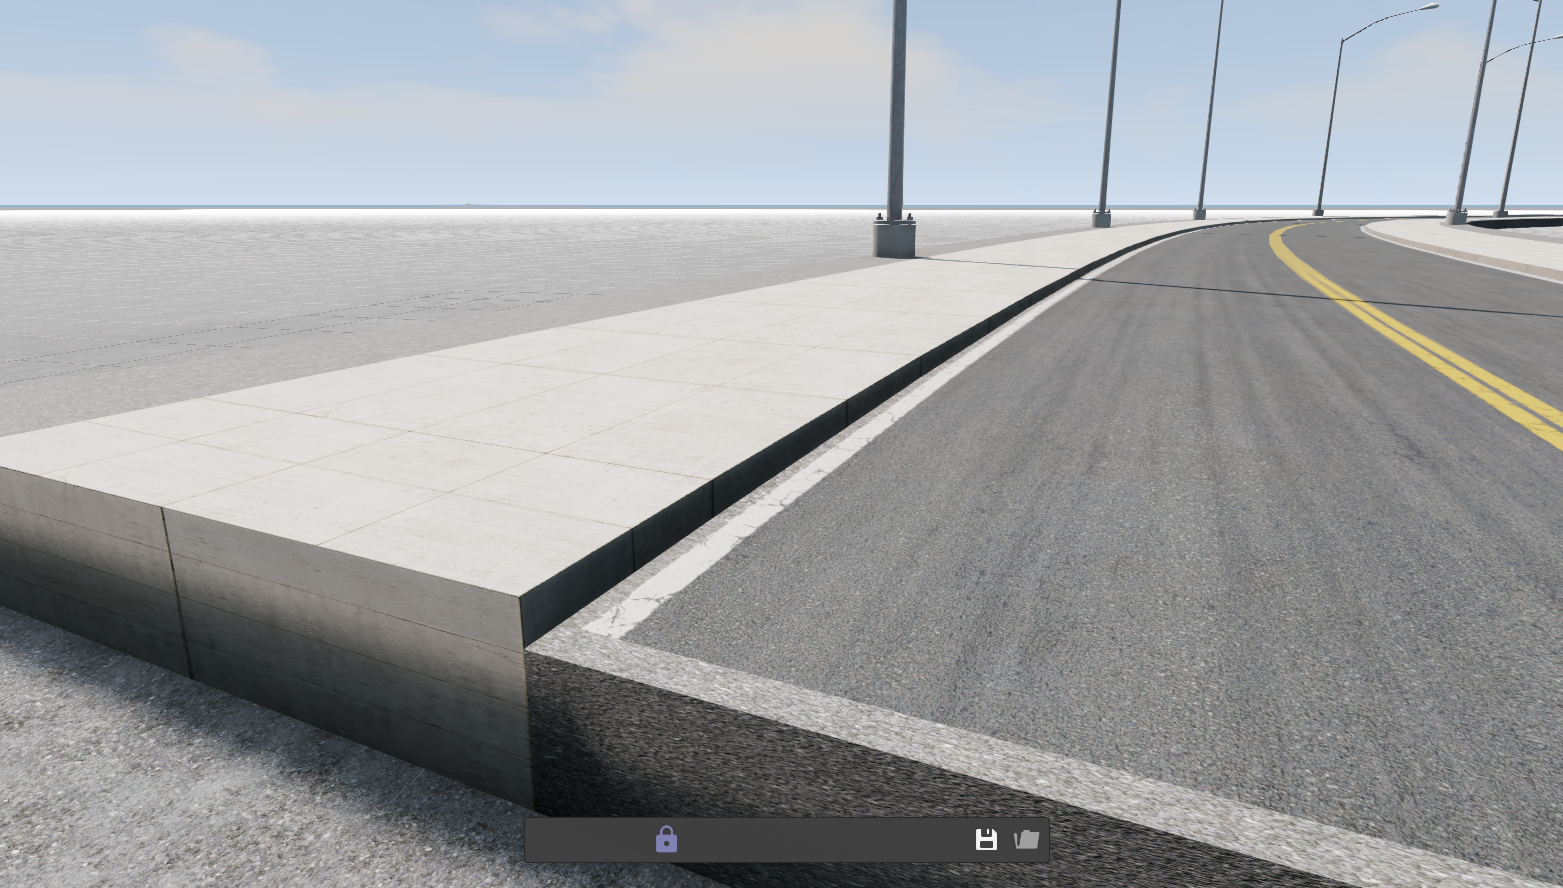
Curbs:
For raised sidewalks in particular, curbs add a special edging detail to create a border. Curbs use special UV-mapping, and must be created in a special way (when compared to other detailing types in this section).
The image below shows a typical example of how to build Sidewalk - Curb - Road sections, and this can be found in many of the pre-made lateral road profiles in the editor. There are left-sided and right-sided curb lanes available in the list of lanes, and each curb section should be comprised of two adjacent lanes of the same type (either curb_L or curb_R). This is because curbs have a top facing section and a slope section (or ’top part’ and ‘slope part’ as in the image). There should not be any other lanes in between these two.
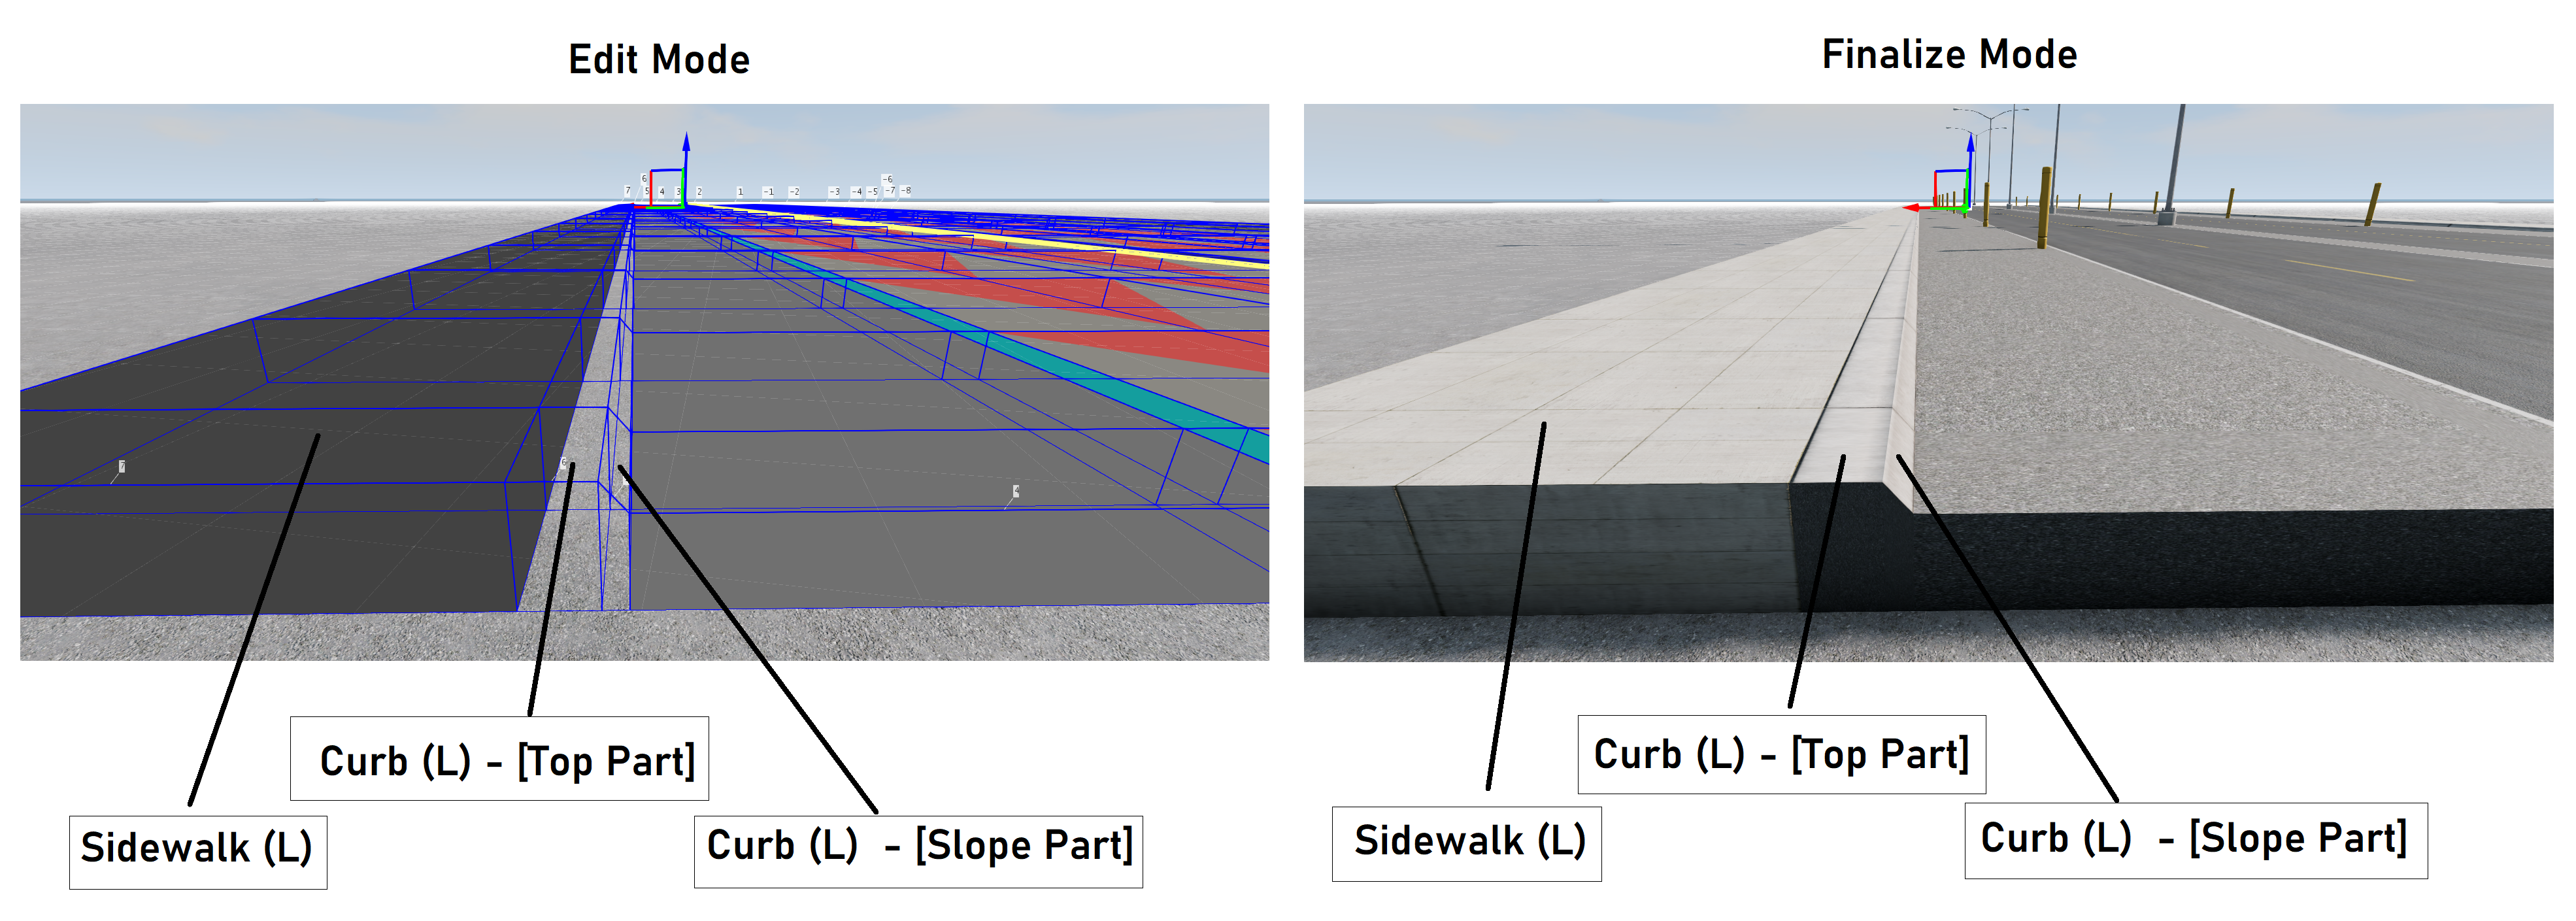
The user can design the shape of the curb, but should not attempt to stretch the faces too much or the curb will not render optimally or produce unwanted effects. We recommend for the height and width of the slope part to be around 0.12 meters.
For example: on the left side of the road (negative lane numbering), the typical sequence (from low to high numbers) would be Sidewalk -> Curb_L -> Curb_L -> Road_Lane, and on the right side of the road (positive lane numbering), the typical sequence (from low to high numbers) would be Road_Lane -> Curb_R -> Curb_R -> Sidewalk. The user is free to change this somewhat, such as replacing road lanes with cycle lanes, and can also create road islands by using extra curbs of the opposite faces (together with a sidewalk) and adding them to the central lanes of the road profile. Please see the pre-made lateral road profiles for some inspiration.
Lamp Posts:
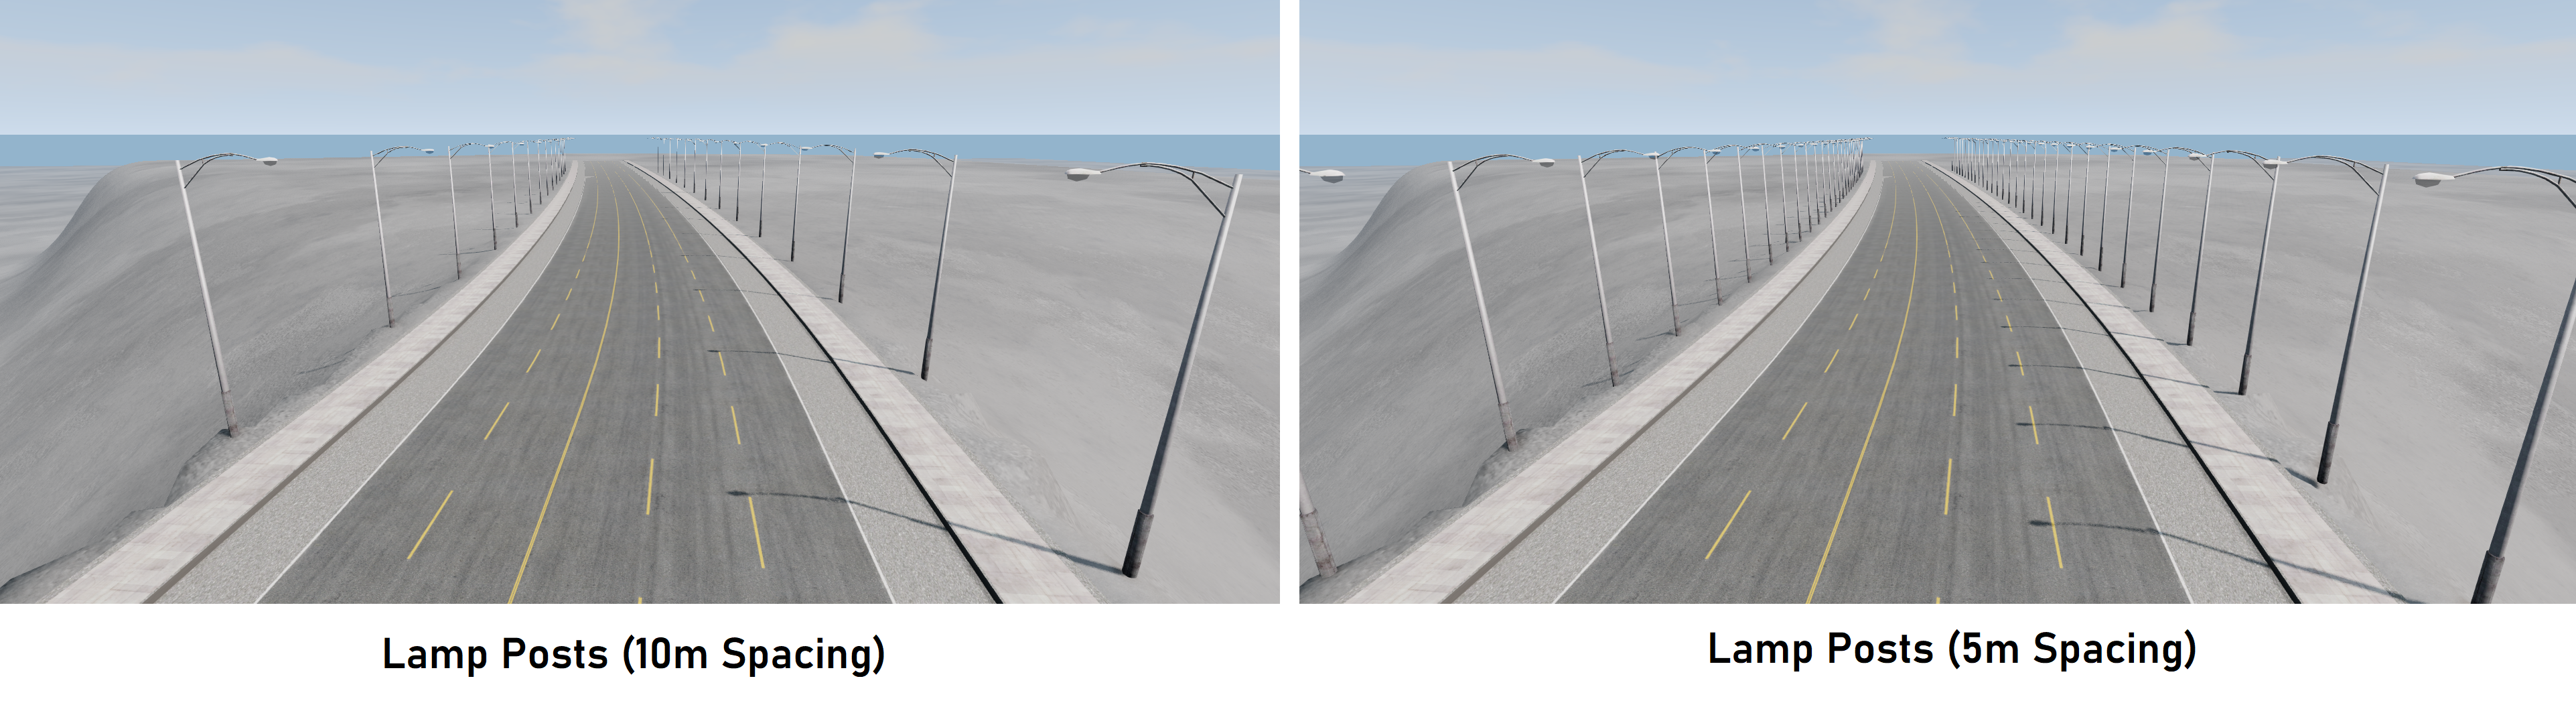 Lamp Posts With Various Spacing
The following parameters can be set for lamp posts:
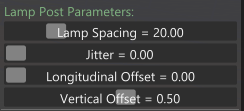
Lamp Spacing sets the longitudinal spacing between each lamp post, in meters. This will act on both the left and right sides evenly.
Longitudinal Offset sets the position along the road, at which the lamp posts will start appearing, in meters. This can be used to leave a gap between the start of the road and to where the lamp posts first appear. This works evenly for the left and right sides.
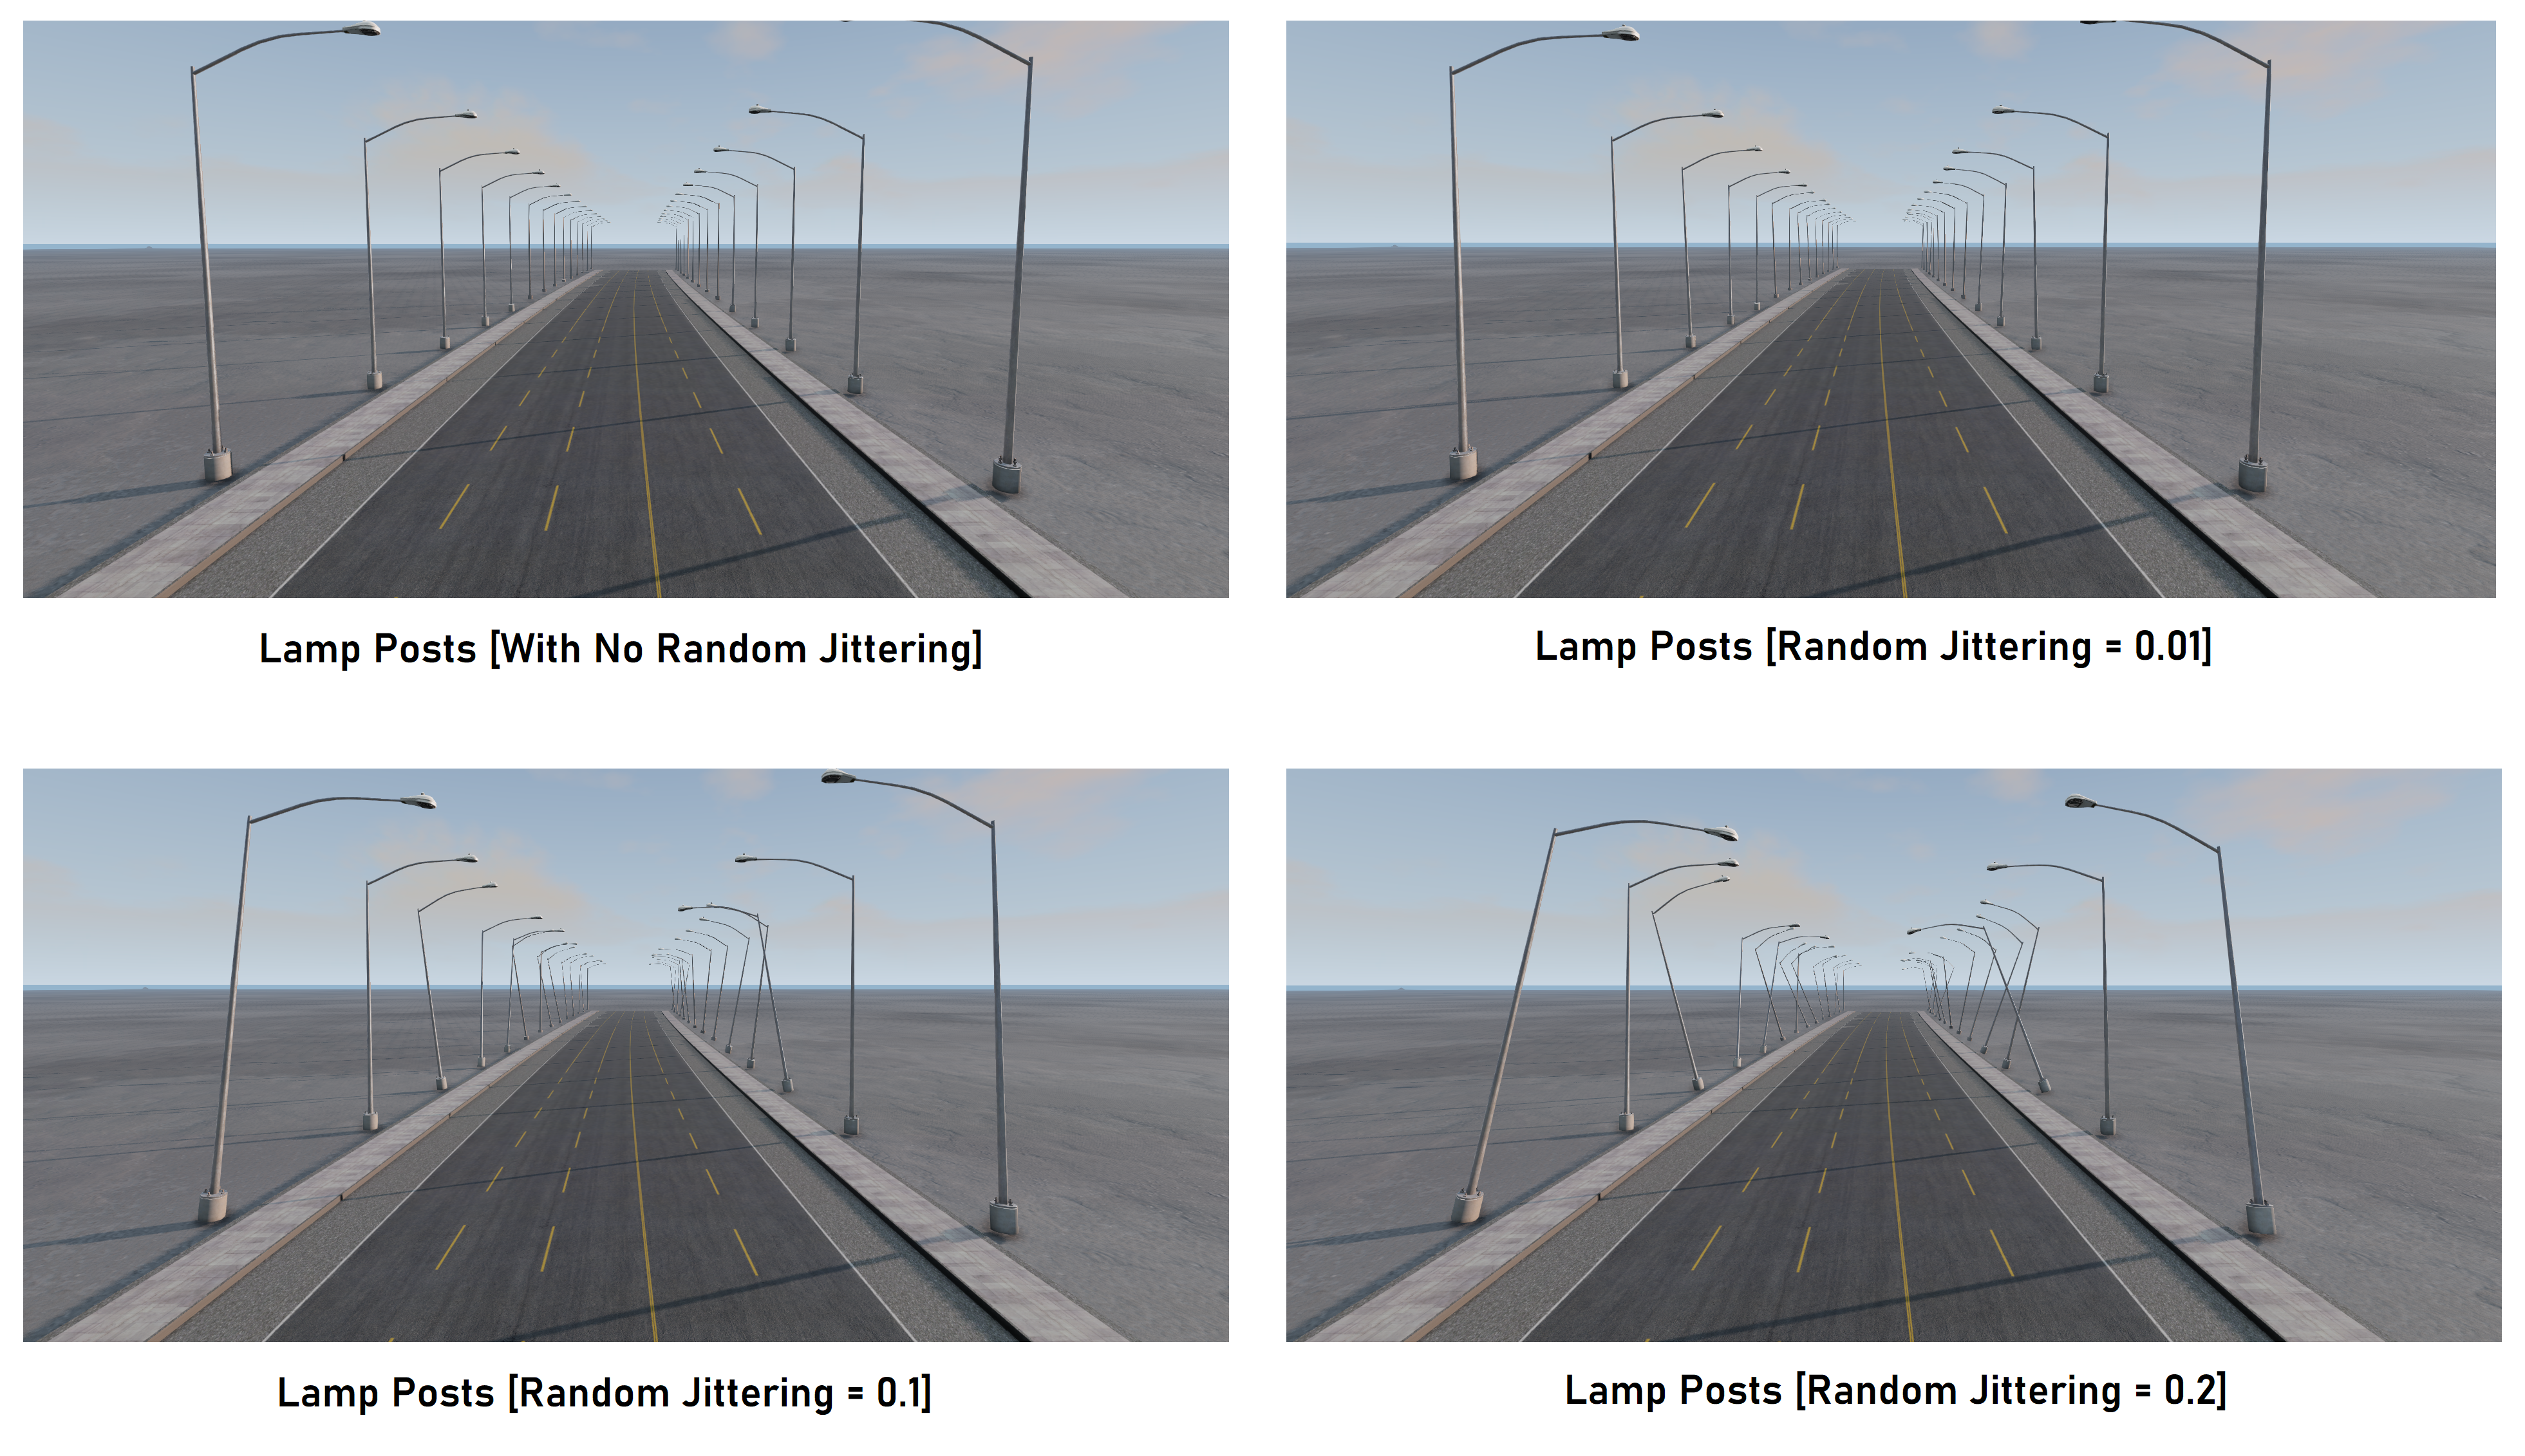
Jitter controls the amount of random jittering used when placing the lamp posts. This can be used to provide a time-worn or damaged appearance.
Vertical Offset sets the vertical (world space Z-axis) offset for all lamp posts associated with this road. This can be used if lamp posts should appear more embedded in the surrounding terrain, or if the terrain lie is such that the lamp posts appear to be floating.
The image below shows the result of altering the random jittering.
Crash Barriers (Metal):
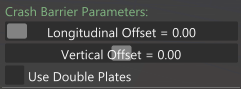
The following parameters can be set for crash barriers:
Longitudinal Offset sets the position along the road, at which the crash barriers will start appearing, in meters. This can be used to leave a gap between the start of the road and to where the barriers first appear. This works evenly for the left and right sides.
Vertical Offset sets the vertical (world space Z-axis) offset for all crash barriers associated with this road. This can be used if crash barriers should appear more embedded in the surrounding terrain, or if the terrain lie is such that the barriers appear to be floating.
Use Double Plates indicates if the crash barriers should include an extra surface plate below the standard plate. This will affect both the left and right sides of the road evenly.
The image below shows the result of altering some of the crash barrier properties.
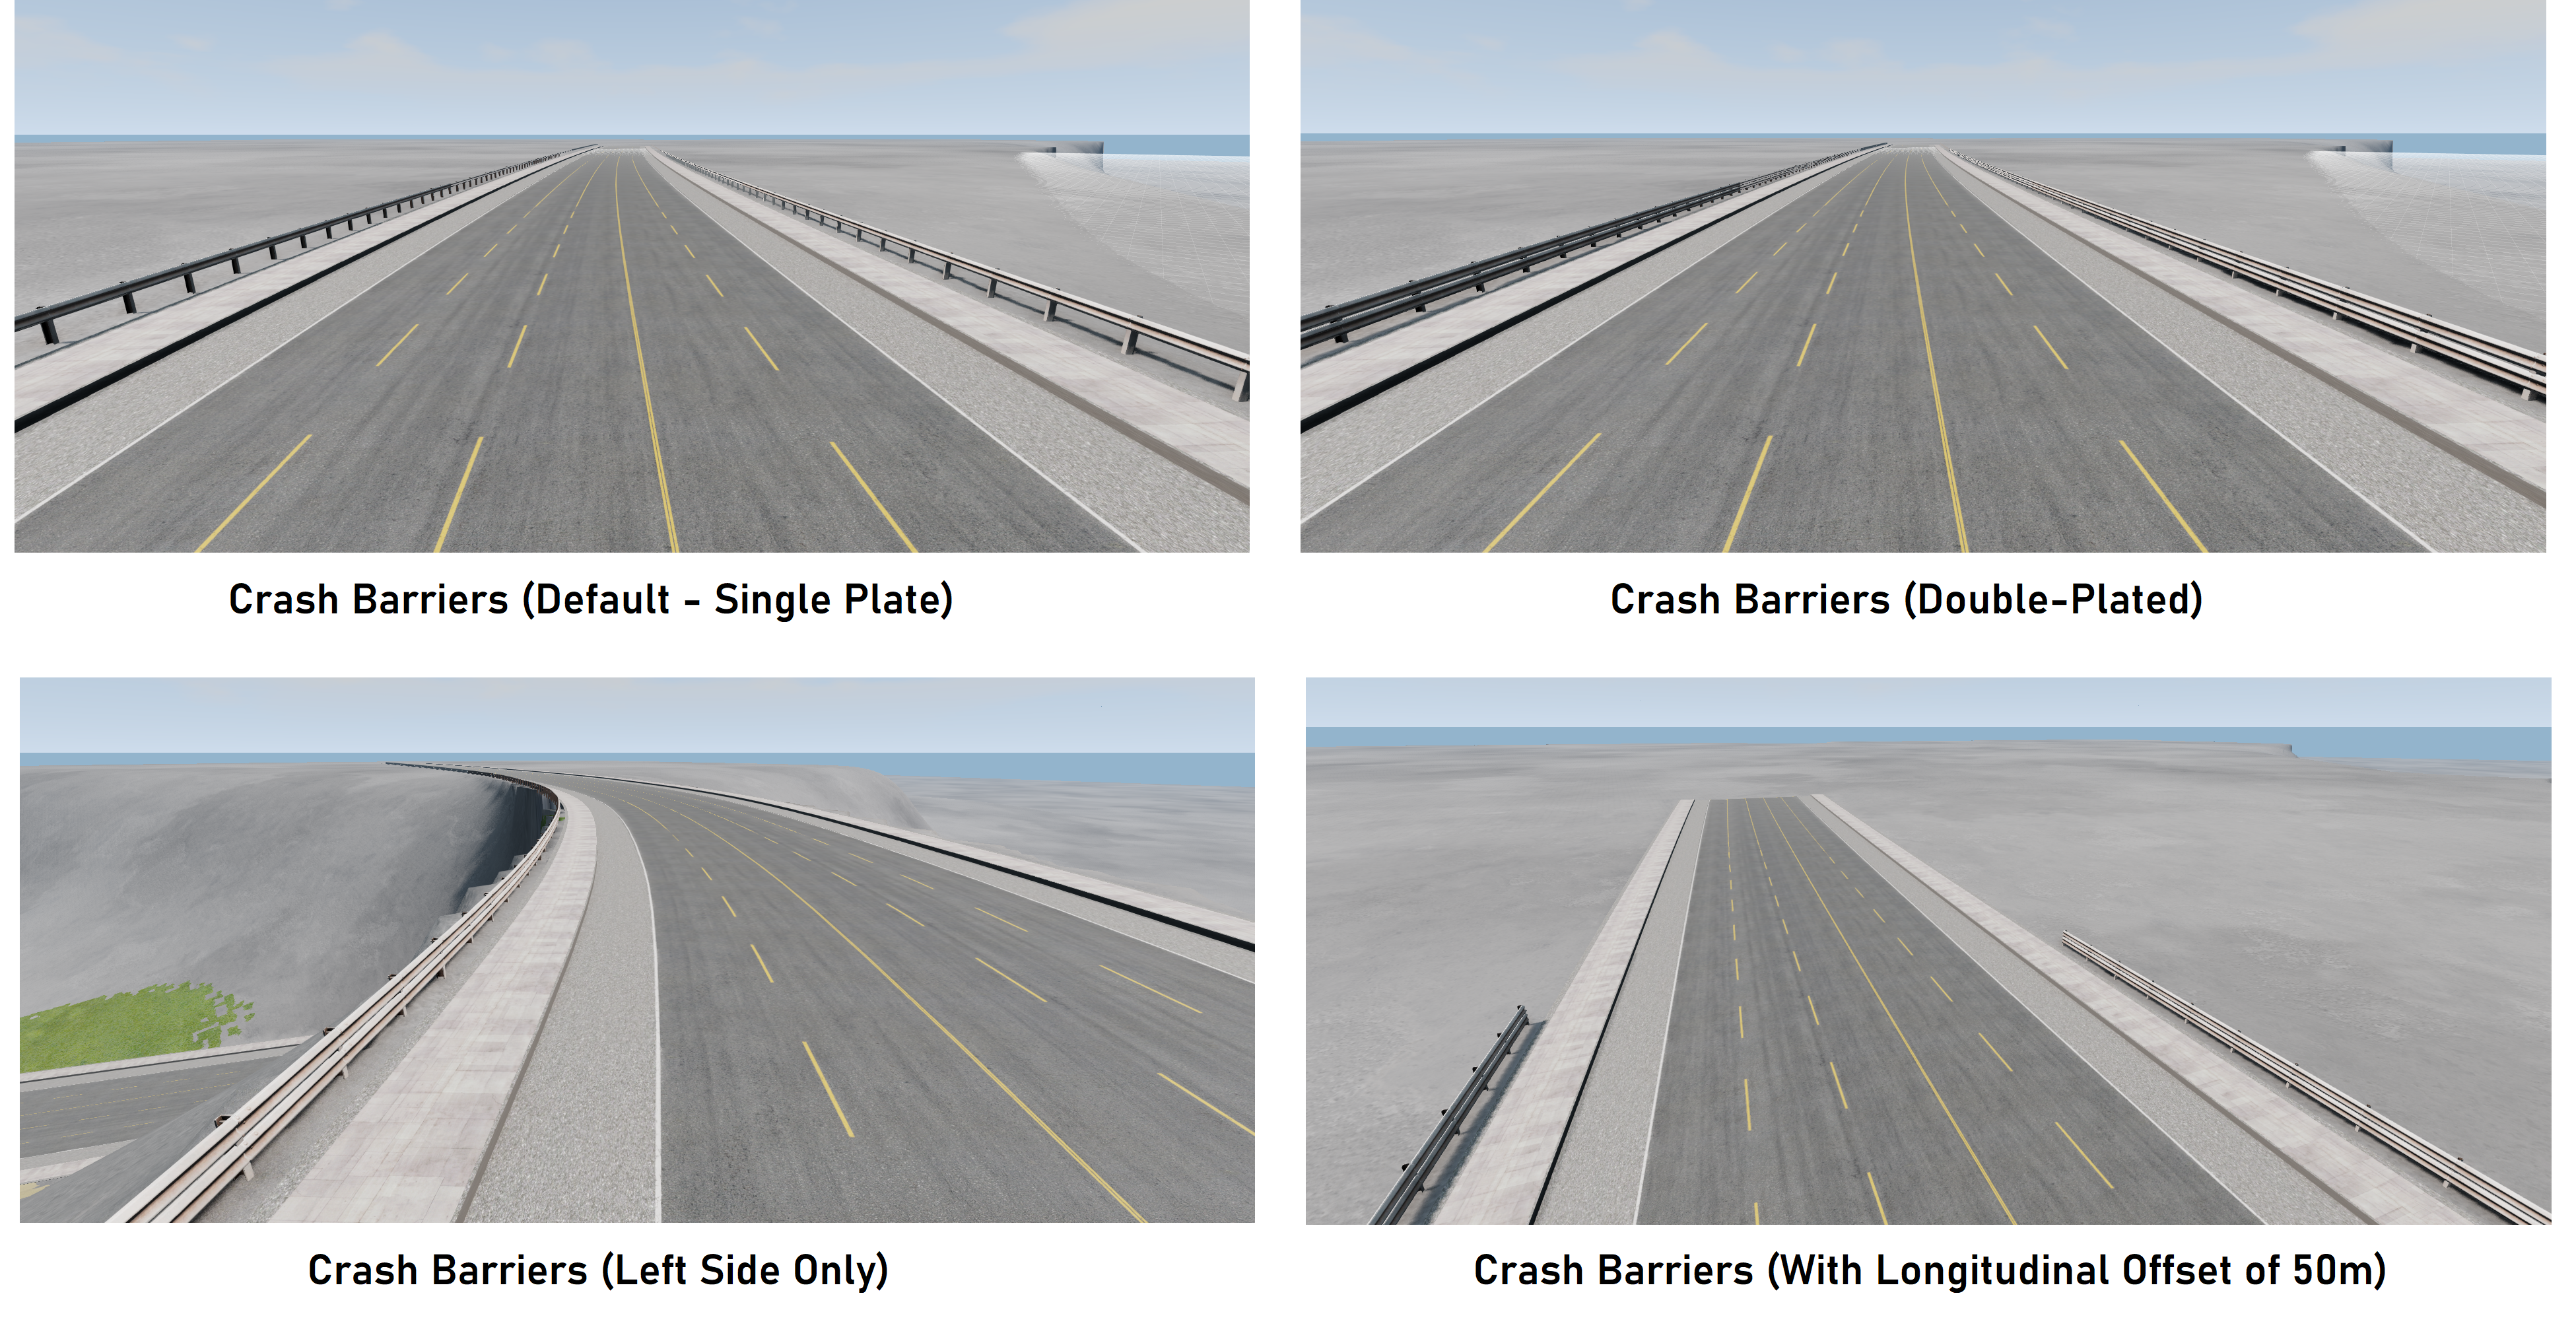 Crash Barrier With Options Set
Concrete Barriers:
The following parameters can be set for concrete barriers:
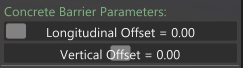 Extra Concrete Barrier Options
Longitudinal Offset sets the position along the road, at which the concrete barriers will start appearing, in meters. This can be used to leave a gap between the start of the road and to where the concrete barriers first appear. This works evenly for the left and right sides.
Vertical Offset sets the vertical (world space Z-axis) offset for all concrete barriers associated with this road. This can be used if concrete barriers should appear more embedded in the surrounding terrain, or if the terrain lie is such that the concrete barriers appear to be floating.
The image below shows the result of altering some of the concrete barrier properties.
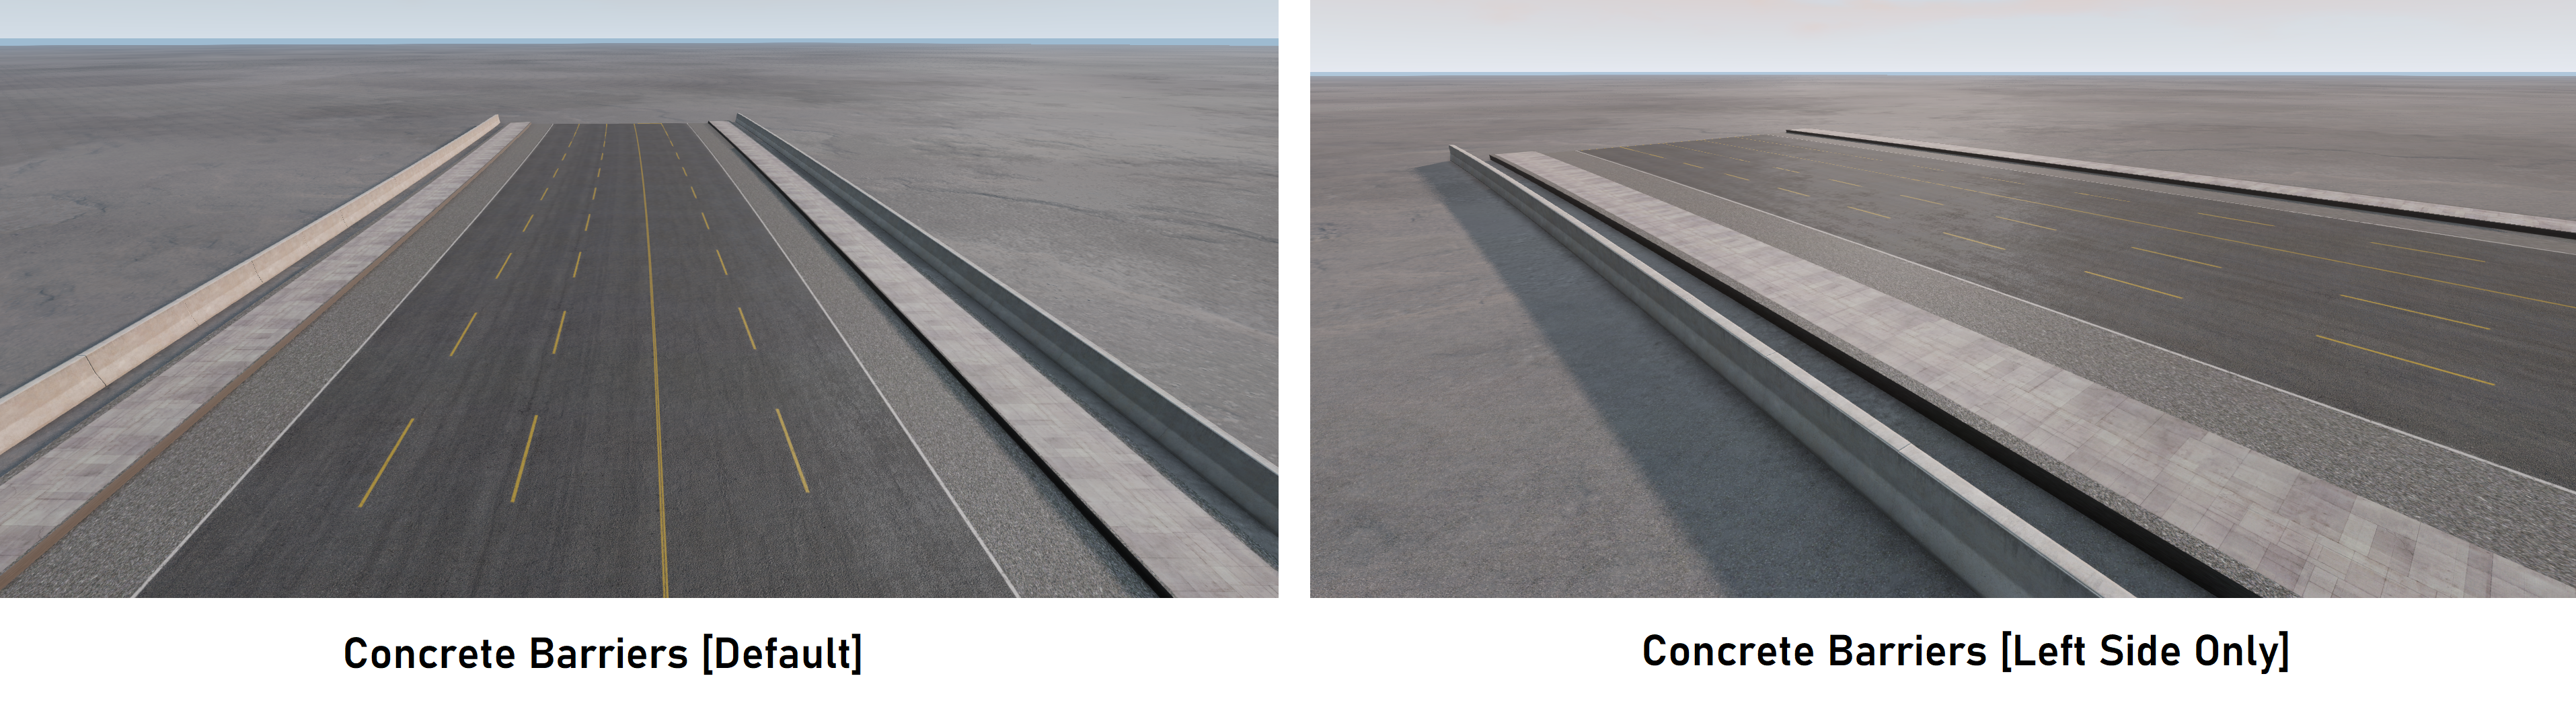 Concrete Barrier With Options Set
Mesh Fences:
The following parameters can be set for mesh fences:
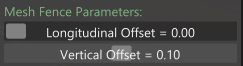
Longitudinal Offset sets the position along the road, at which the mesh fence will start appearing, in meters. This can be used to leave a gap between the start of the road and to where the mesh fences first appear. This works evenly for the left and right sides.
Vertical Offset sets the vertical (world space Z-axis) offset for all mesh fences associated with this road. This can be used if fences should appear more embedded in the surrounding terrain, or if the terrain lie is such that the fences appear to be floating.
The image below shows the result of altering some of the mesh fence properties.

Bollards:
The following parameters can be set for bollards:
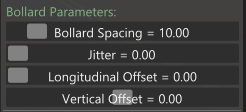
Bollard Spacing sets the longitudinal spacing between each bollards, in meters. This is effective for all rows of bollards on the road.
Longitudinal Offset sets the position along the road, at which the bollards will start appearing, in meters. This can be used to leave a gap between the start of the road and to where the bollards first appear.
Jitter controls the amount of random jittering used when placing the bollards. This can be used to provide a time-worn or damaged appearance.
Vertical Offset sets the vertical (world space Z-axis) offset for all bollards associated with this road. This can be used if bollards should appear more embedded in the surrounding terrain, or if the terrain lie is such that the bollards appear to be floating.

