Prefab Groups:
The editor comes with a collection of default road groups (prefabricated groups). These come in the form of junctions and intersections, and each can be auditioned and placed by the user. Using pre-made content can vastly speed up the creation of larger road networks, and allow duplication of eg junctions, if this is required. The user can also create their own custom groups, then re-use them etc - this is covered later in the documentation.
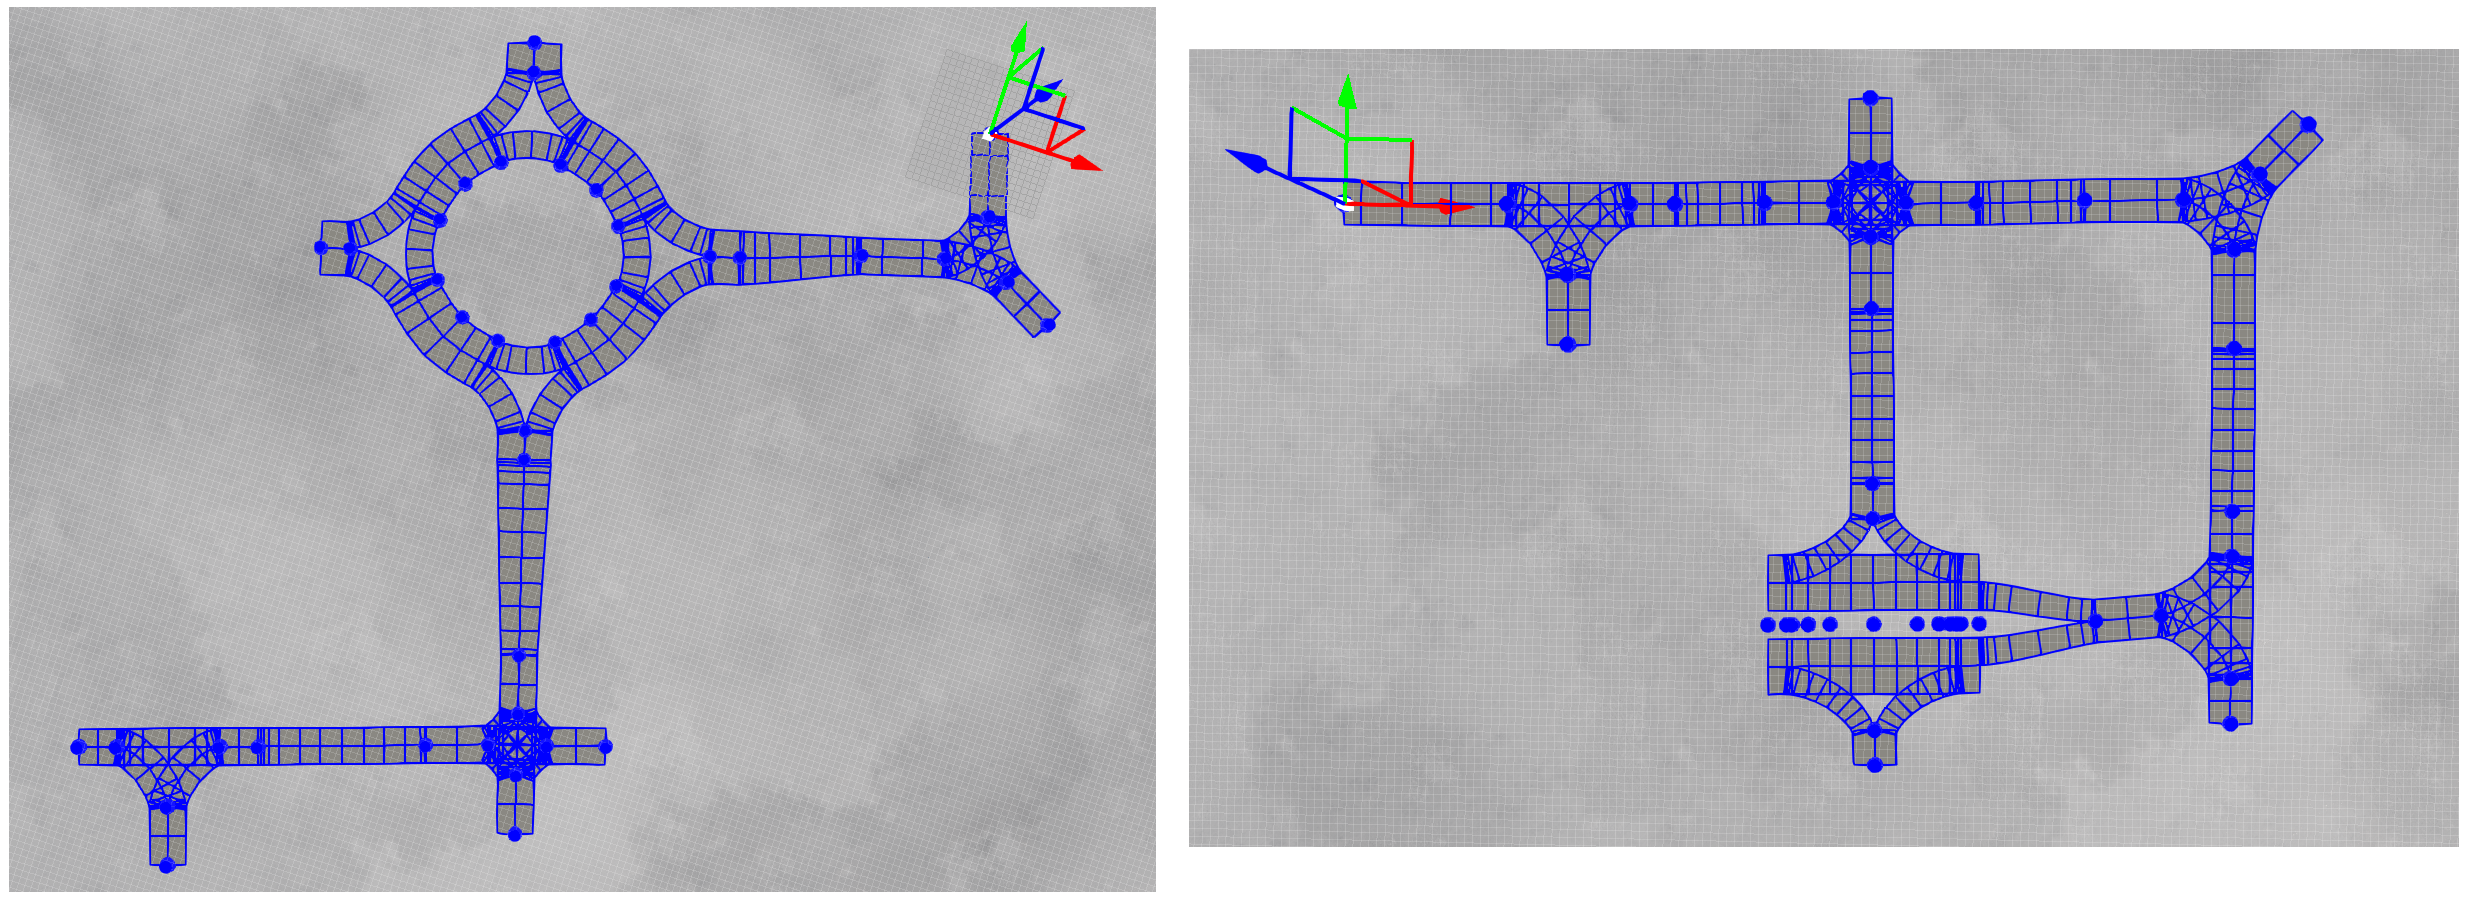
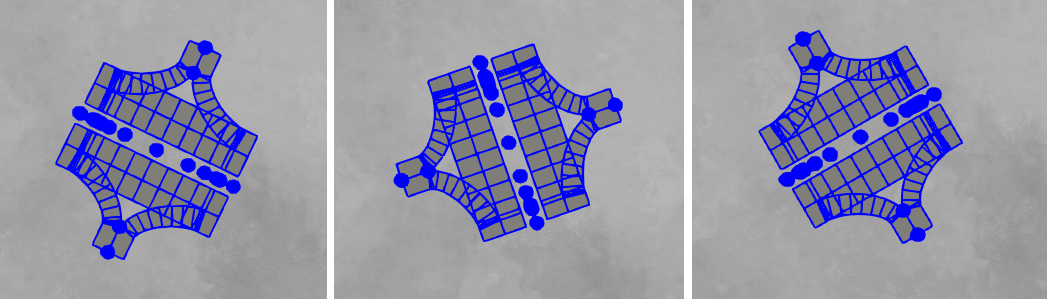
The image above shows some examples, where multiple prefab groups were places then linked together. Each example took less than a minute to create, highlighting a key benefit of the grouping functionality.
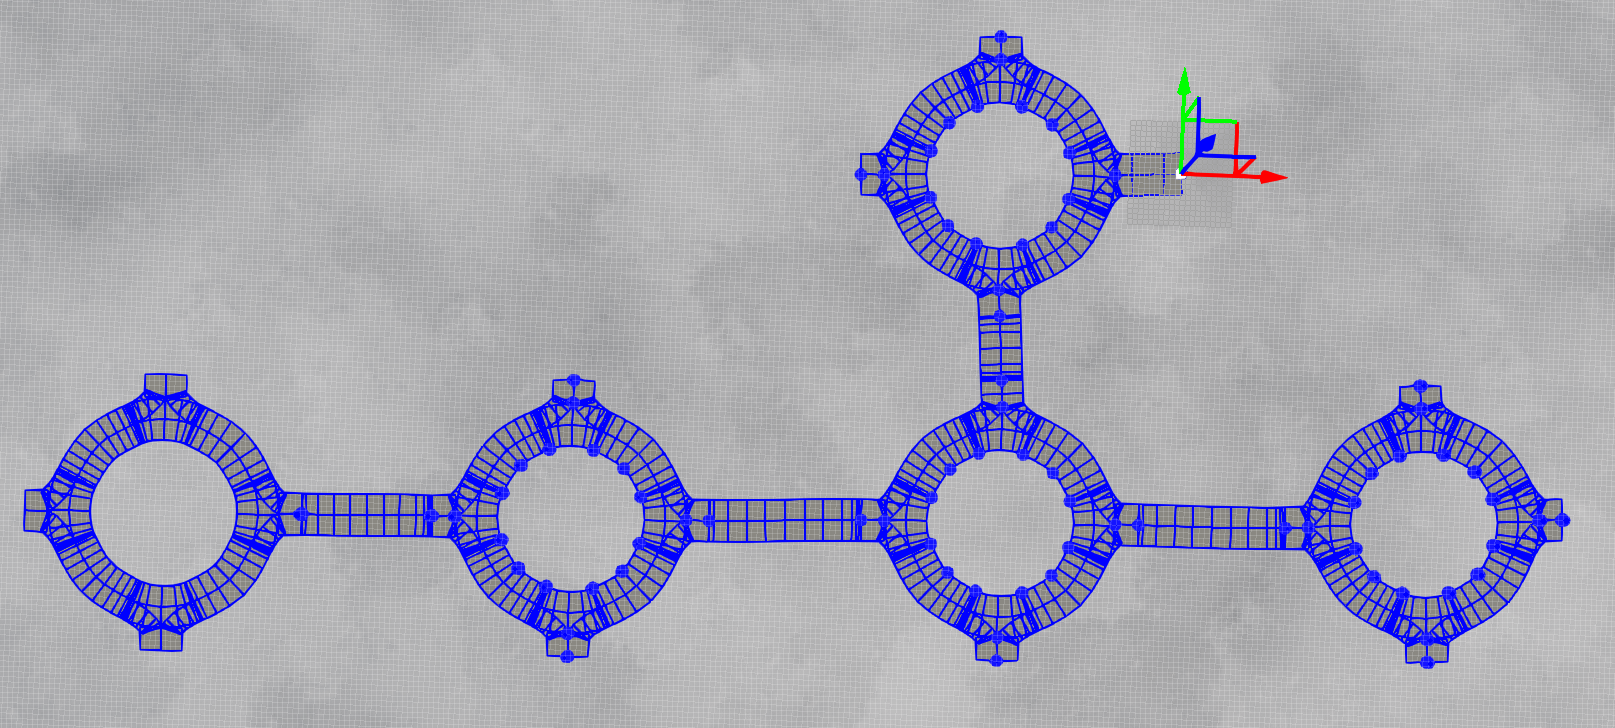
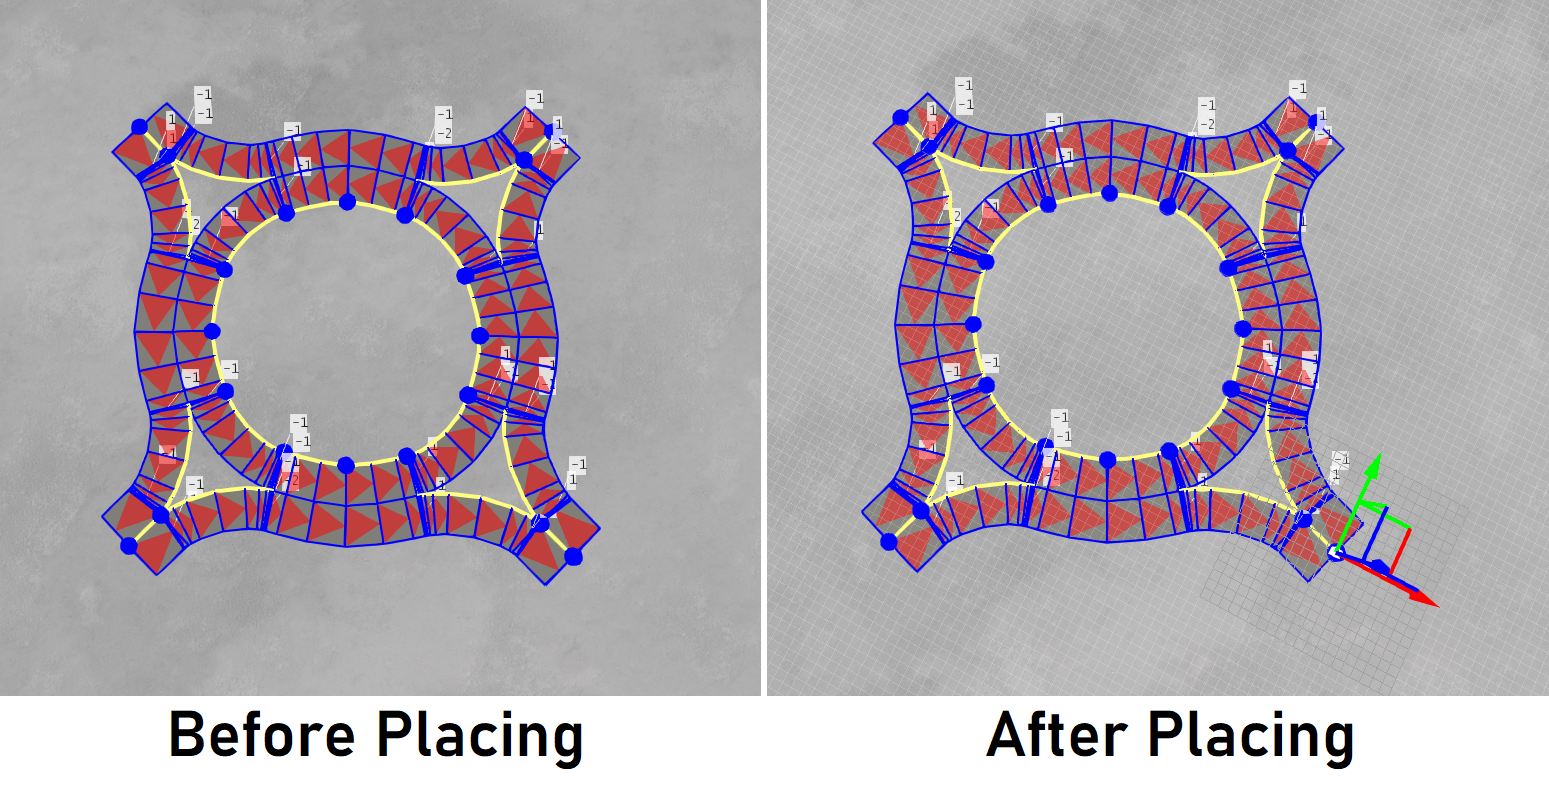
The image below illustrates the ability to repeat pre-made content in order to quickly create road networks. In this case, the same roundabout junction was duplicated then linked together.
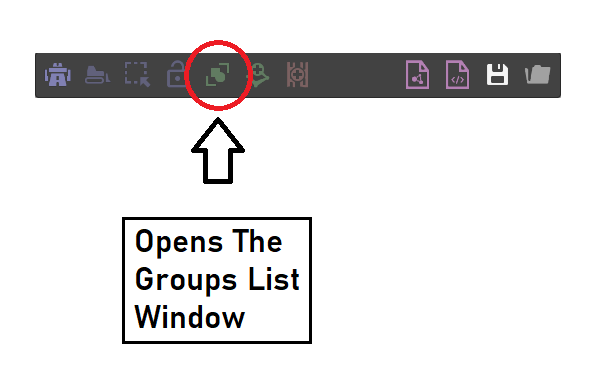
The Groups List Window can be opened from the Main Tool Window of the editor.
Upon opening the Groups List Window, the camera will enter ‘group audition mode’, whereby the group is isolated and the camera slowly rotates around the group to give the user an idea of how the group looks in 3D.
Scrolling through the list will reveal groups from smaller, simple X and T type junctions, then later some highways/motorway intersection template. The same visualisation options are available as exist in the profile auditioning mode.
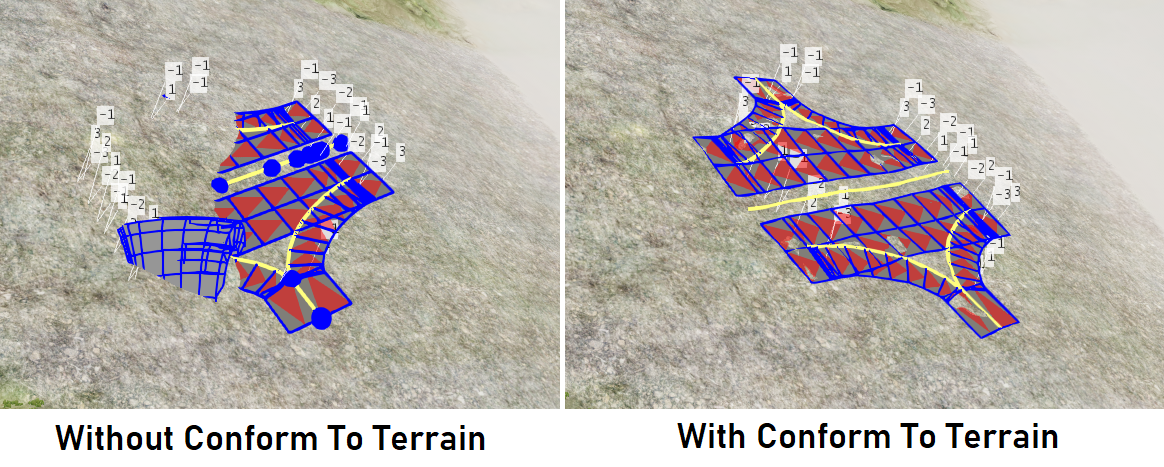
The ‘Conform To Terrain’ toggle button (on the Groups List Window) chooses whether to lay the group onto the terrain (upon placing) or to keep it rigid (the default).
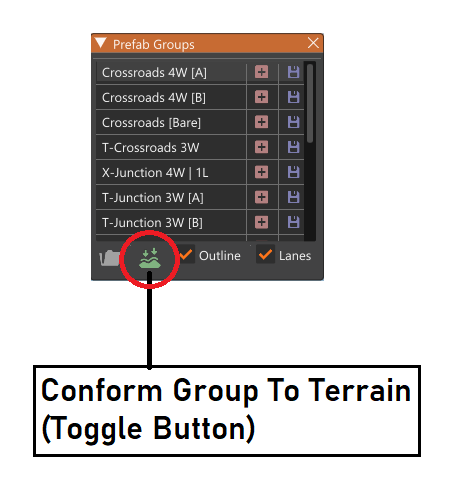
The user should note that if group-to-terrain conformation is used, any relative height information in the group will be lost since all nodes will be ‘snapped’ to the terrain. The difference between the two options are highlighted in the image below.
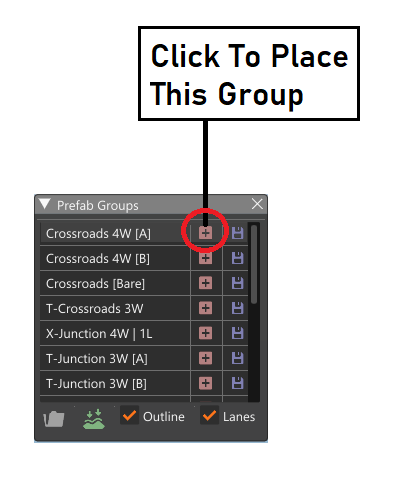
To place the chosen group, the user first pushes the button beside the desired group in the list.
Upon pressing the Place Group Button, the editor will leave the ‘group audition mode’ and proceed to the ‘group placement mode’, where the user has the group at the mouse cursor. In group placement mode, there are three mouse options:
Double Clicking The Left Mouse Button will place the group and return the editor to the primary Edit Mode, where further editing can be made to the group, or the user can then link the group to other features in the road network.
Dragging The Left Mouse Button will rotate the group (around the Z-axis) to let the user orient the group with respect to the existing road network.
Clicking The Right Mouse Button will cancel the group placement and return the editor to the primary Edit Mode, removing the group to be placed. If the user wants to then choose a different group, they can go back in to the Groups List Window as before.
