Quickstart
Overview
This page provides you with a quick guide for starting up Flowgraph and introduces you to the basic controls of the Editor.
It is a good starting point for your first steps in Flowgraph, before taking a more in-depth look at all of its various features.
Opening a project
First we will take a look at opening one of the example projects for Flowgraph.
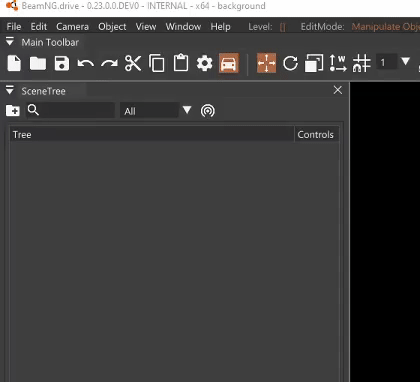
When you are in the main menu of BeamNG.drive, simply press F11 to open the WorldEditor
and then select Window -> Gameplay -> Flowgraph Editor in the menu header.
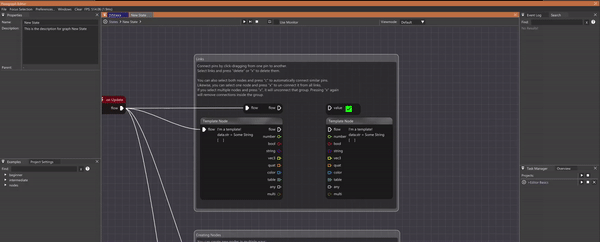
Currently you are seeing the “Welcome” window of Flowgraph, since there isn’t any project opened yet.
Here you can see the section “Basic Examples”, where you can select the “EditorBasics” project to open it.

Basic Controls
Moving around
After opening the “EditorBasics” project you will see a variety of different UI elements appear.
The most important one is the large window in the middle, it is the “Main” window of Flowgraph and displays your currently opened graph. Since this is your main workstation for interacting with your flowgraph, you want to be able to get around easily.
To move your view in the graph, simply hold Right Click and drag the camera around.
A Flowgraph project can consist of multiple flowgraphs as well as stategraphs. Stategraphs are a more advanced topic and you can read more about them on the Elements
page.
To switch to another graph of your project, you can simply select its tab in the top section of the main window.
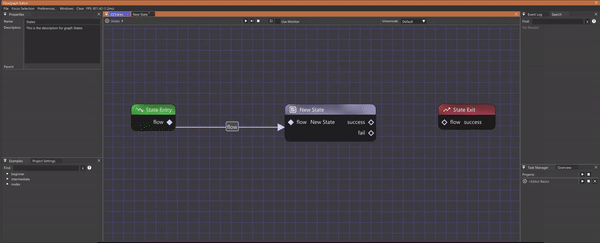
Connecting Nodes
Let’s take a look at the flowgraph itself.
A flowgraph consists of nodes with pins, that are connected with each other through links to bring the flowgraph to life. You can read more about these basic elements on the Elements
page.
Connecting nodes is one of the most basic functions in Flowgraph and can be achieved in many different ways. The simplest of them is pressing Left Click on a pin and dragging the link to the the pin of another node.
If you are unable to connect two pins, it is most likely, because one of the pins is expecting a different type. Also beware that you can only connect input to output pins.
Creating Nodes
When you are working with Flowgraph, you of course also want to add more nodes to your graph.
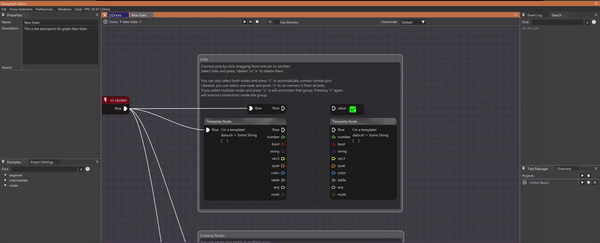
Just as with the links, this can be done in many different ways. The most basic is pressing Right Click on a free space in your flowgraph, which will bring up the “Node Creation” menu.
Here you can select nodes from different categories and add them to your graph.
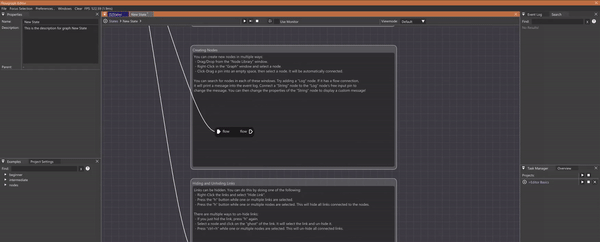
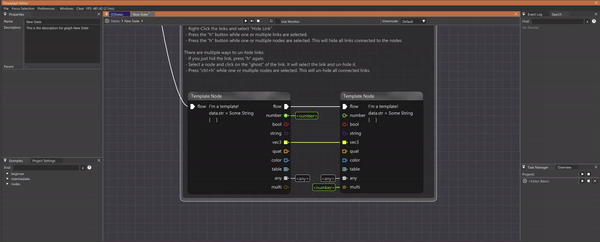
Hiding Links
To improve the readability of your flowgraph, you are able to hide and unhide links.
This can be achieved by selecting the link and pressing H, which will toggle the visibility of the link.
You can select a hidden link, by selecting one of the connected nodes and then pressing on the now visible “ghost” of the link.
Running a project
Of course you want to see your flowgraph in action and run your project.
To do this, you can simply press ![]() in the toolbar of the “Main” window and press
in the toolbar of the “Main” window and press  to stop it again.

While your flowgraph is active there will be flow coming from the “on Update” node and passing throughout your graph, activating all the nodes it reaches. For more detail on flow, feel free to look at the Flow
page.
Flowgraph provides you with a wide array of nodes, each with a different functionality, giving you the tools for creating complex scenarios.
This quickstart only gave a brief overview on how to move around in the Flowgraph Editor.
We recommend looking at other example projects and reading the Introduction
and Editor
pages to get a better understanding of the underlying concepts and more advanced functionalities of Flowgraph.
Good Luck!
Was this article helpful?
