Basics
The decal editor allows to place decals, objects that project a given texture on any surface.
The Inspector window is required to adjust various properties of a decal, especially when working on new templates.
Adding and Deleting Decals
Add decals by first selecting one of the templates in the Decal Editor window, then Right Mouse Click anywhere in the level to place the decal. It will be alligned to the surface it has been placed on.
Press Delete to delete the selected decal.
Editing Decals
Decals can be Moved, rotated and scaled like any object in Edit Object mode.
It is also possible to select multiple decals by holding CTRL down.
Decal Editor window
There are two tabs in the Decal Editor window:
- Templates shows all the Decal Templates (DecalData) currently loaded. Select one of them to look at/change their properties in the Inspector and/or start placing those decals in the level. You can also create new templates or delete them.
- Instances shows a list of all decal instances in the level. You can also select or delete them from here. In the Instances menu you can also see the position and size of the currently selected decal.
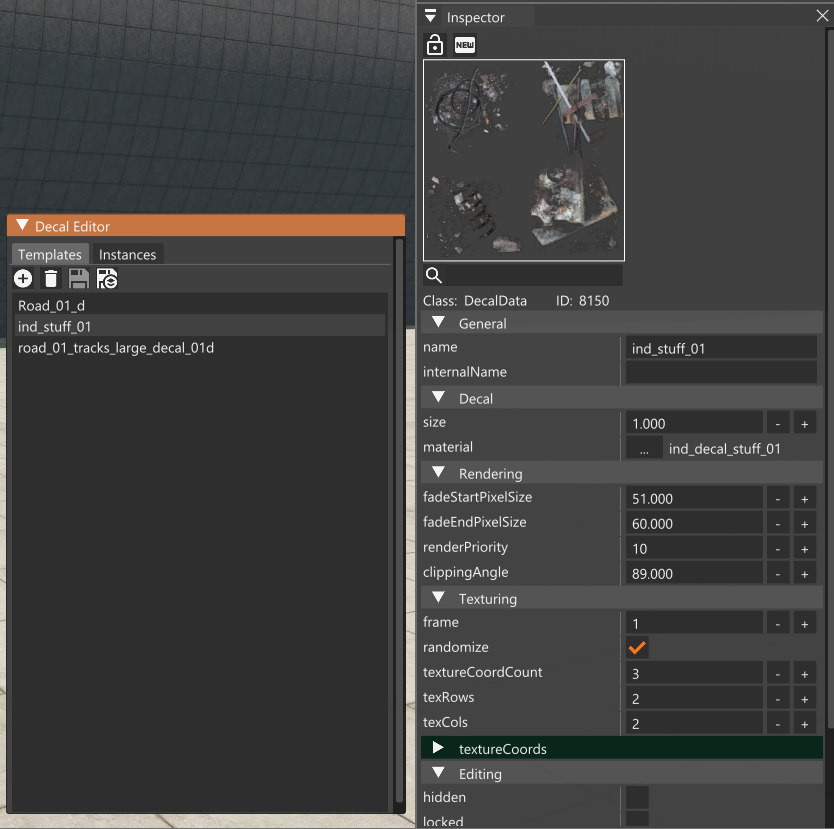
Inspector window
When selecting a decal, the Inspector window will show its properties. When working on custom decals, use this tool to:
- Select the default size of the decal
- Select the material of the decal
- Adjust the Rendering parameters (Fade, Priority, Clip angle)