How to switch your mod to Materials V1.5 (PBR)
Introduction
How to start?
The best way is just to update the base material for now.
In World Editor select your base vehicle material and hit the “Switch to V1.5” button and save it. This will completely break the car look for now but don’t worry. We will fix it soon.
What are Materials V1.5 (PBR)?
Materials V1.5 (PBR) is a completely new material type in BeamNG.drive. Introduced in BeamNG 0.23 new materials purpose is to optimize creation workflow and vehicles look in-game.
Old materials were very hacked and their look sometimes was really wonky. Old material type was spec/gloss, this meant you had a diffuse map, color map, specular map, and normal map for your vehicles and total of 3 or even 4 layers of materials.
New system uses PBR workflow which requires more textures and only two layers of materials.
With PBR workflow we have:
- Base Color Map
- Metallic Map
- Normal Map
- Roughness Map
and, additionally:
- ClearCoat Map
- Ambient Occlusion Map
- Opacity Map.
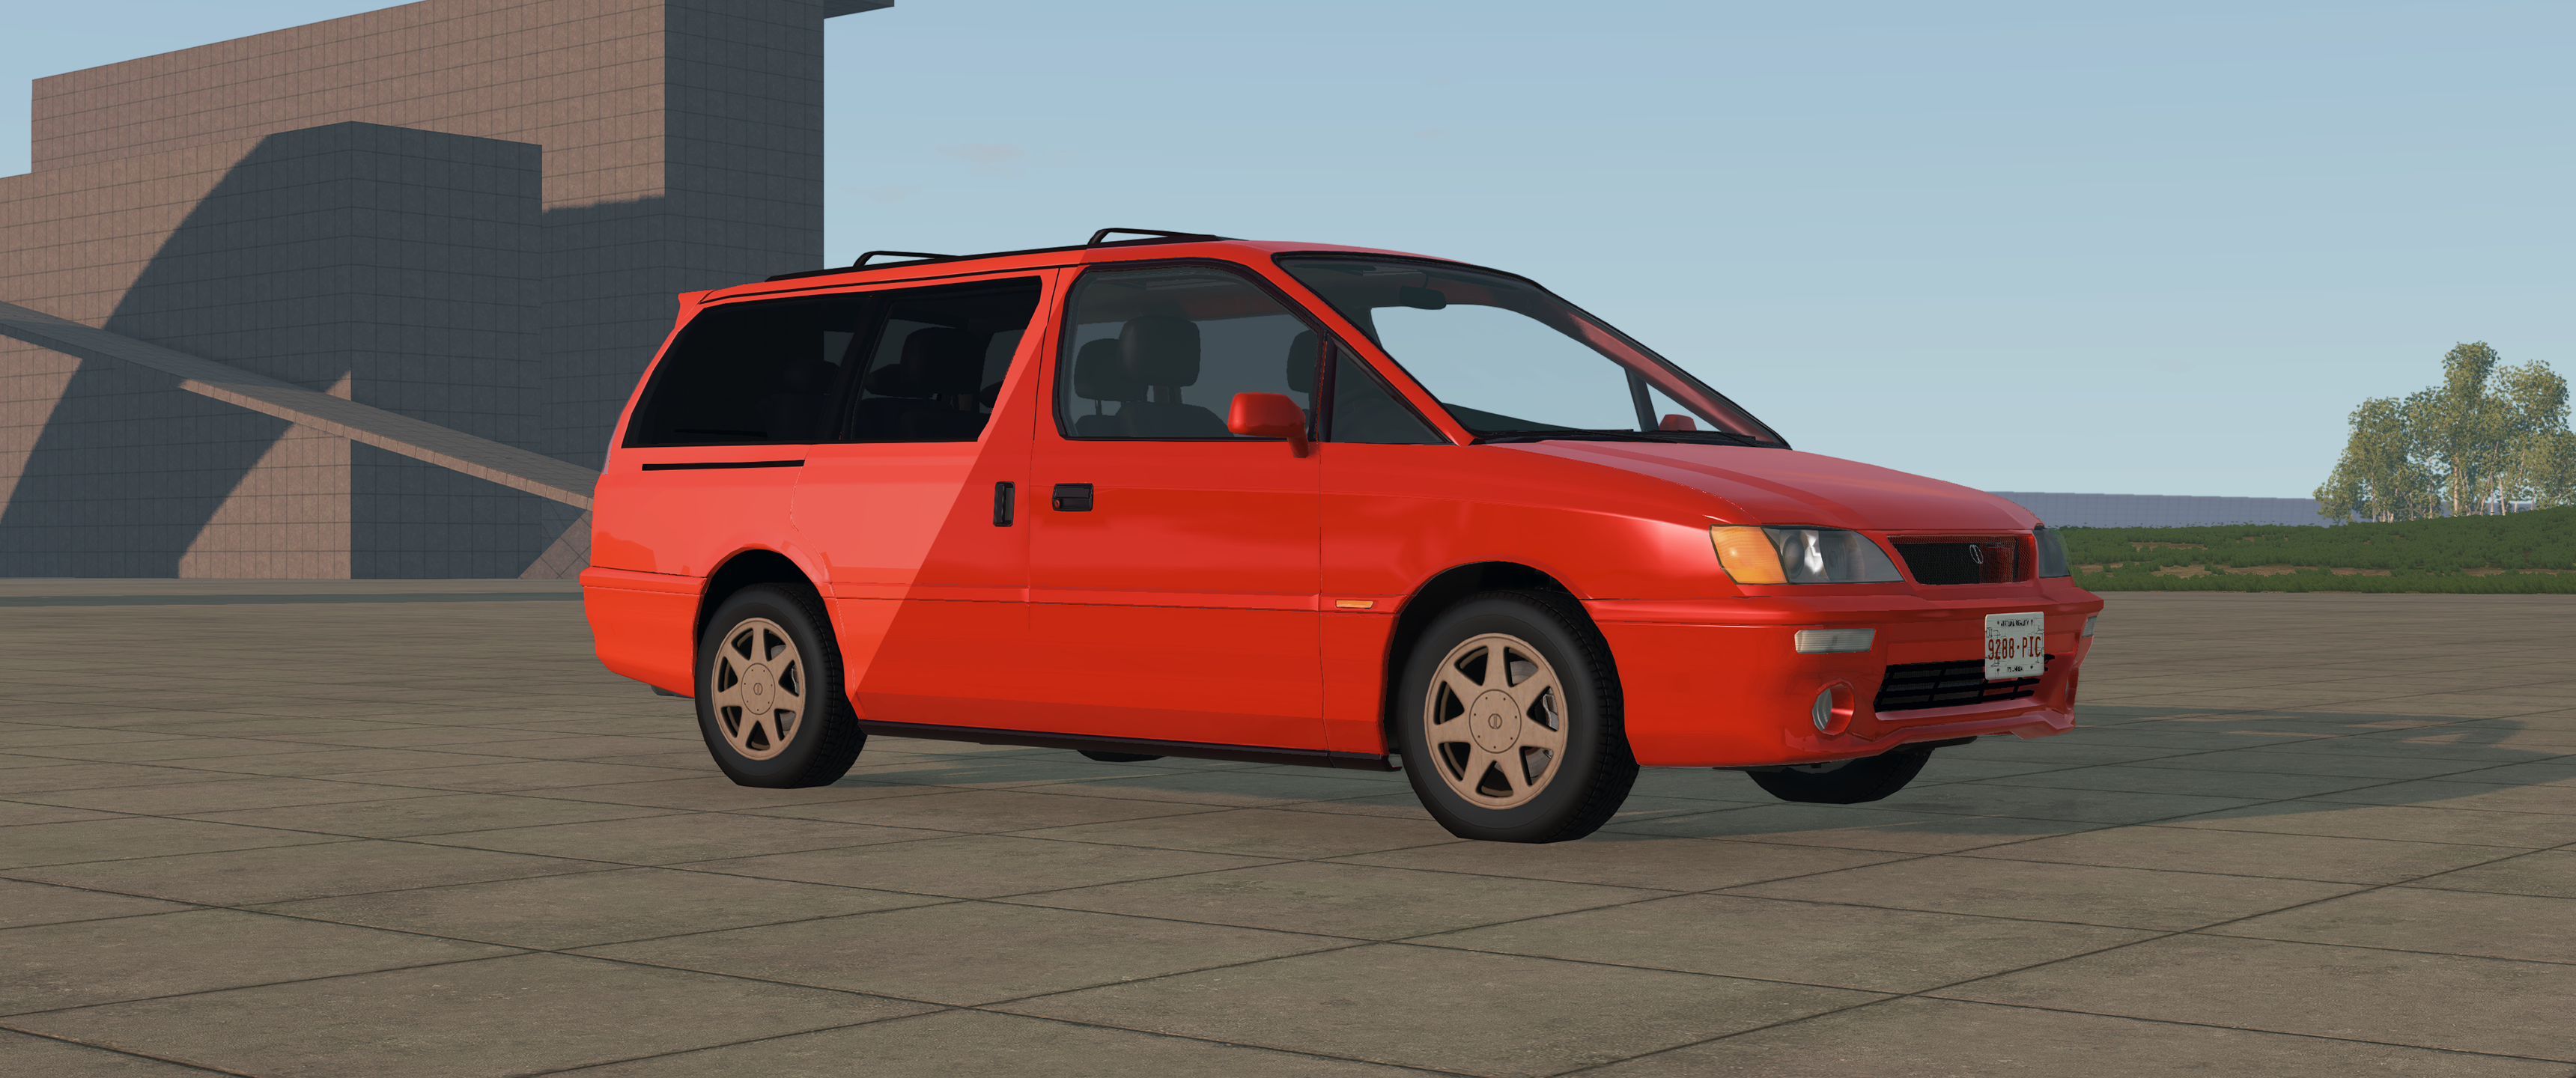 (Old vs New Materials (PBR) comparison on Ibishu Kashira Mod (early WIP screenshot))
From a technical standpoint of the game, new materials allow you to see many realistic effects on your vehicle and improve game performance. Fresnel, better reflections, and much more.
All these new features are in-game thanks to the work on the new rendering API as well. So we gain not only better and realistic game graphics but also much better performance.
Is it RTX? No, it’s far away from that type of graphics generation, but we can gain a lot with smaller steps.
New Materials System also helps you if you are a Substance Designer/Painter user. You can directly export textures and thanks to Texture Cooker game will automatically convert them to DDS.
 (Sample usage of new PBR materials)
Tutorial
Converting Textures
Part 1 – Base Color Map
Now we can begin current old textures to the new ones. The easiest way is to start with a Diffuse map, which we will convert to a Base Color map.
As a first step, load your old diffuse map to paint.net or Photoshop.
Photoshop users only: Disable loading transparency as an alpha channel.
Now that we see a lot of transparent elements, add a layer and move it to the bottom and make it gray.
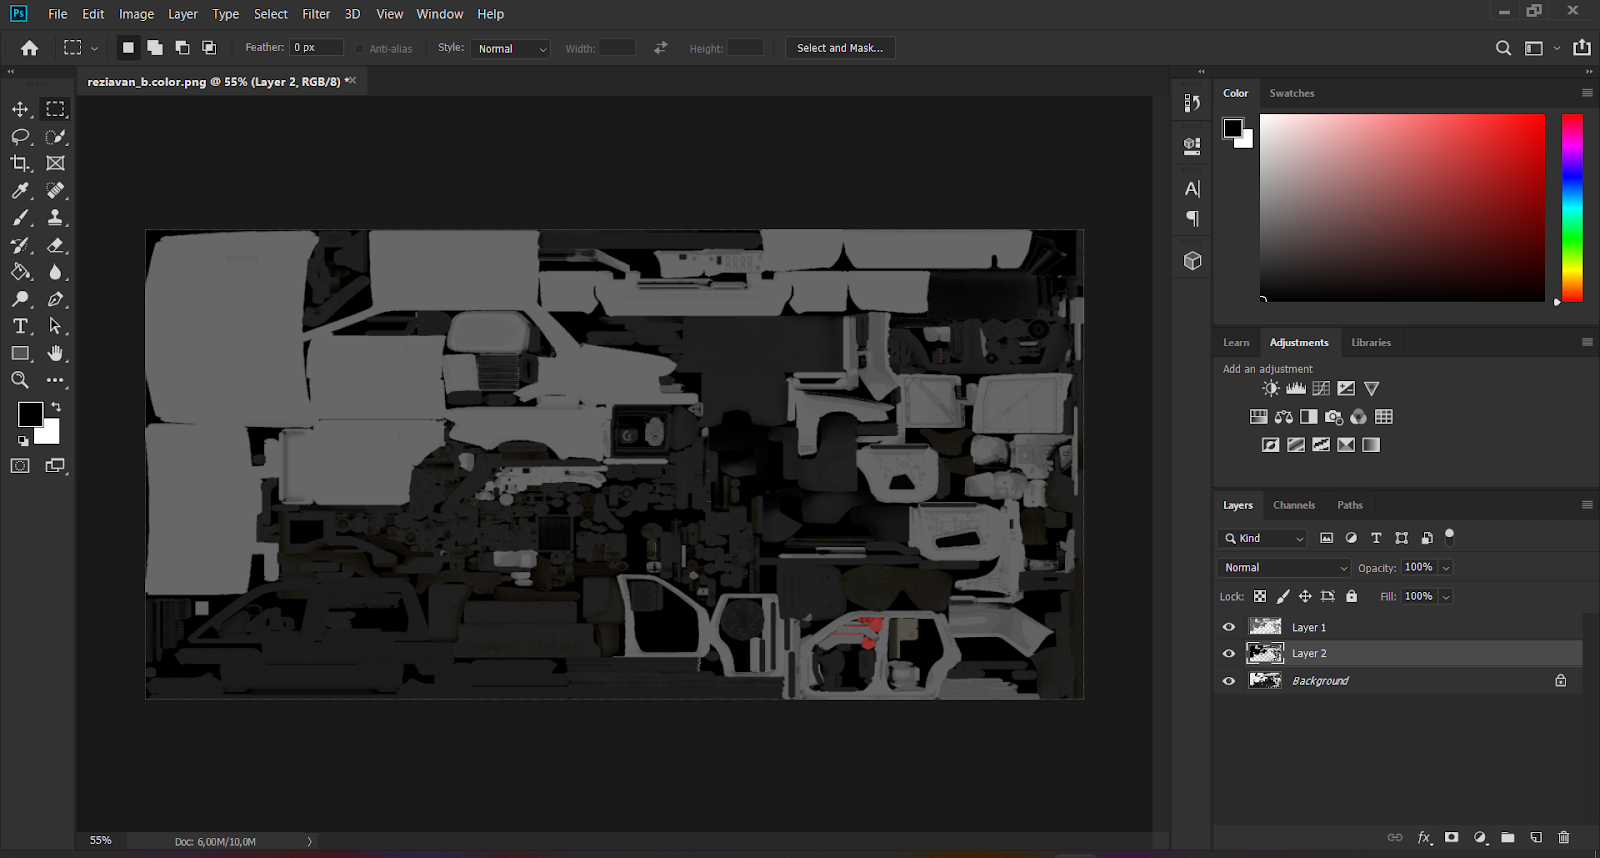 (This is how Base Color map should look like)
Now, save it as a png file, in my example, it’s “reziavan_b.color.png”.
Always remember to add “*.color.png” to Base Color map/ColorPalette files. It will tell the game to convert it to an RGB DDS file.
Part 2 – Metallic Map/Clearcoat Map
Next part covers converting old color map to a Metallic map or clear coat map. Depending on your preferences you can use one texture for both or make two different maps.
We’ll go with the easy approach this time, load old color map in the same way as before, after loading it into to your favorite program (if it’s paint.exe I’m leaving), add a new layer move it to the bottom and make it black.
Now select the upper layer and copy it few times to make most of the parts white.
![]()
Now save your new texture as png file. In my example, it’s “reziavan_c.data.png”. Always remember to add “*data.png” to Clear Coat/Metallic/Roughness map files. It will tell the game to convert it to a Grayscale DDS file.
Why is that? Maps like the ones above determine properties of rendering based on data of these textures. In short, black part means “no” and white means “yes” or with numbers, it’s “0” and “1”. Anything in between will reduce or strengthen the effect.
Another way to explain this - in white areas, the game will apply the effect and in black it will disable it.
Part 3 – Roughness Map
In almost-the-last-part we’ll learn how to convert an old color map to a roughness map.
- Load old color map in the same way as before,
- add a new layer, move it to the bottom and make it black,
- now add a color inversion filter.
 (It should look like this)
Now save your new texture as png file. In my example, it’s “reziavan_rough.data.png”. Always remember to add “*data.png” to Clear Coat/Metallic/Roughness map files, It will tell the game to convert it to a Grayscale DDS file.
Part 4 – Color Palette Map
This is the last part of our journey through texture maps.
Color map for base paint without the skin is very simple, just create texture with only red color. That’s it, we are done.
Now save it as a png file, in my example, it’s “reziavan_p.color.png”.
Always remember to add “*.color.png” to Base Color map/ColorPalette files. It will tell the game to convert it to an RGB DDS file.
Materials Setup
Now go to main.materials.json file. Open it and look for the main vehicle material.

If you already converted material like in the introduction, simply change it to something like here.
That’s it. Now launch the game and check how your vehicle looks like, you can continue adjusting all materials, including engine, interior, etc in a similar way. You are free to experiment and check what gives you the best results.
Skin Materials
Non-colorable Skins
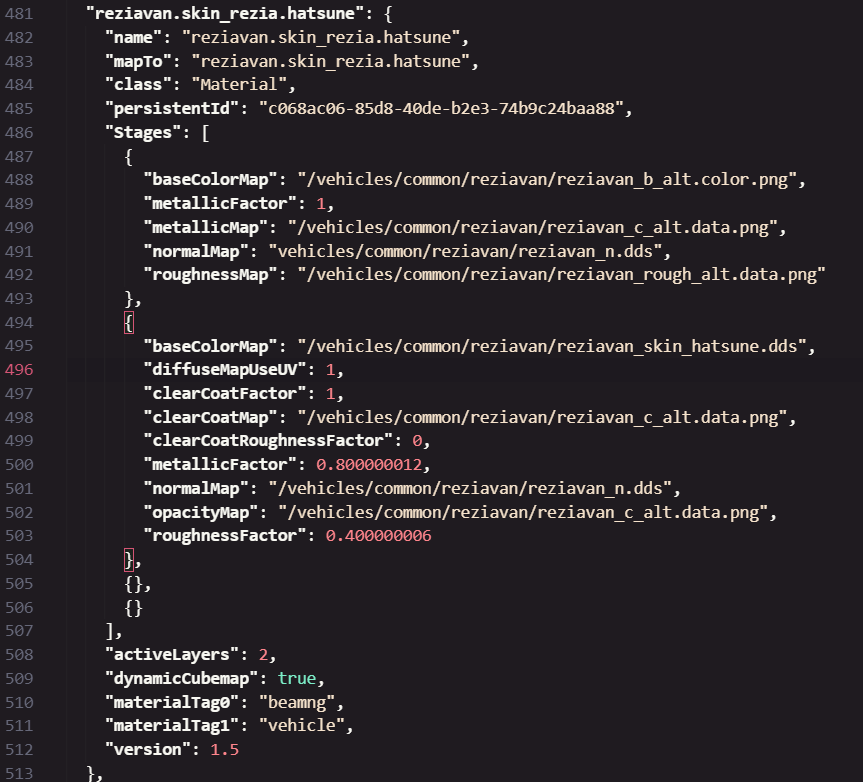
This part is very easy, simply copy your main material and add a base color map in the second layer of material, Then add “diffuseMapUseUV”: 1, under the base color line.
Congrats, your skin is ready to go when you’ll play with metallic and roughness values.
 (Sample of non-colorable skin material)
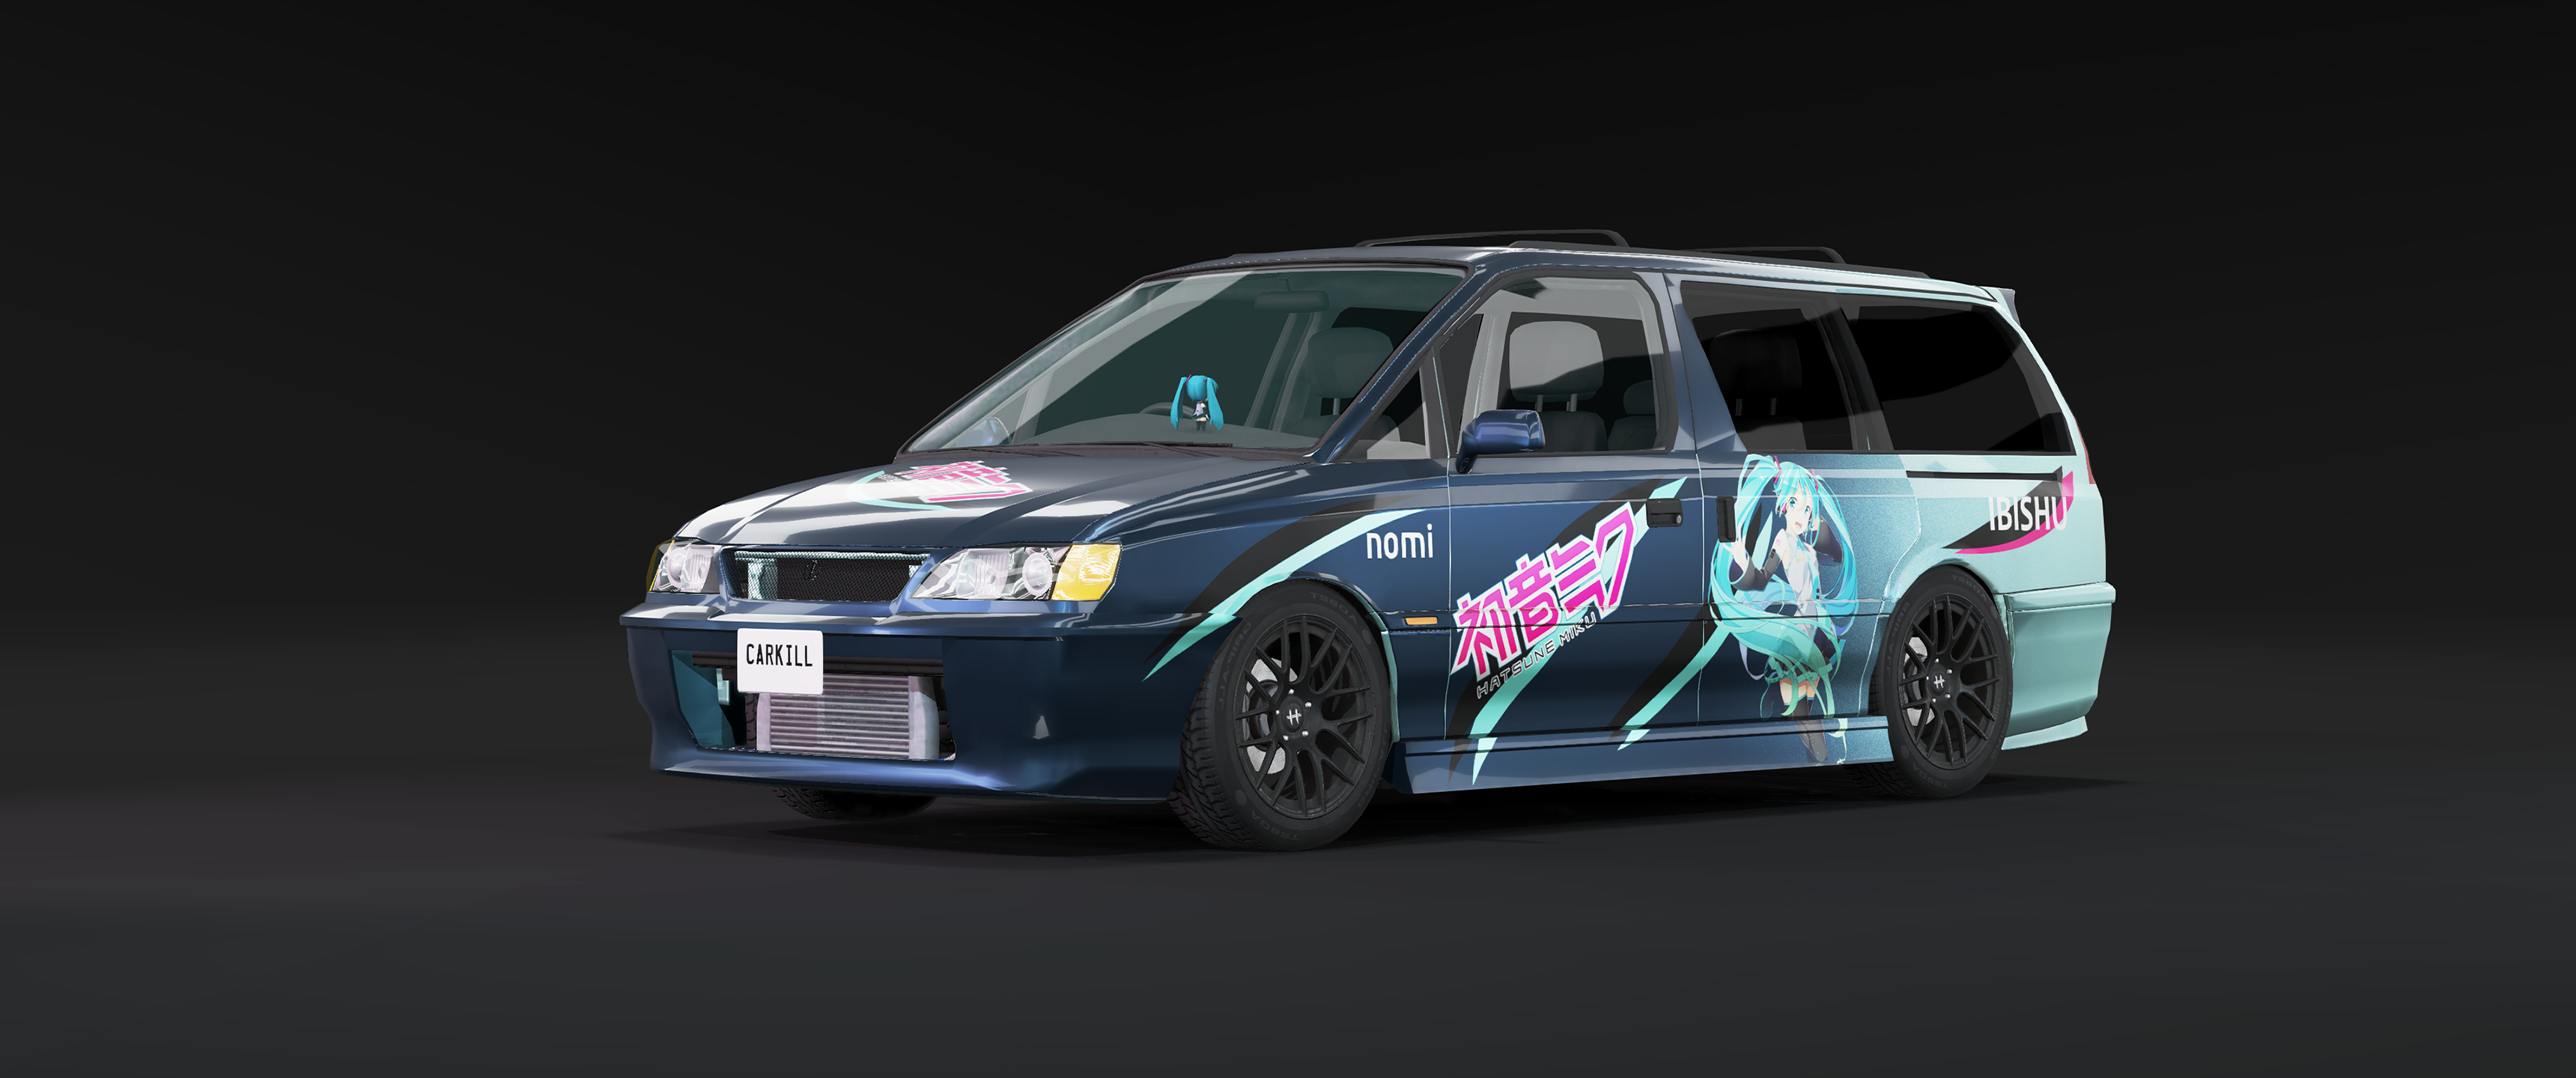 (Example of non-colorable skin with a metallic finish)
Skins Colorable Through Transparency/Opacity
Here starts the difficult part, converting old skins might take some time.
Firstly, load your transparent-colorable skin, disable loading transparency as an alpha channel, add another layer, put it on the bottom, and make it white.
Save it as the same name as the old one but always remember to add “*.color.png” to Base Color map/ColorPalette files. It will tell game to convert it to an RGB DDS file.
Now the second part, add red layer on the bottom, if you have your old skin, use “select pixels” option to get a clean selection of non-colorable part.
On lower layer delete selection. This is our new color palette map.
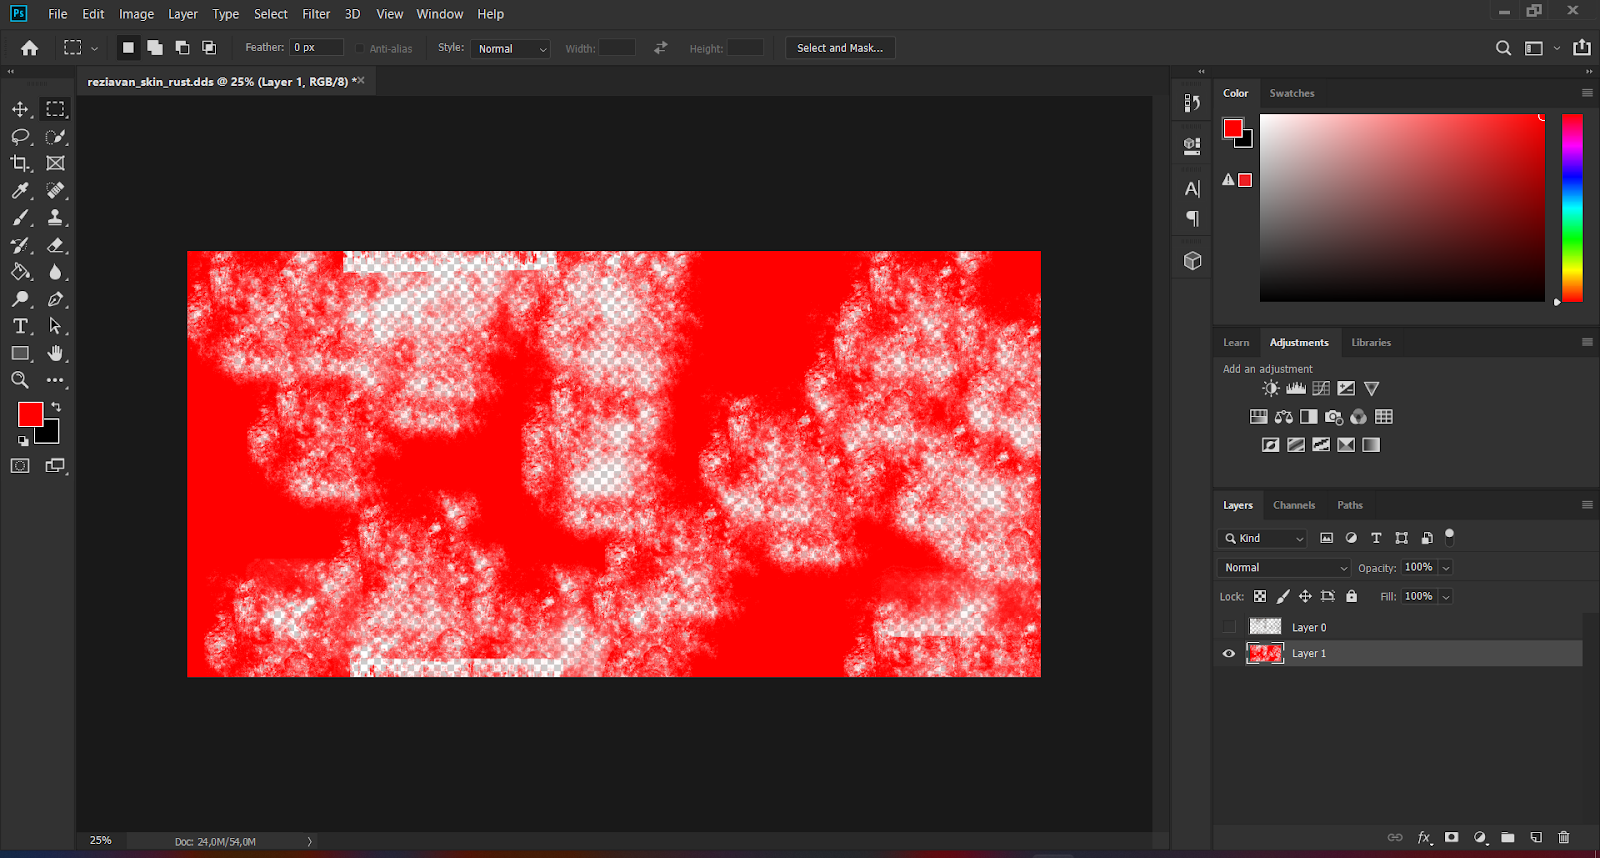 (Skin color palette should look like this)
Now save it as a png file, in my example, it’s “reziavan_skin_rust_cm.color.png”. Always remember to add “*.color.png” to Base Color map/ColorPalette files, it will tell the game to convert it to an RGB DDS file.
Optional feature: Sometimes you might want to add scratches and other features that require rougher material. In that case, make texture exactly the same as for color palette but change the background to white and save as “_cc.data.png”.
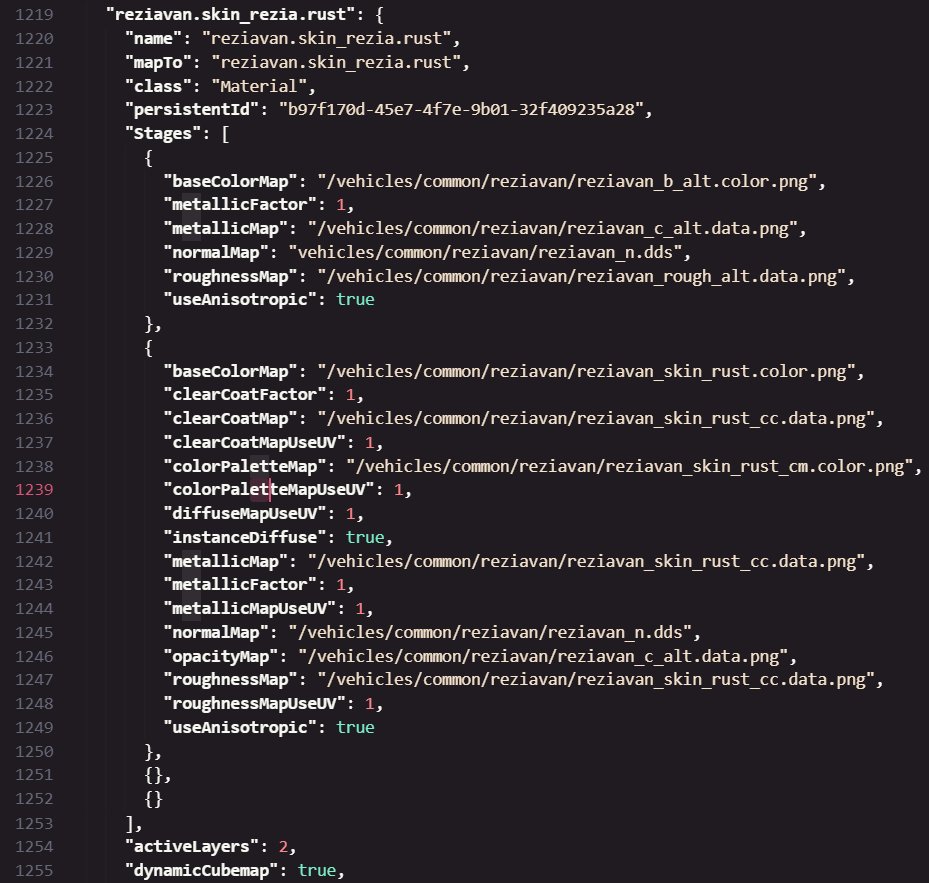 (Sample of material for colorable skin)
Fully Colorable Skins
Absolutely last part of our long journey through all types of skins, so the most exciting part left for us.
Firstly load base skin. Disable loading transparency as an alpha channel. Add another layer, put it on the bottom, and make it white. Now save them as “.color.png” files.
Optional feature: You can control much more than that, if you want to accent black parts of the skin, select base skin black elements and put them on white background. Save that file as “_m.data.png”.
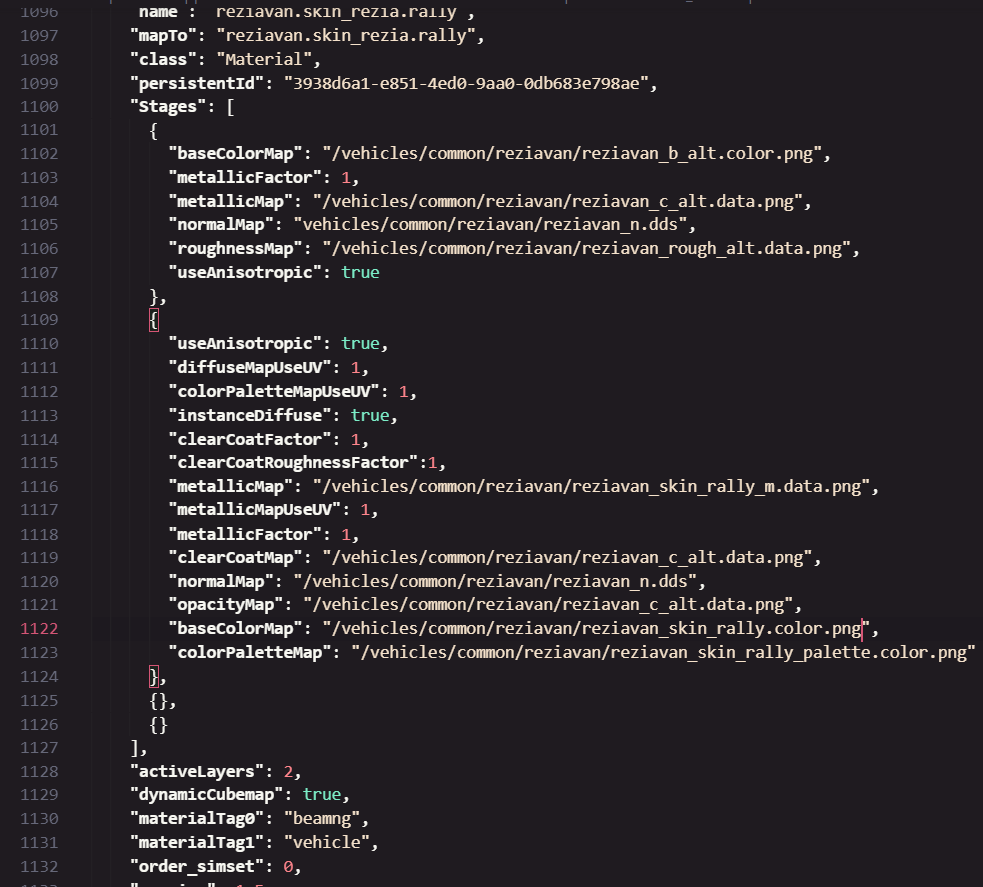 (Sample colorable material setup)
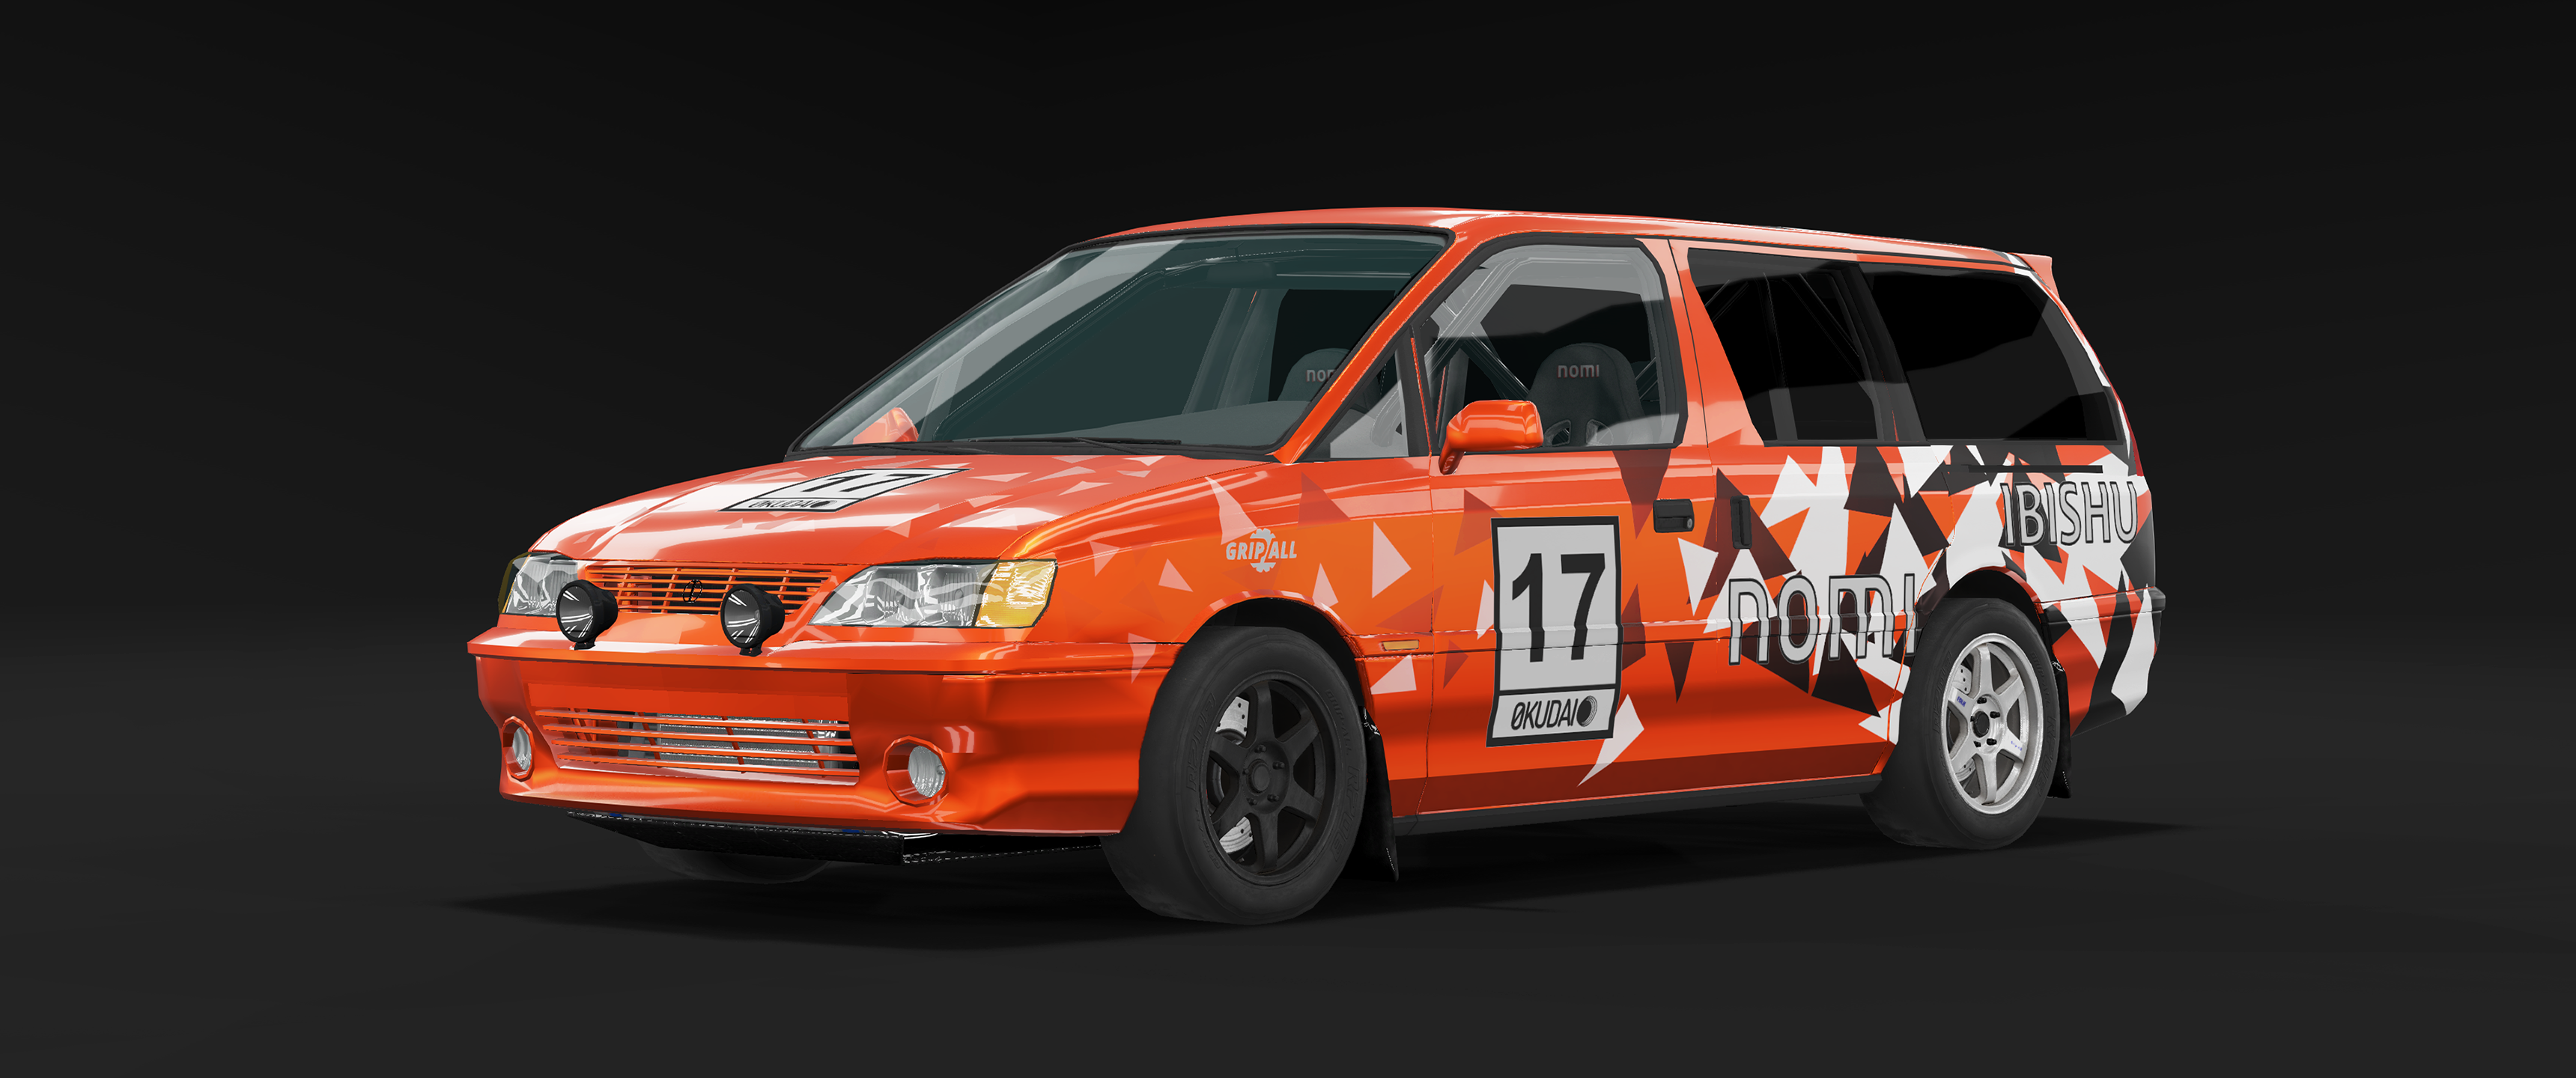 (Example of fully colorable skin)
Summary
I hope this tutorial was helpful for you. You are welcome to ask questions about skin creation and PBR materials in this thread .
Feel free to share this page with anyone who needs help with the new materials system.
Helpful links
Was this article helpful?
