Race/Path Editor
The Race/Path Editor, found under Windows > Gameplay in the World Editor, can be used to create and save a sequence of nodes, or checkpoints, for a vehicle to pass through. This can be used for gameplay such as races, time trials, and other gameplay modes.
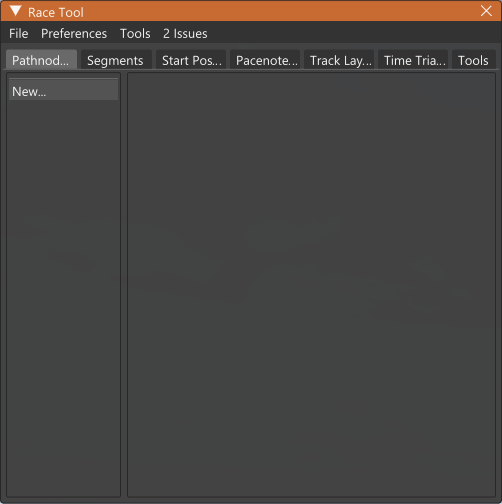
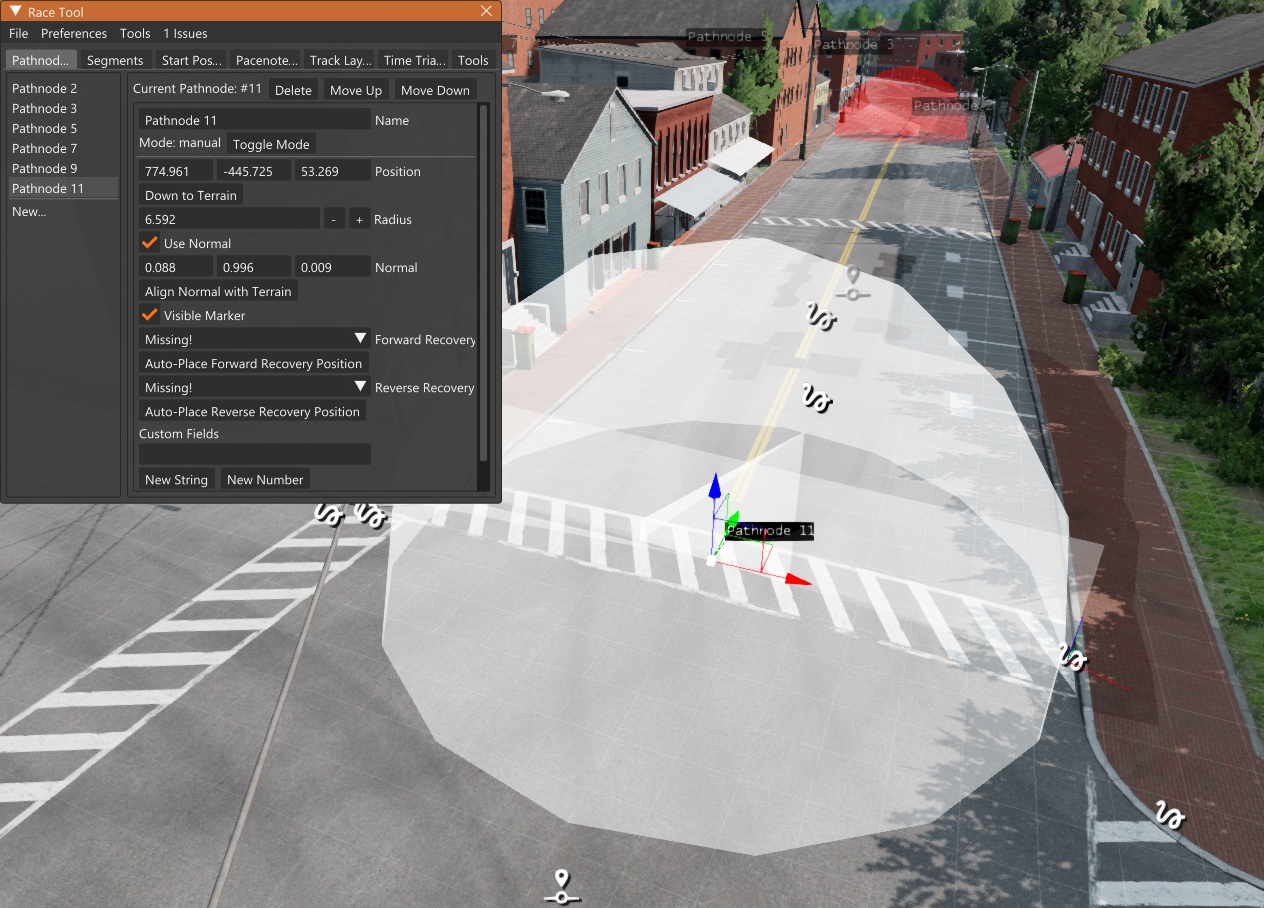
Here is what the editor looks like when you open it:
Overview
Here is a quick overview of how each tab of this window works:
- Pathnodes are the checkpoints that vehicles must pass through to continue on the route. They need to be triggered in order.
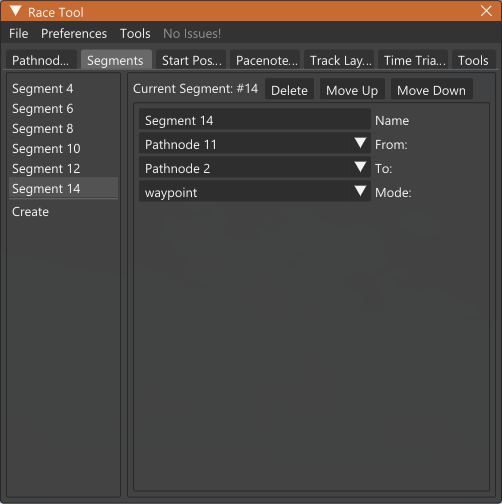
- Segments are the connections between pathnodes. They get generated automatically when you create pathnodes, but can also be edited manually for circuits or branching paths.
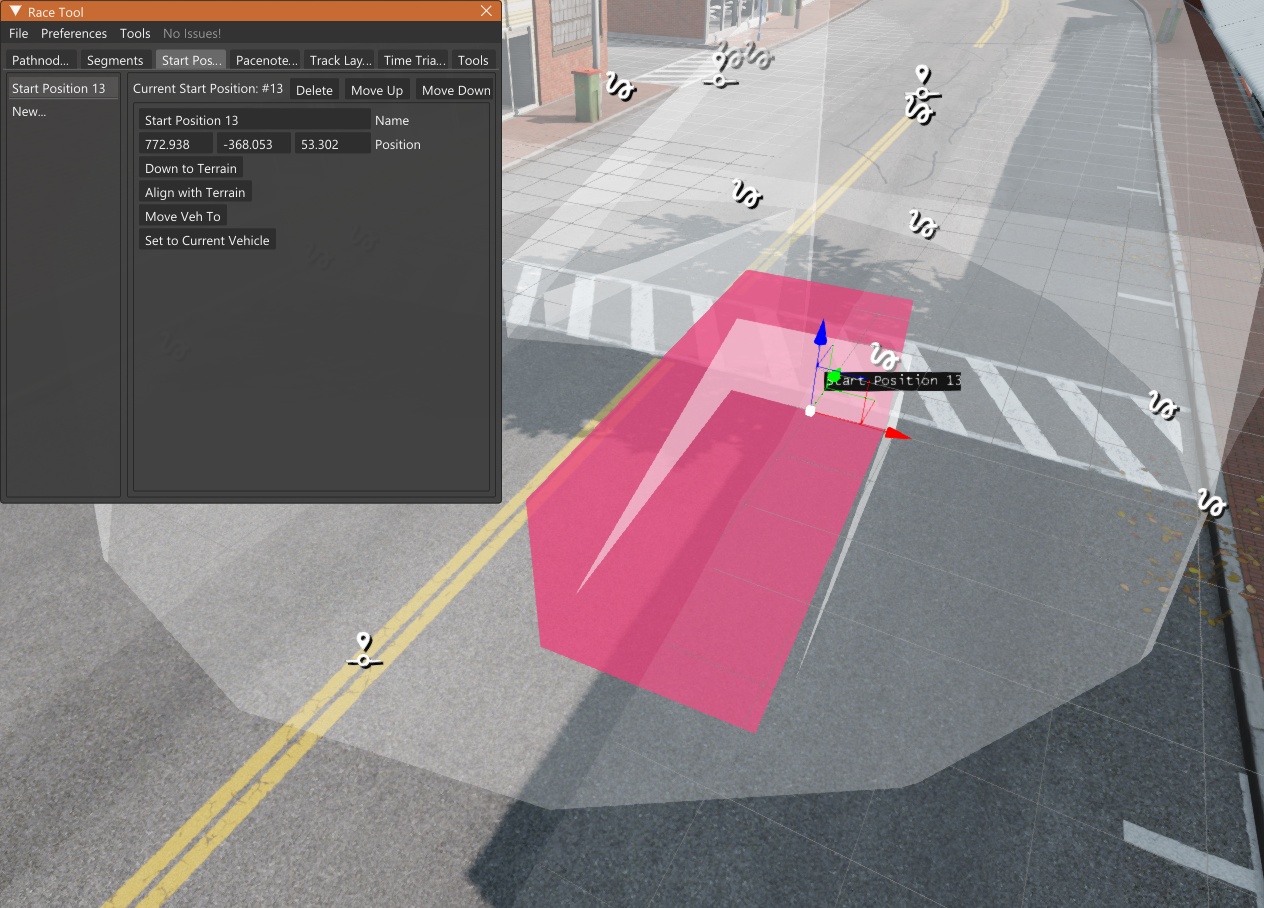
- Start Positions are used to place vehicles at the start of the race, or for recovery pathnodes.
- Pacenotes are used to define rally-style notes along the route. This feature currently has limited support.
- Track Layout is used to define information such as default lap count, start node, end node, etc.
- Time Trials can be used to fill in details and prefabs, if you want to use your created race path as a time trial.
- Tools has some extra features that you can use to enhance or test your race path.
Creating a Race Path
Now that the basics are covered, let’s create a short race with this editor. For this example, the town roads in East Coast USA will be used to create a simple circuit route.
-
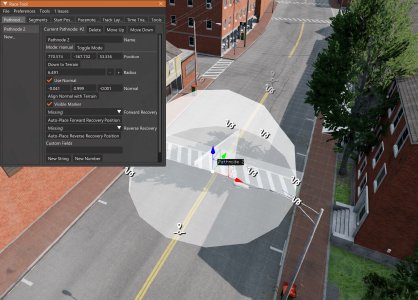
After opening the editor, find a place where you want the start line or lap point to be. Hold down SHIFT, and drag the Left Mouse Button at the center of the road, dragging towards the forwards direction. Make the pathnode as wide as the road. Release-click to create the pathnode. While it is selected, you can move, rotate, and scale it just like other objects. Remember that you can use the transform hotkeys 1 2 3 to help you with this.
-
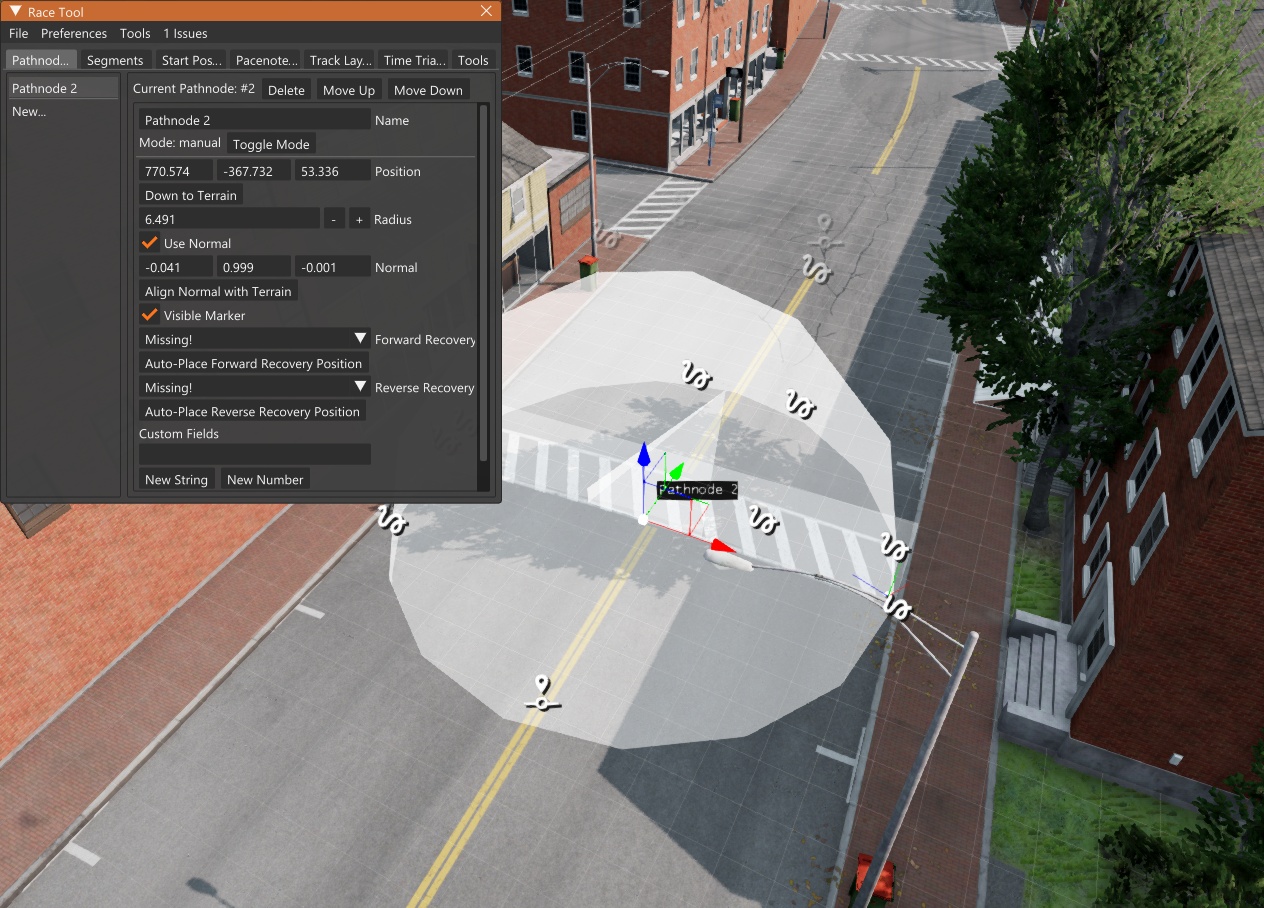
Place the next pathnode further along the route.
 Try to place pathnodes thoughtfully, so that a player trying the route for the first time will understand where to go. Place them just after the apex of major corners, and after important intersections. It is wise to avoid placing them too close together or too far apart.
-
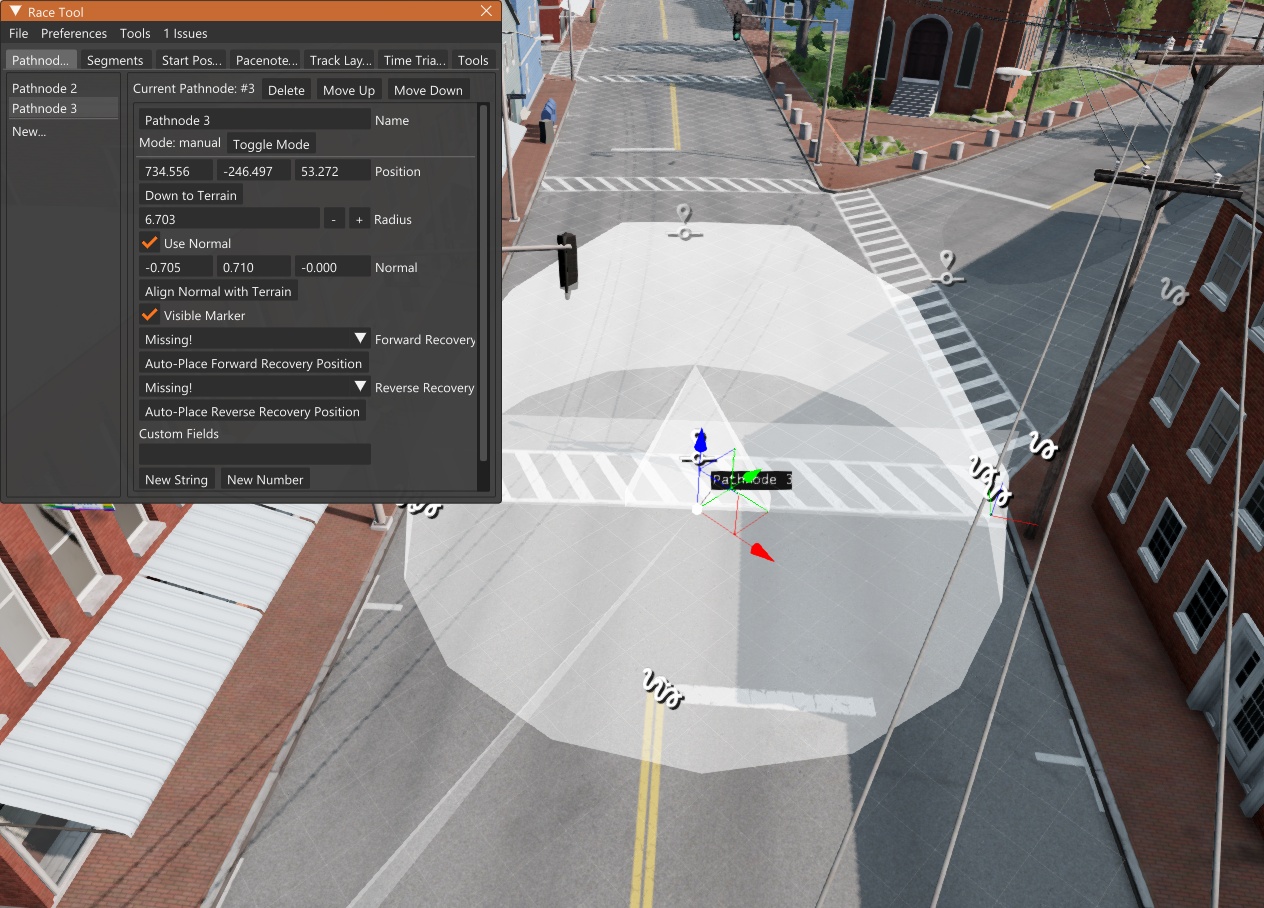
Continue placing pathnodes, until you are satisfied with the course layout. If you are creating a circuit, there is no need to place the final one at the lap point; this will be covered later.

-
Create a start position. Hold down SHIFT, and drag the Left Mouse Button at the place where you want it, dragging towards the forwards direction. Release-click when you are ready. The tall side of the shape represents the front of the vehicle.

-
Now you have the basics needed for a short race path, starting from the first pathnode and ending at the last pathnode. To make it a circuit with multiple laps, go to the Segments tab and create a new segment. Set the From node as the last pathnode, and the To node as the first pathnode. This will complete the circuit, and it will be indicated as Closed in the Track Layout tab.
 If you are only creating a point-to-point race, remember to go to the Track Layout tab and set the final pathnode.
-
Save the race file. By default, it will get saved in your user folder, in
<userfolder>/gameplay/races/.
Testing
You can test the race by going to the Tools tab, and clicking the Open Test Race Window button near the bottom. You can interact with this window to experience how your race will play out.
Was this article helpful?
